Installation and First-Time Setup
Prerequisites
The NetSuite SRP Add-in for Microsoft Project requires the following software to be installed on the user’s computer:
- Microsoft Project 2013 or later, Standard or Professional
or:
- Microsoft Project Online Desktop Client
The following information will be required when using the add-in:
- Email address and password used to log-into NetSuite
- The correct NetSuite role to use for project management
- The Account ID for the NetSuite instance you will access for project management
You may need to request the information from your NetSuite Administrator or someone in a similar role.
First-Time Installation
The installation of the add-in is available via a web-based installer.
- Download the web installer from:
https://www.peregrineconnect.com/support/downloads/Updates/AddIns/MSProject/NetSuiteSRP/V3/msprojectaddinfornetsuitesrp.exe
- When the installer file has been downloaded, find and double-click the file “msprojectaddinfornetsuitesrp.exe” to start the installation. You can find it in one of the following locations:
- Chrome — Click the icon in the bottom-left corner of the screen.
- Internet Explorer — Click “Run” in the yellow outlined box in the bottom-center of your screen.
- Firefox — Click the download arrow in the upper-right corner.
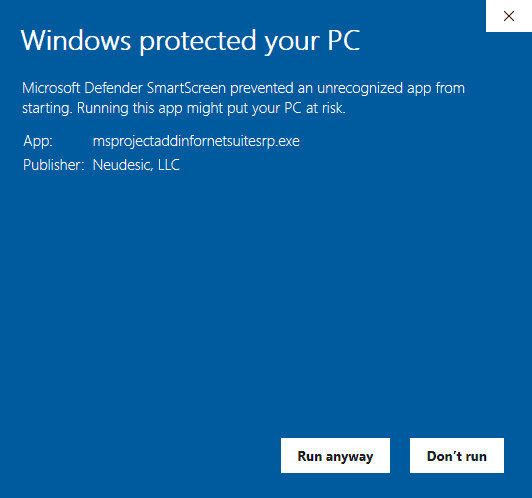
- You may receive a warning from Windows like this:
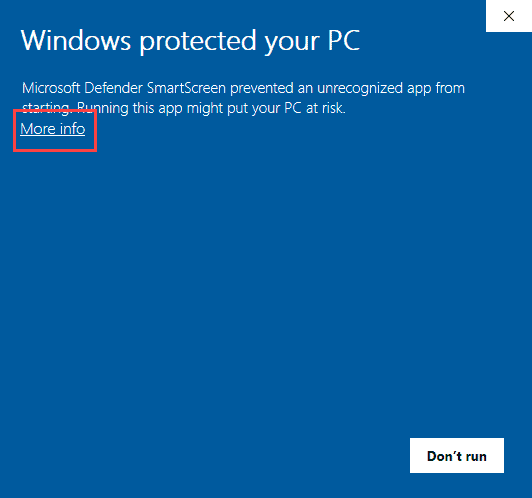
- If you receive the above warning, click the More info link to change to display the option to Run anyway. Click Run anyway to start the installer:
- When the installer starts, click Next to continue:

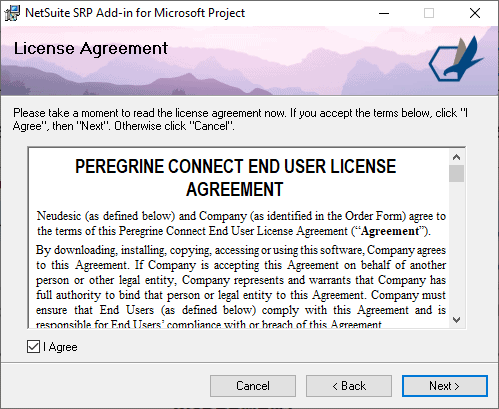
- On the License Agreement page, review the EULA and accept the terms, then click Next:
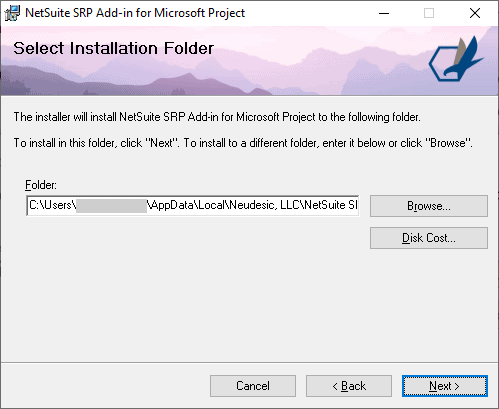
- On the Select Installation Folder page, review the installation folder and click Next to continue.
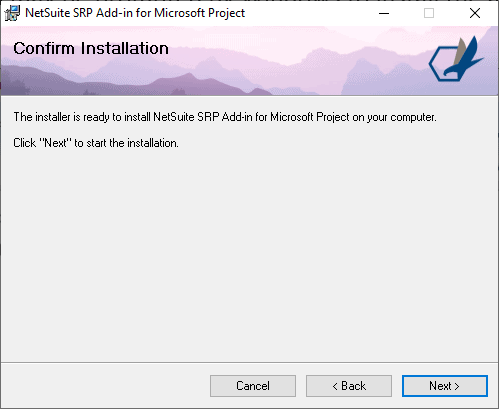
- There aren’t any options to select with this installation. On the Confirm Installation page, click the Next button. You may be prompted by Windows to install the add-in with elevated privileges.
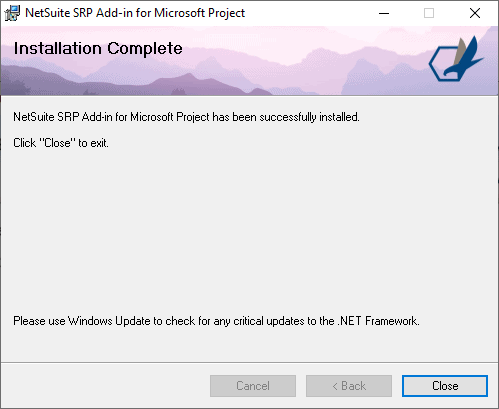
- Once the installation is completed, click the Close button:
Updating the Add-In
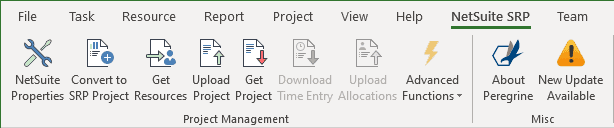
Updating the add-in is quite easy. When a new update is available, you will see a notification available on the NetSuite SRP ribbon:
Click the button New Update Available and you will be prompted to install it:
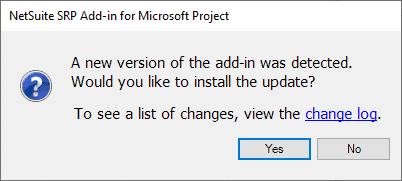
When you click yes, the update will download and you will see a dialog that instructs you to close Microsoft Project to continue with the upgrade:
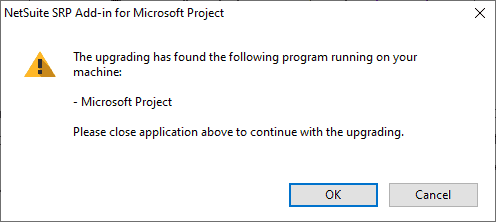
Click the OK button to install the update. The installation will not continue until you close all the open projects. Make sure to save any changes, and once you close Microsoft Project the install will resume after a few seconds. The update process will continue with the same installation wizard that is used during the first-time installation. If you click cancel the update will not be installed.
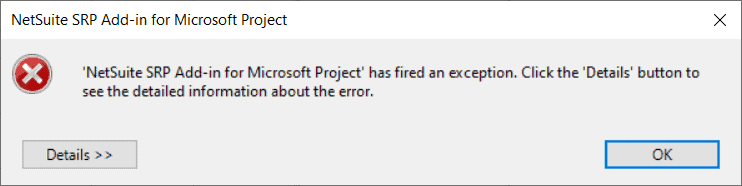
If you see this, click the OK button, then look through your open applications (using alt-tab or Windows-tab) to find the previous dialog to continue.
Once the installation is completed, you will have to restart Microsoft Project.