Setting Role Permissions
Overview
The NetSuite SRP Add-In for Microsoft Project uses Web services to exchange data with NetSuite. Before your Project Managers can use the add-in, their NetSuite role(s) needs to be updated with the correct permissions. This document provides the least required privileges for using the add-in. Your company’s requirements will most likely require additional privileges to those listed below.
Setting Role Permissions
These steps need to be completed by a NetSuite user logged-in with a role that has permission to user roles (i.e. Administrator). These steps will need to be repeated for each role that users will be using when logging-in with the add-in.
- Log into NetSuite using the appropriate role.
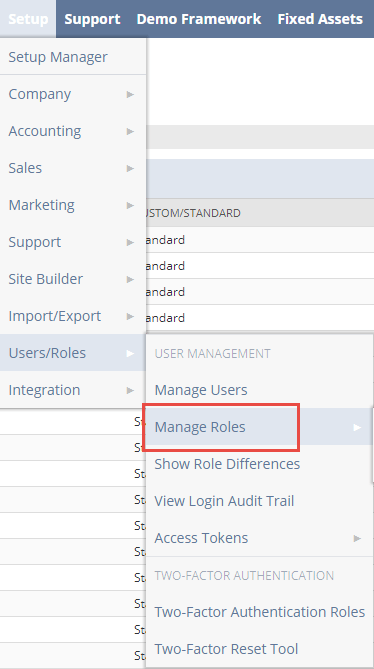
- Navigate to Setup->Users/Roles->Manage Roles:
- Find the role your project managers will be using and click Edit:

- Scroll to the section title “Permissions”:
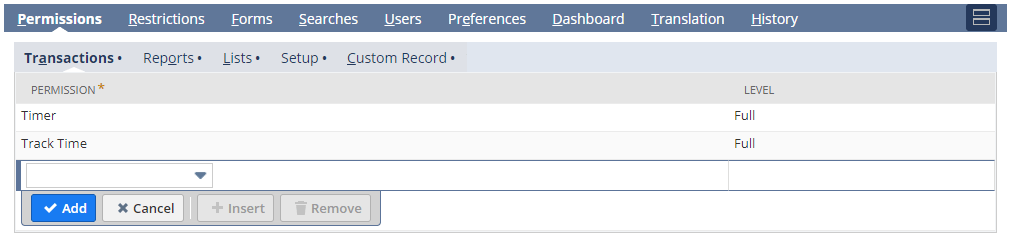
- Under “Transactions”, add the following permissions (minimum required level listed here):
- Track Time = Full
- Under “Lists”, add the following permissions if they are not already listed (minimum required level listed here):
- Clients (or Customers) = View
- Employee Record = View
- Employees = View
- Generic Resources = View
- Items = View
- Perform Search = View
- Project Tasks = Full
- Projects = Full
- Resource = View
- Resource Allocations = Full (if you have this feature enabled in NetSuite)
- Subsidiaries = Full
- Vendors (or Suppliers) = View
- Work Calendar = View
- Under “Setup”, add the following permissions if they are not already listed (minimum required level listed here):
- Access Token Management = Full (If you are using Token-Based Authentication)
- Accounting Lists = View
- Control SuiteScript and Workflow Triggers in Web Service Request = Full
- Custom Entity Fields = View
- Custom Event Fields = View
- Custom Lists = View
- Log in using Access Tokens = View (If you are using Token-Based Authentication)
- SOAP Web Services = Full
- SuiteScript = View
- User Access Tokens = Full (If you are using Token-Based Authentication)
- Click the Save button to save the changes.
Additional Requirements
You may need to add additional permissions to the NetSuite role depending on requirements and customizations. For example, if you require your project managers to set the Billing Schedule project property, then you will also need to add Lists->Billing Schedules (View) permissions to the role. When the users attempts an action that requires additional role permissions, they will receive an error like this:
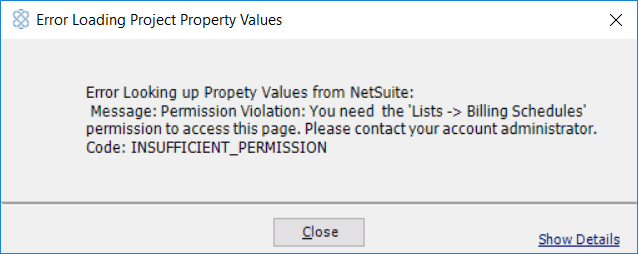
You can add the additional permissions based on the error message.
Note – When you change role permissions, you may see the changes in the NetSuite User Interface immediately. However, it may take several hours for role permissions to be propagated to the Web Services layer in NetSuite. It is best to make these changes during off-hours, such as overnight or early morning.