Combining multiple source fields into one target field
In a data mapping, you can combine multiple source fields into one compound target field. For example, you can map the FirstName and LastName fields to the customerName field.
Prerequisite
For the target field, you must know what type of content is in each part of this compound field, the order and index of each part of the content, and the separator between parts, such as a space or comma.
Procedure
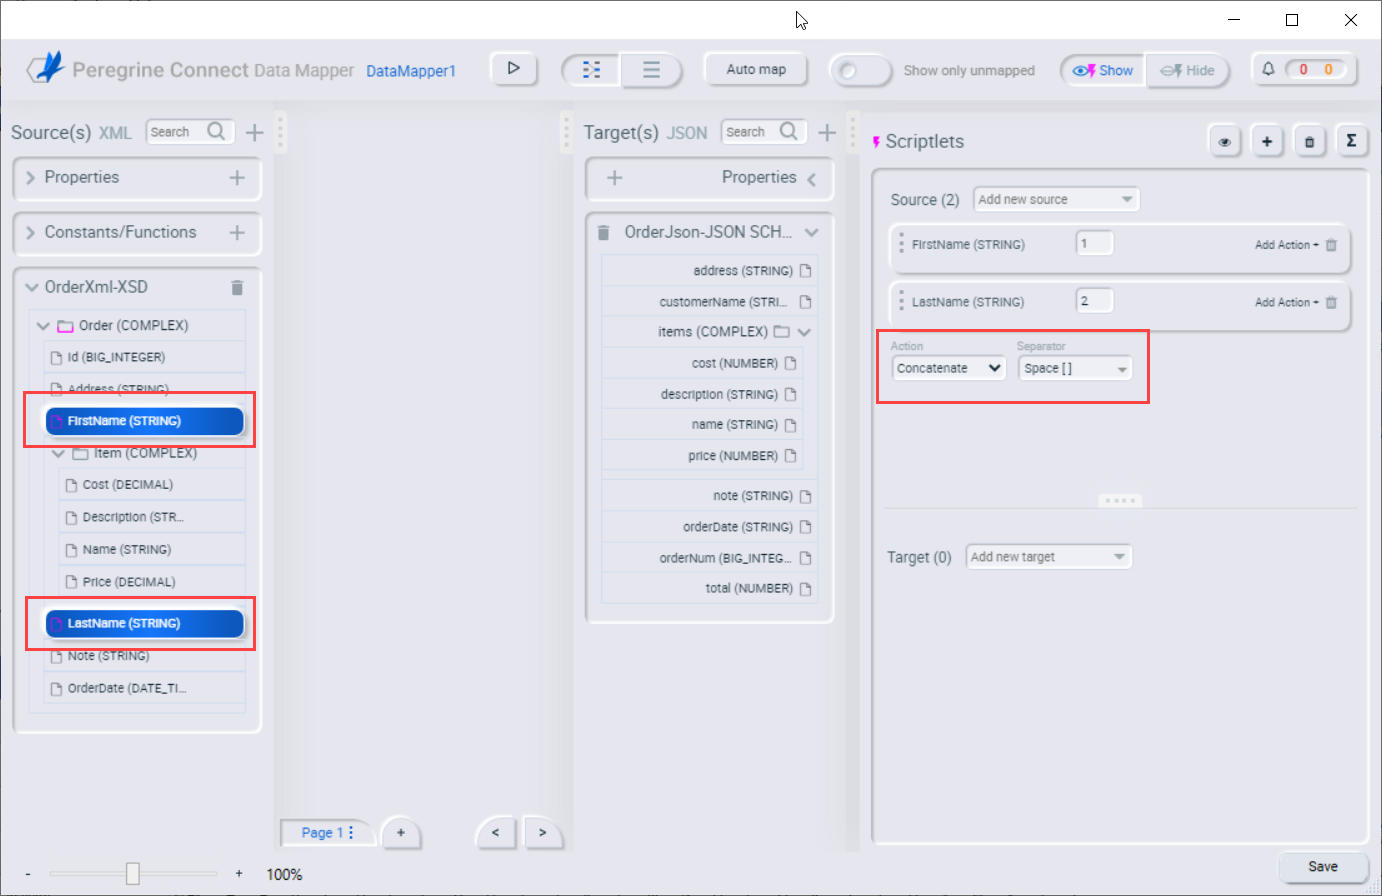
- In the Source panel, navigate to the first field that you want to combine into the target field and click that field. For each of the other fields that you want to combine into the target field, hold ctrl and click each field. The order you select the fields does not matter. You can reorder the fields after they have been selected.
- When you select multiple source fields, the Data Mapper automatically changes the type of mapping to Many to One and automatically adds the source action Concatenate:
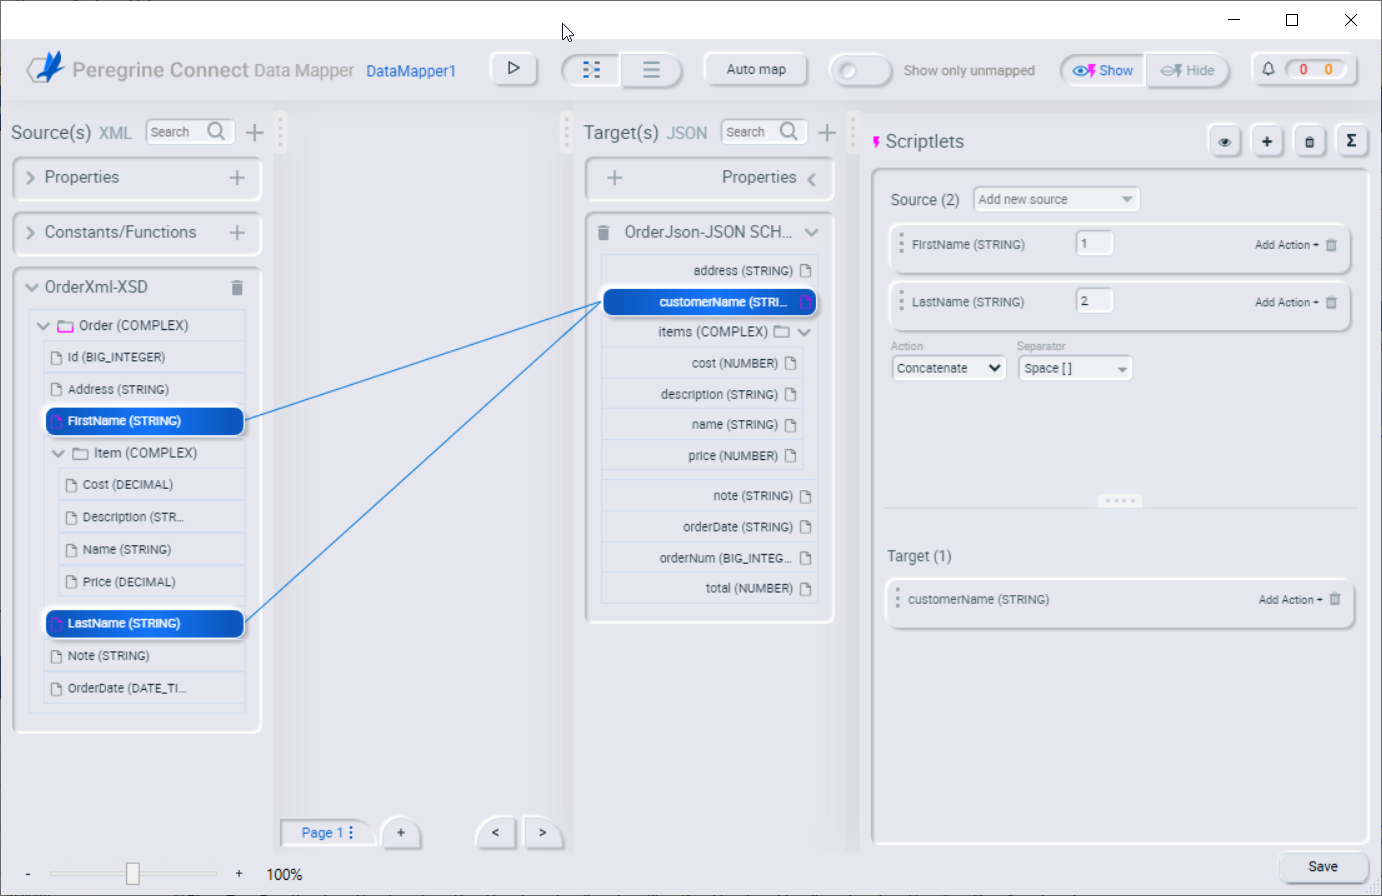
- In the Target panel, click the field into which you want to map all the source fields. When you are done there will be a line from each of the source fields to the target field:
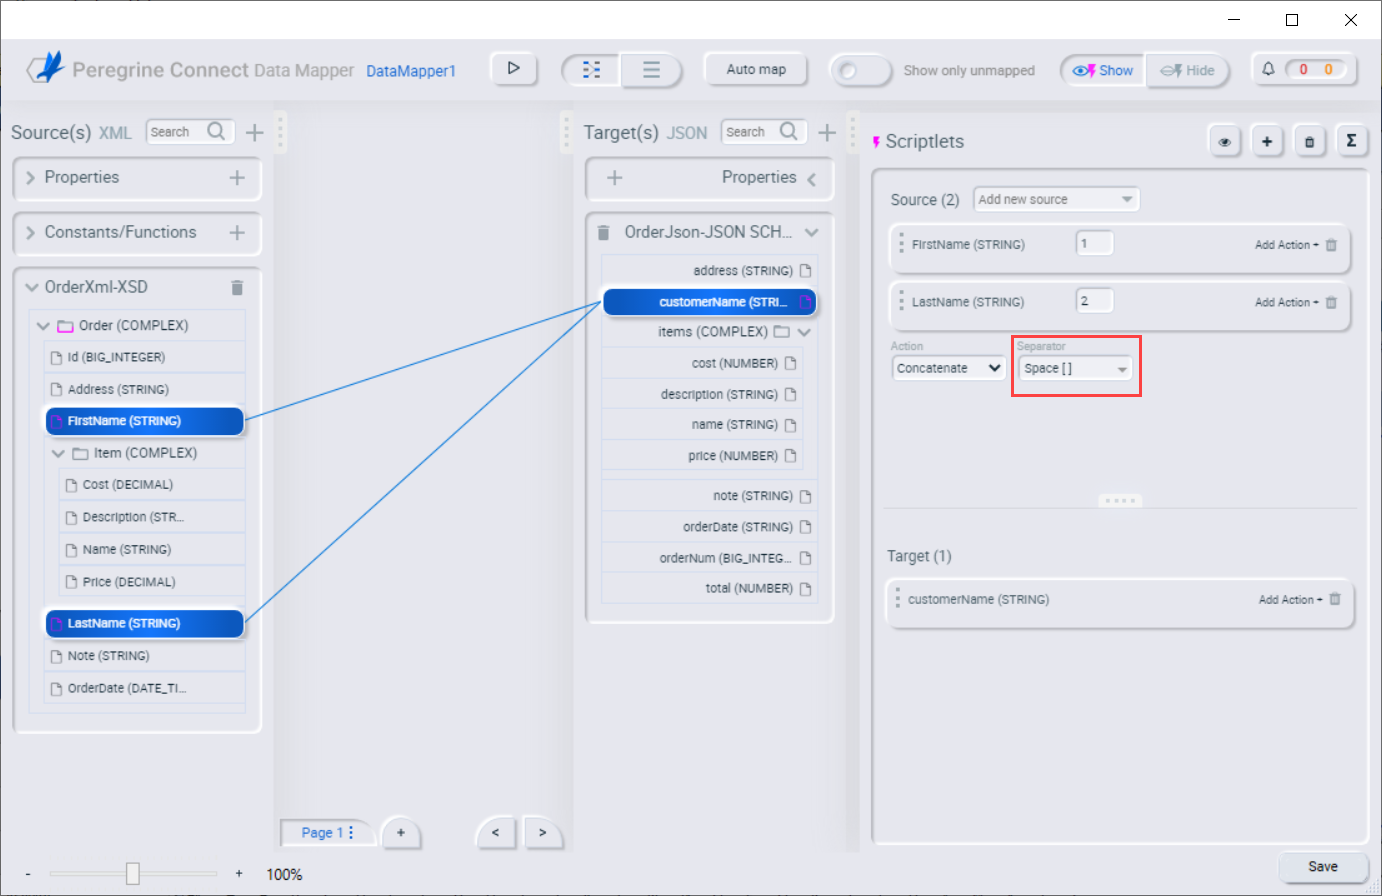
- Configure the source’s Concatenate action by selecting the Separator that the Data Mapper inserts in the target field between the content from different source fields. The default value is a space.
- Verify that the source fields are in the order in which they are expected to appear in the target field. To move a field, use the mouse cursor over the vertical dots on the left side of the field and click the right mouse button to “grab” the field and move it to the desired location before releasing the right mouse button.
- To preview the data mapping results, click the Show/Hide test preview button
 in the Scriptlets window. This displays a text input field on the source field and a read-only result field on the target field. Enter a value in the source field’s text field, then click the Run preview test button
  to display the mapping result in the read-only field on the target field:
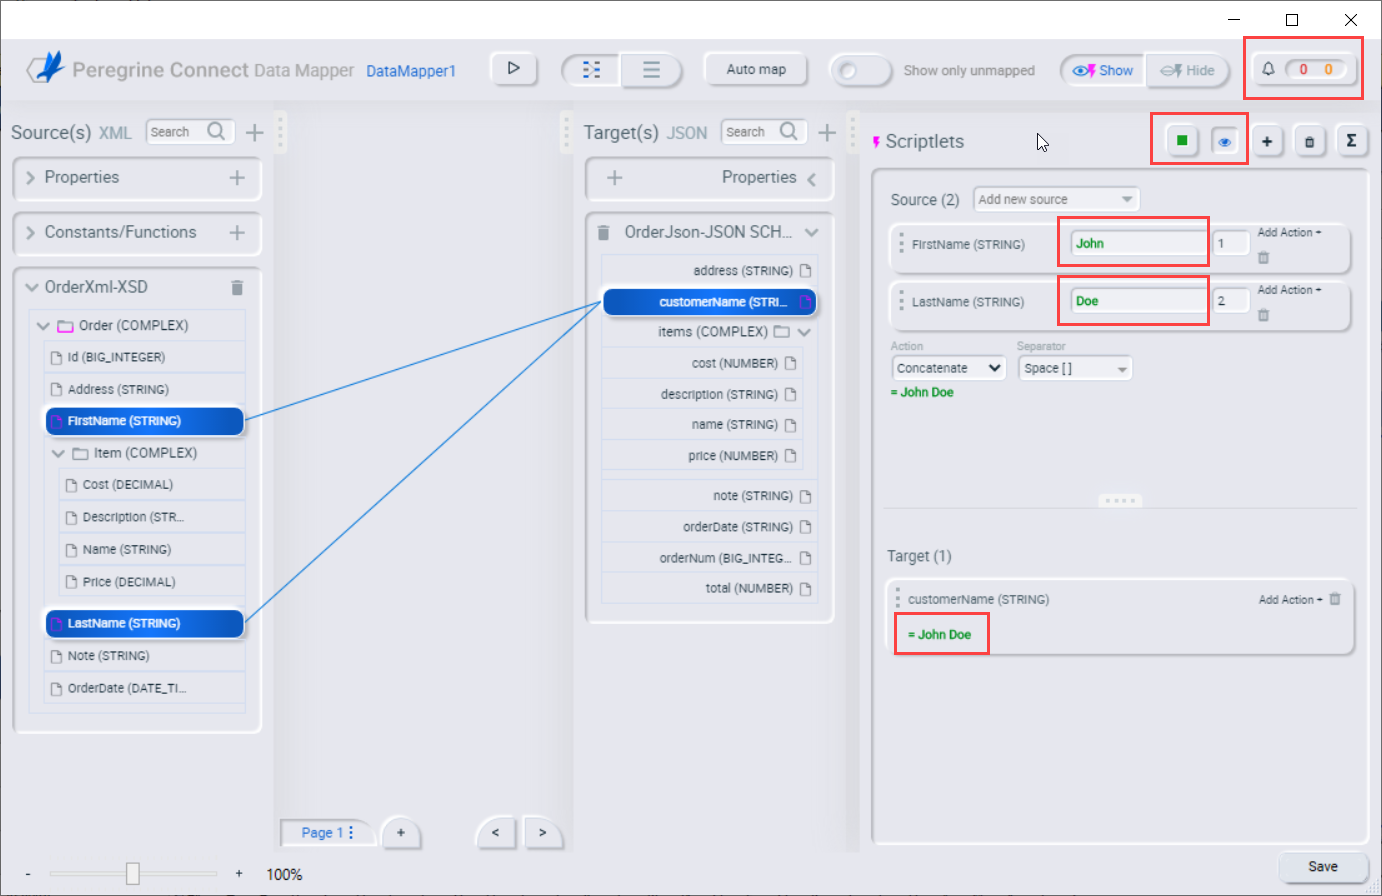
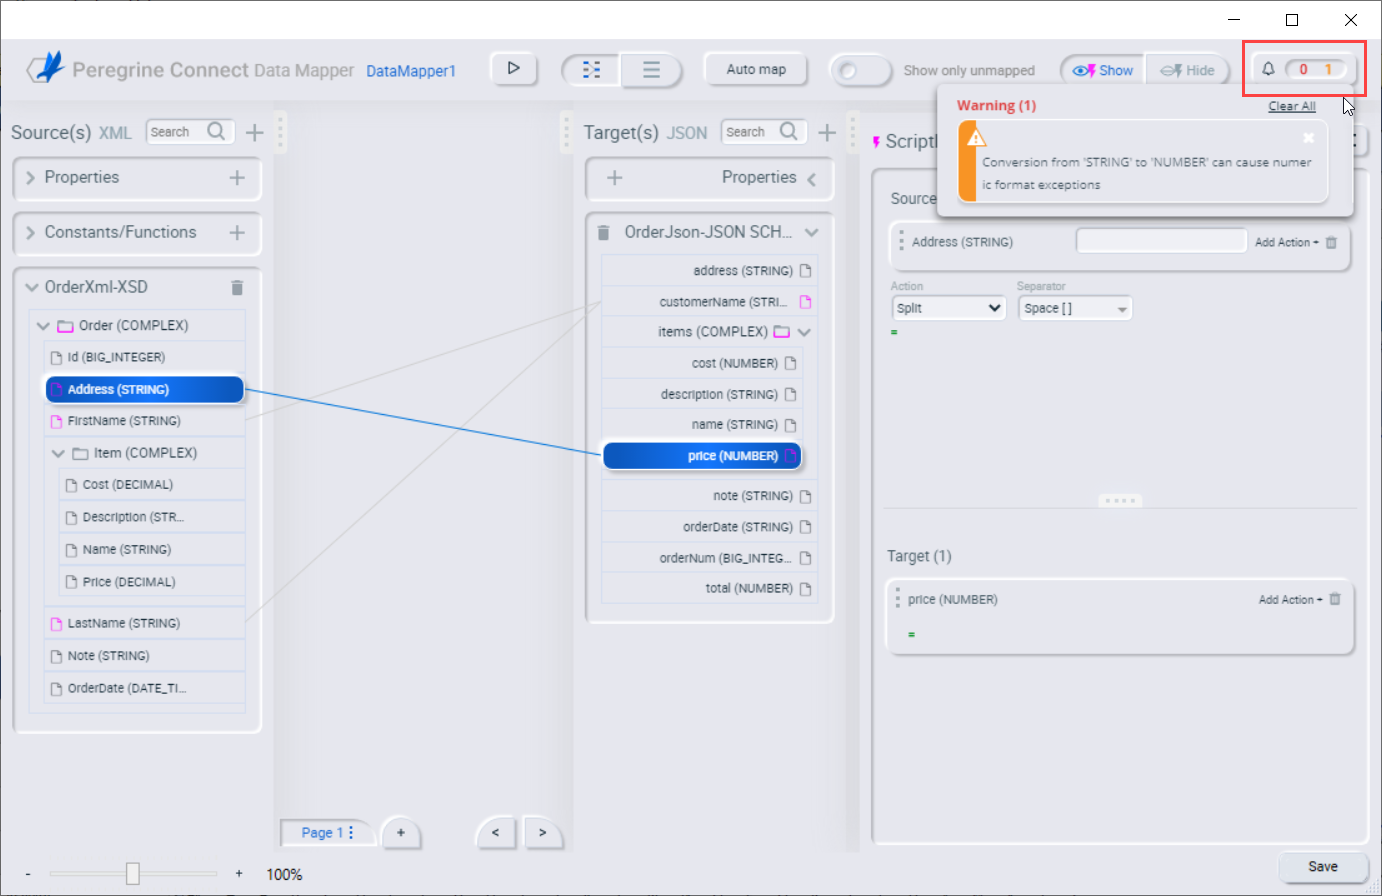
- If you reorder the source fields or add a transformation to the mapping, then the result on the target field will reflect this. If the Data Mapper detects any errors, it displays a count of errors and warnings in the top-right corner. If there are any errors or warnings, click on
 and a dialog will open with the error or warning details:
- Hide the test preview by clicking
 again.
 - To confirm that the mapping is correctly defined, toggle the view buttons
 to display the defined mappings in list view. A mapping that combines the values of more than one source field into one target field looks like this:

- You can also preview mapping results in the list view. Click the Show/Hide test preview button
 and enter text as previously described. The preview fields appear for only the selected mapping. Click another mapping in the table to view the preview fields for it.