Importing data files into Data Mapper
Data mapping allows you to map fields in a source data shape to fields in a target data shape. To map fields, you import data shape definition files into the Data Mapper Source and Target panels. You can only map from one source to one target document. If you attempt to select or import another document after one has already been added, you will be prompted to overwrite the existing document and all current mappings will be deleted.
The following topics provide examples of importing different data shape definitions:
- Importing JSON files into Data Mapper
- Importing XML files into Data Mapper
- Importing Flat files into Data Mapper
Note: Prior to Data Mapping, the required schemas and/or documents should be added into the Neuron ESB Solution Repository.
Select or Import XML/JSON files into Data Mapper
You can select or import a JSON schema file or a JSON instance file into Data Mapper. The procedure for select or importing each kind of file is the same.
Initially, the Data Mapper displays a blank canvas. You must Select or import at least one Schema or data file into the Source panel and at least one schema or data file into the Target panel before you can map any fields.
When adding multiple source or target documents, each source or target document must be of the same type (e.g. xml, json or flat file). For example, if the first source document selected is an Xml file, then each subsequent source document must also be an Xml file. If you attempt to select a different type (e.g. a Json file), then you will be prompted to replace the previously selected document(s). You can have multiple source documents of one type (e.g. Xml) and multiple target documents of a different type (e.g. Json). Finally, if you initially select a source document (e.g. XML), you can subsequently select a schema of the same type (e.g. XSLT).
Note: if you want to combine files of different schema types (e.g. Json and XML) as Source documents, you can use the Json process step in a Business Process to convert the XML to Json or Json to XML prior to Data Mapper step and then use the technique above to combine the converted documents. You will need to have the schema or sample document for each imported source and destination available in the repository.
After you import a data file, you can remove it from the Data Mapper canvas by clicking the trash icon in the Source or Target panel.
To add a document into the Data Mapper Source panel:
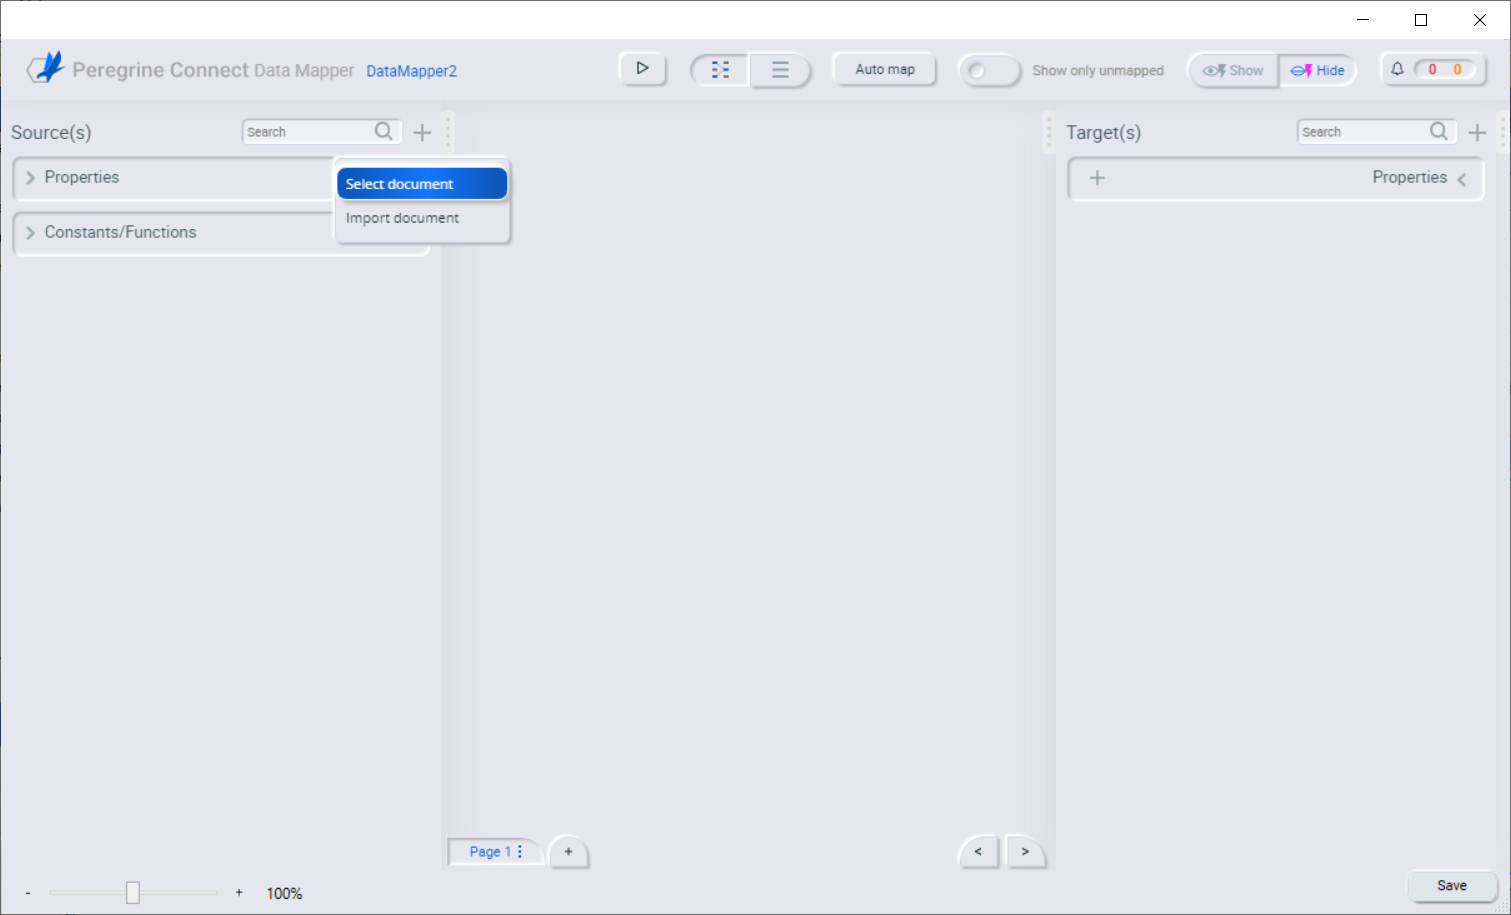
- Open the Data Mapper and click the + button at the top right of the Source panel. Click Select document in the menu:

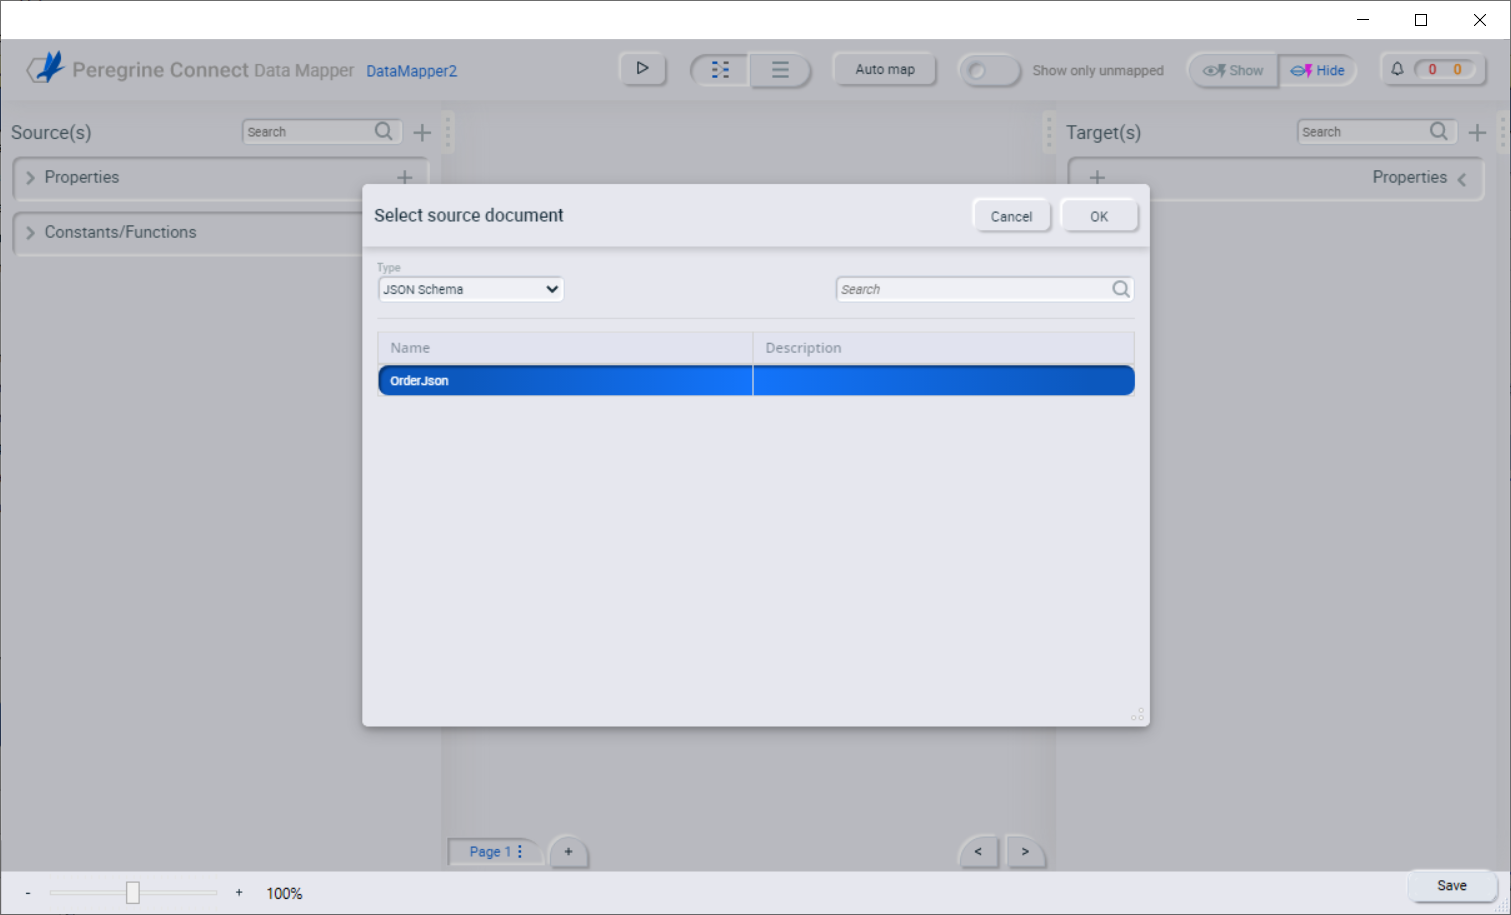
- Select the type as JSON Schema to display only JSON schema files. Select a document from the list and click Ok:
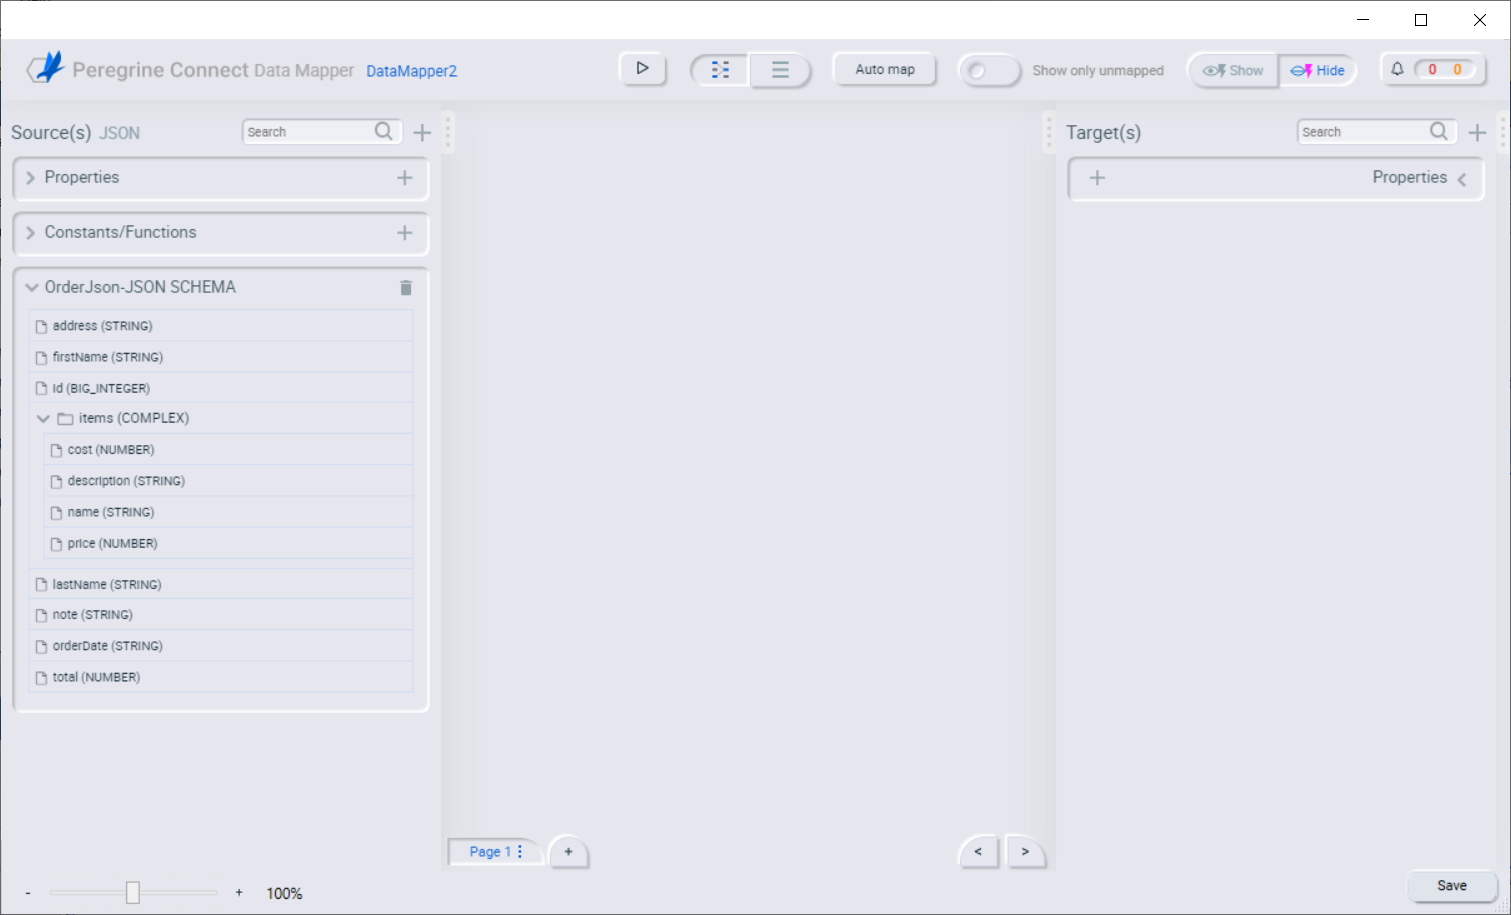
- The selected JSON schema will be shown in the Source panel:

To Import a file into the Data Mapper Source panel:
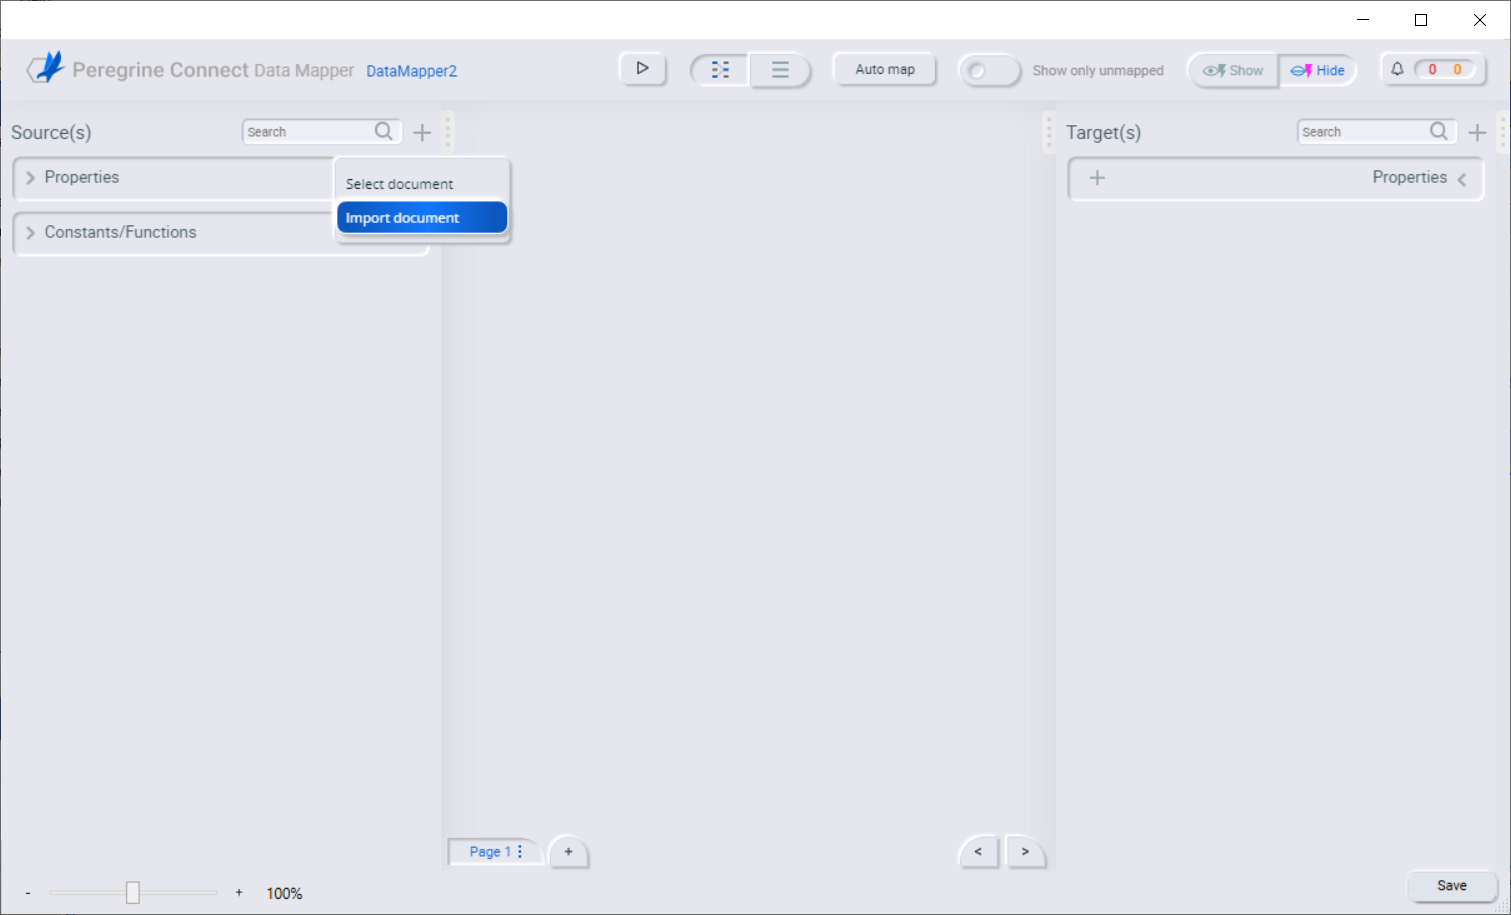
- Open the Data Mapper and click the + button at the top right of the Source panel. Click Import document in the menu:
- In the Select source file dialog, click the browse button to select a source document from the local file system and click OK:

- The imported document will be shown in the Source panel:
Importing CSV files into Data Mapper
CSV files include both a delimiter and an optional enclosing character. A delimiter separates the data fields. It is usually a comma, but can also be a pipe, a tab or any single value character. An enclosing character occurs at the beginning and the end of a value. It is sometimes called a quote character (because it is usually double quotes), but you can use another character instead.
To select the file into the Data Mapper Source panel:
- Open the Data Mapper and click the + button at the top right of the Source panel. Click Select document in the menu:
-
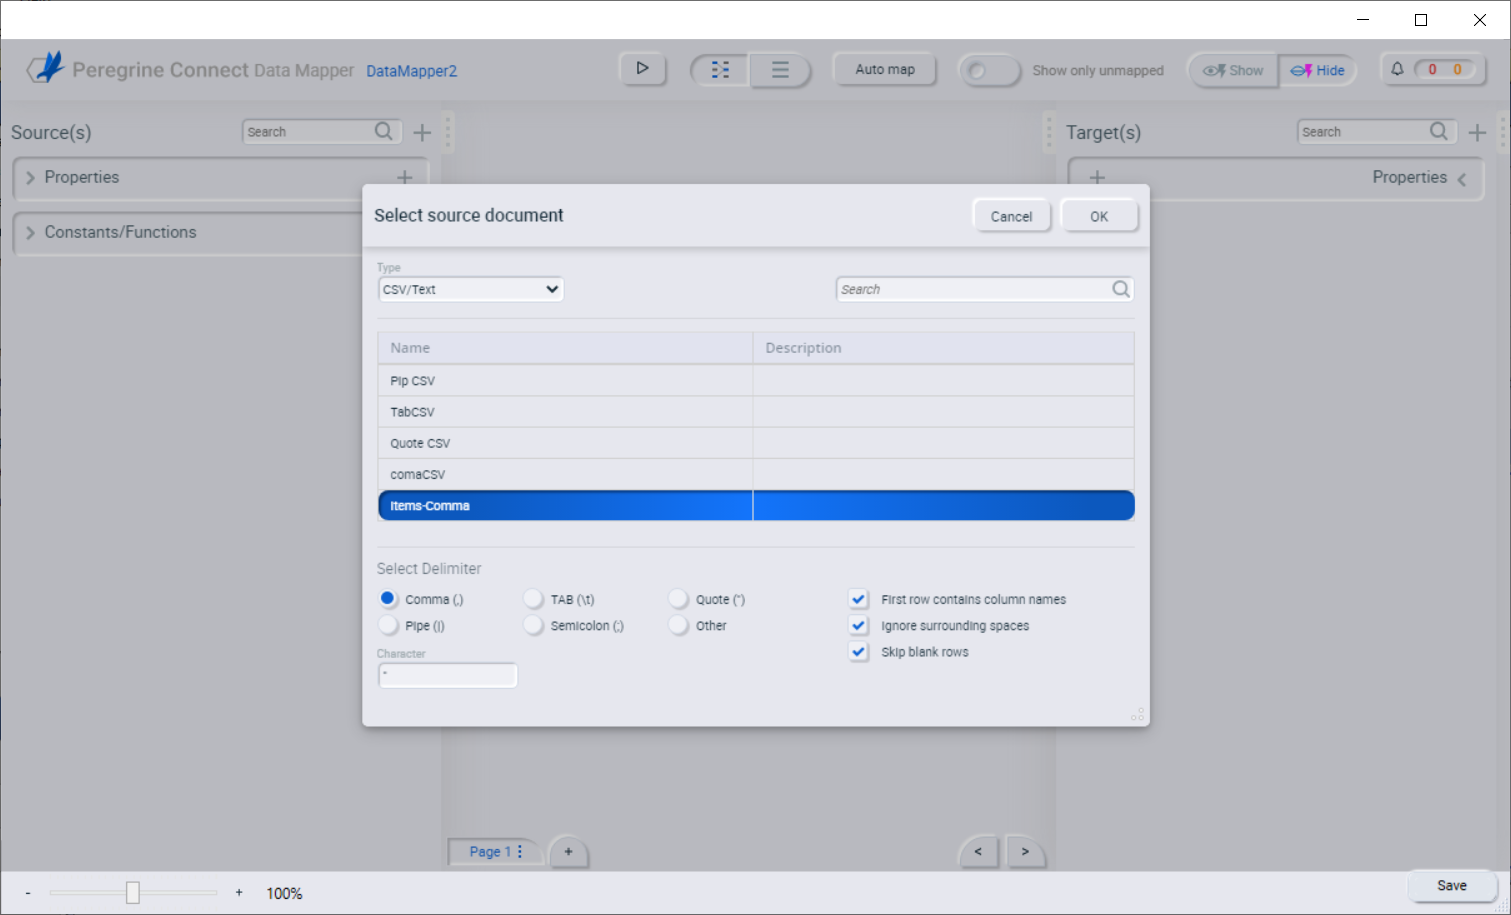
In the Select source document dialog, enter/select the appropriate options:
- Select the type as CSV/Text to filter only CSV type files. Select the document from the list.
- Select the appropriate delimiter in the Select Delimiter section. If you choose a delimiter which is not used in your file, it won’t properly import. If the delimiter is not listed, select Other and enter the delimiter value in the text box that appears below it.
- An enclosing character occurs at the beginning and the end of a value. It is sometimes called a quote character (because it is usually double quotes), but you can use another character instead by entering it in the Character field.
-
Set the other flat file processing options:
- First row contains column names
- Ignore surrounding spaces
- Skip blank rows
- Click the OK button:
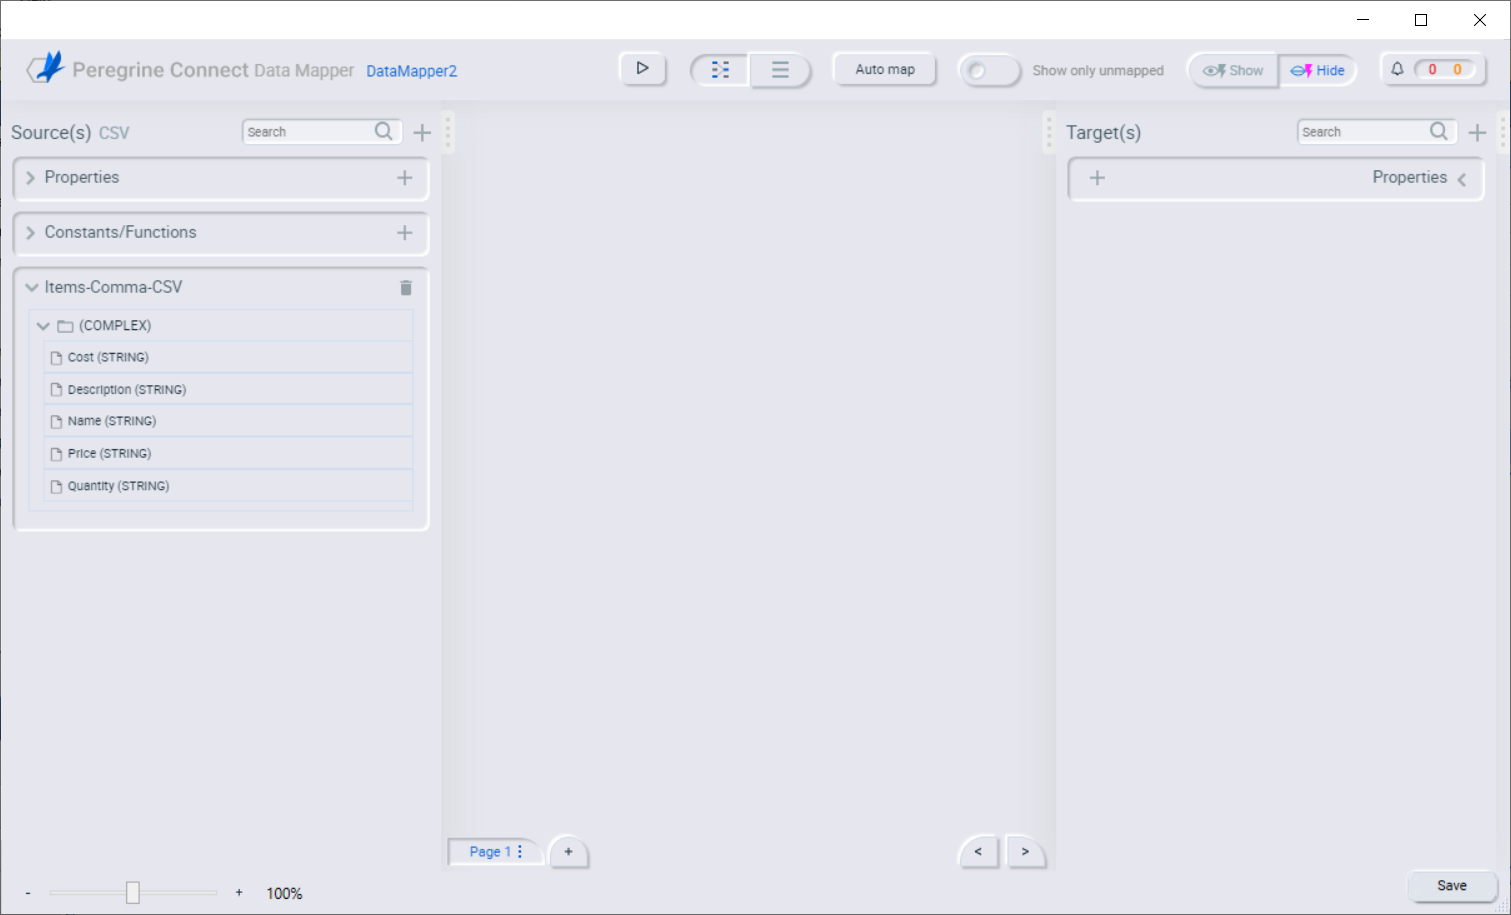
- The imported CSV document will be shown in the Source panel: