Developing Custom Process Steps with a Simple UI
Overview
Writing custom process steps for Neuron is very common. This sample includes a custom process step that uses a standard property grid UI. This sample process step writes a file to the file system, logging the values of the properties set in the property grid.
Visual Studio Solution
The Visual Studio solution contains a single C# class library project. This project consists mainly of two components. The first component is the code “MySimpleProcessStep.cs”. This contains all the code for the process step’s functionality and properties. The second component is the resource file “Resource1.resx”. This contains all the resources that the process step needs, such as the icon used in Neuron’s process designer, the description of the process step, and the name that will be displayed in the process designer’s toolbox for the process step.
MySimpleProcessStep.cs
In order to write a custom process step, the process step code must inherit from the abstract class Neuron.Esb.Pipelines.CustomPipelineStep. This contains one void method that must be overridden called “OnExecute(PipelineContext<ESBMessage> context)”. “OnExecute” will contain all the code that should be executed when the process step is run.
The parameter for the “OnExecute” method is the PipelineContext that contains information about the pipeline, but more importantly, the ESBMessage that is passed in. This allows users to manipulate the message by calling the member “context.Data” which is the ESBMessage that is going through the process step. In this sample, however, the message passed in doesn’t get used as the sample process step only logs a property value into a text file.
The custom process step is decorated with many attributes throughout the code. Notice in the following code that the process step class is decorated with two attributes:
[DisplayName("My Simple Process Step")]
    [ProcessStep(typeof(MySimpleProcessStep), typeof(Resource1), "name", "description",
    "Image1","", Path = "")]
    public class MySimpleProcessStep : CustomPipelineStep
    {
The “DisplayName” attribute is the name that will be displayed when the process step is on the designer (i.e. after it has been dragged on to the canvas).
The “ProcessStep” attribute contains all the information that Neuron Explorer needs to self-register the process step into its designer. The first parameter of the attribute is the type of the class of the process step. The second parameter is the type of the resource class that contains the name, description, and image that the process step uses. The third parameter is the name of the string in the resource class that contains the name of the process step. The name in the resource class will be the name displayed in the toolbox of the Process Designer. The fourth parameter is the name of the string in the resource class that contains the description that will be displayed when the mouse is hovering over the process step in the toolbox. The fifth parameter is the name of the image in the resource file that will be used as the icon for the process step. The sixth parameter is a fully-qualified type name used to represent the process step in the Process Designer on the design surface. In this sample, it is an empty string, in which case Neuron will use a default generic UIElement. Lastly, the path of where the process step will sit in the Process Designer toolbox can be specified with the Path variable. In this sample, it is an empty string so the process step will sit at the root folder “Process Steps” in the toolbox.
The properties of the process step can be decorated with many different attributes. The following is a description of each of the attributes found in this sample:
[DataMember] – Used to indicate that this member is part of a data contract which can be serialized by System.Runtime.Serialization.DataContractSerializer.
[Category(“My Category”)] – Used to group properties in the process step property window.
[DisplayName(“My Property1”)] – This will be the displayed name of the property in the process step property window. If not present, the name of the member will be used as the display name.
[Description(“My Property1 Description”)] – This will be the description that is displayed in the bottom of the property window when the property has been selected.
[Bindable(false)] – This attribute indicates that a property can be bound to (such as with an environment variable) using the Binding Expressions editor. The editor can be found by clicking on the ellipses in the “Bindings” property in the process step’s property window. The default for this attribute is “true” when omitted.
[Browsable(false)] – This attribute indicates that a property will be displayed in the properties window. Default is “true” if omitted.
[DefaultValue(3)] – This attribute allows a property’s value to be set to a default value.
[TypeConverter(typeof(MyProperty8TypeConverter))] – This attribute specifies that a property utilizes a TypeConverter for the value of the property. A TypeConverter is generally used to convert from the property’s type to a displayable object (e.g. converting a string “3” to an int 3 where the string is what is displayed in a drop-down menu for the user to choose from and the int is the actual type of the property). In this sample, it is used to allow a drop-down menu for the property which can be accomplished by creating a type converter that inherits from the StringConverter class and overriding the StringConverter methods “GetStandardValues”, “GetStandardValuesSupported”, and “GetStandardValuesExclusive”. Notice that “GetStandardValues” returns a StandardValuesCollection, which is displayed as a drop-down menu for the property.
[Editor(typeof(System.Windows.Forms.Design.FileNameEditor), typeof(System.Drawing.Design.UITypeEditor))] – This attribute specifies that an editor be used to change the property value. The first parameter is the type of the editor. The second parameter is the type of the base class that is used as a key to lookup the editor. The second parameter must be the type of “System.Drawing.Design.UITypeEditor” or a class derived from that type.
Running the Sample
Open the Sample
To open this sample, see the topic Using the Neuron Samples and select the Simple Custom Process Step sample.
Configure the Sample
When launching this sample from the Samples Explorer, a Visual Studio project is opened. The references in this project need to be verified and the project needs to be built.
- In Visual Studio, expand the References list in the Solution Explorer.
- There needs to be six references to Neuron ESB Assemblies in this list:
- Neuron
- Neuron.Esb
- Neuron.Esb.XmlSerializers
- Neuron.Pipelines
- Neuron.Scripting
- If the references show an error, remove them and re-add them from the Neuron program files installation directory (C:\Program Files\Neudesic\Neuron ESB v3\DEFAULT).
- Build the solution.
- Copy the process assembly SimpleProcessStep.dll from the build output folder (C:\Program Files\Neudesic\Neuron ESB v3\Samples\Processes\SimpleProcessStep\SimpleProcessStep\bin\Debug) to the Pipelines folder in the Neuron program files installation directory (C:\Program Files\Neudesic\Neuron ESB v3\DEFAULT\Pipelines).
Create a new Neuron Configuration
- If Neuron ESB Explorer is already opened, close it and re-open it, and create a new Neuron Configuration (for this sample you do not need to configure a topic, publish or subscriber). You will not be able to see the custom process step in the list of processes until you close and re-open the ESB Explorer.
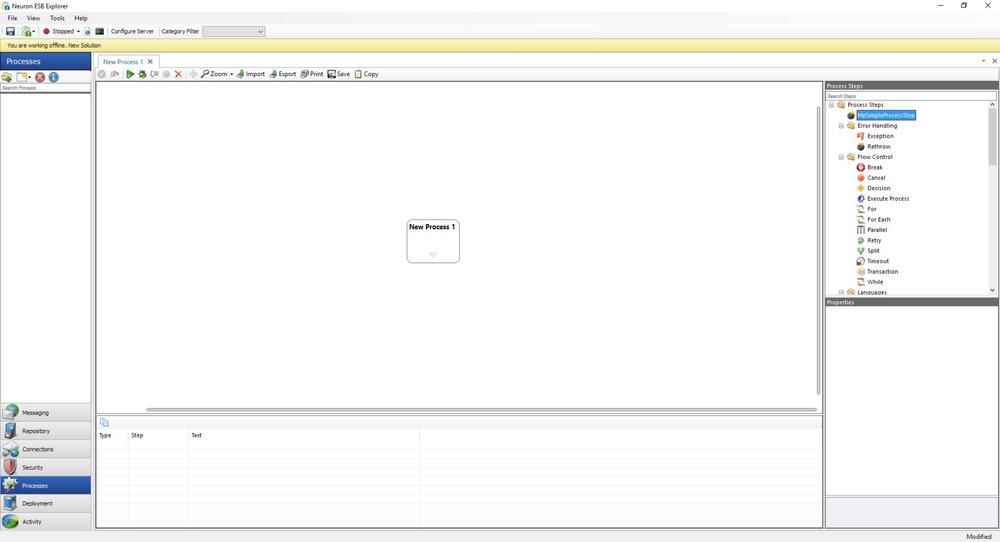
- Navigate to Processes, you should see the custom process MySimpleProcessStep in the list of Process Steps:
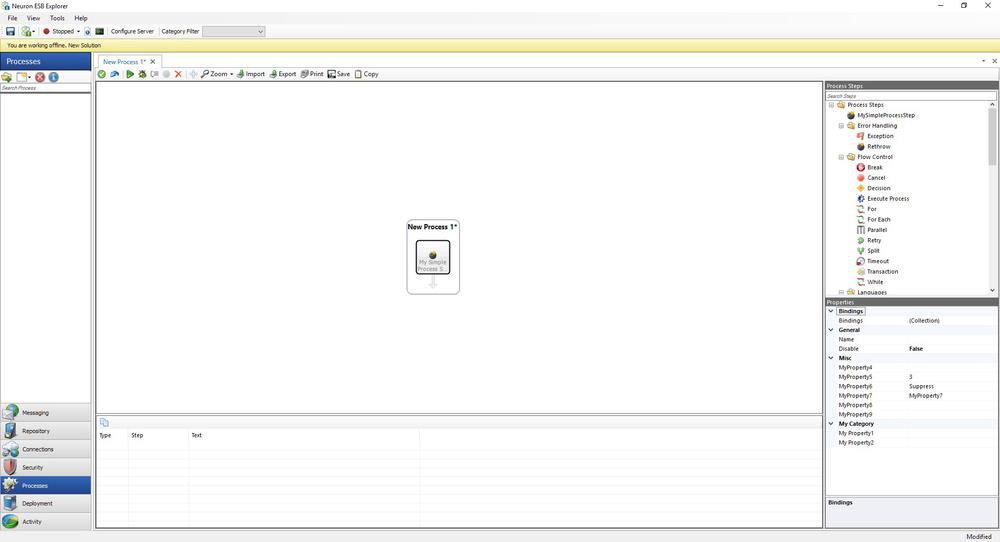
- Click and drag the custom process step to the process designer and select it. A list of the custom process properties will be displayed in the property grid:
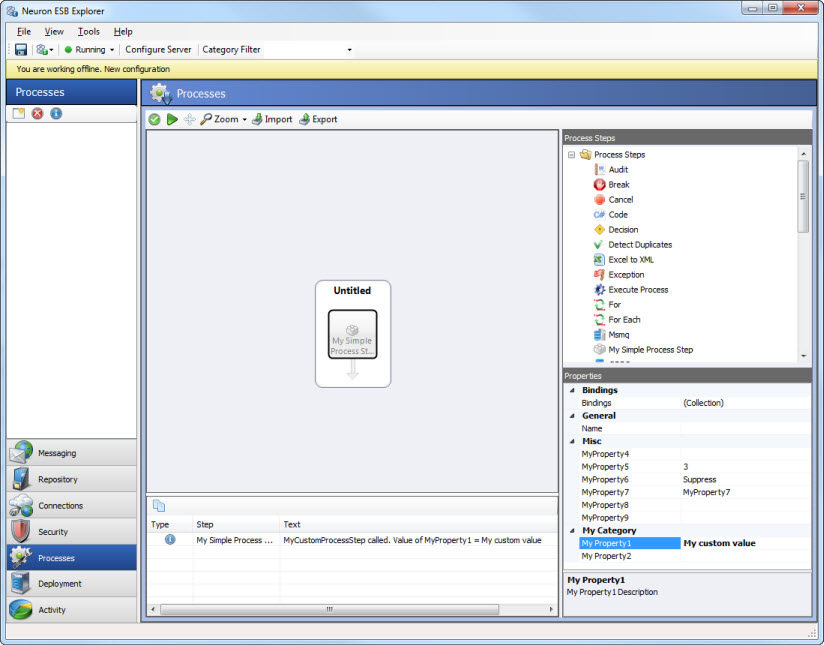
- Set the value of My Property 1 to anything (i.e. “My custom value”), and test the process by clicking the Test Process button /. In the Edit Test Message dialog, leave the default values and click the OK button.
- The custom process step will write a trace message to the output window:
- The custom process step will also write the same output to the file C:\simpleprocessstep.txt