Document Generation Wizard
Source and target documents are added to the Data Mapper using the Document Generation Wizard. The wizard provides a simple, step-by-step method for retrieving and adding documents from different sources, including databases and business applications.
The Document Generation Wizard is automatically launched whenever you create and open a new map. You can also launch the wizard manually from an open map by clicking on the “+” button for either the Source or Target document:

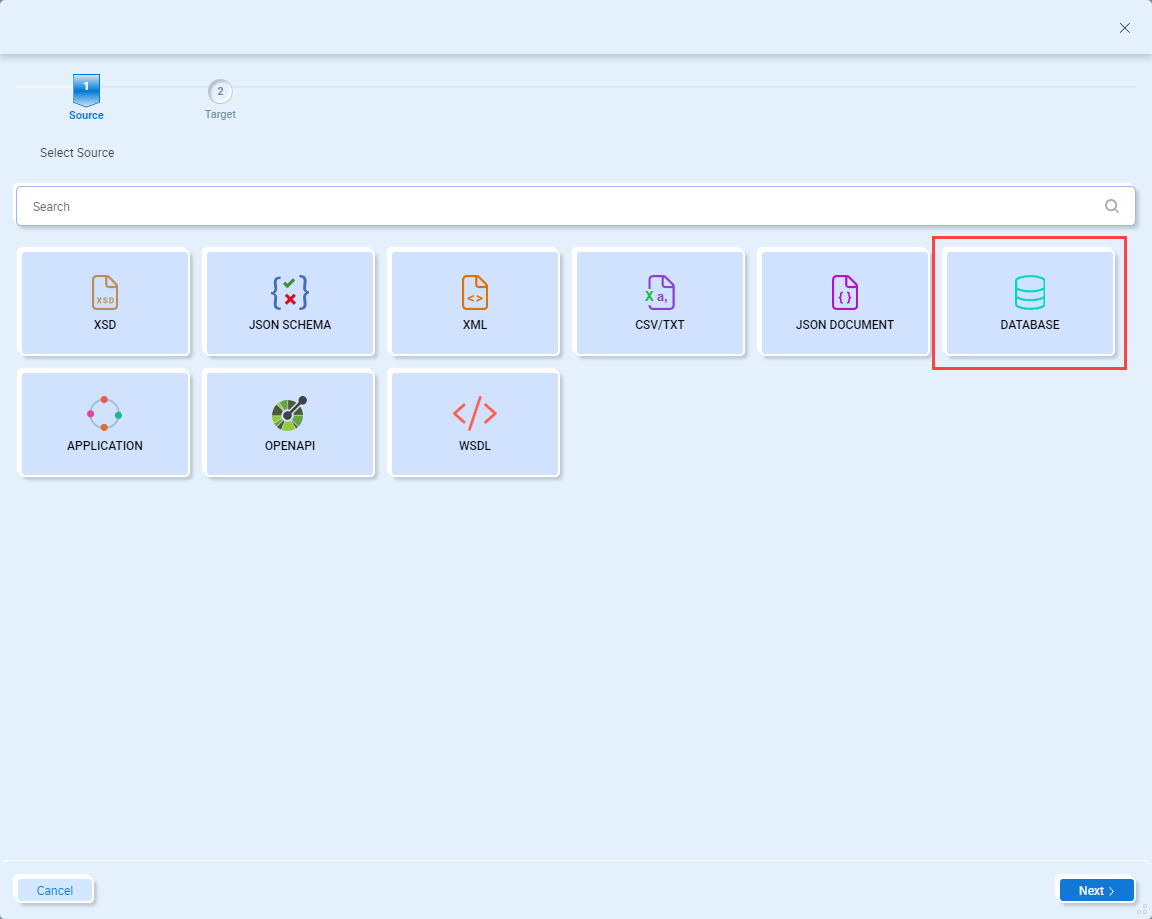
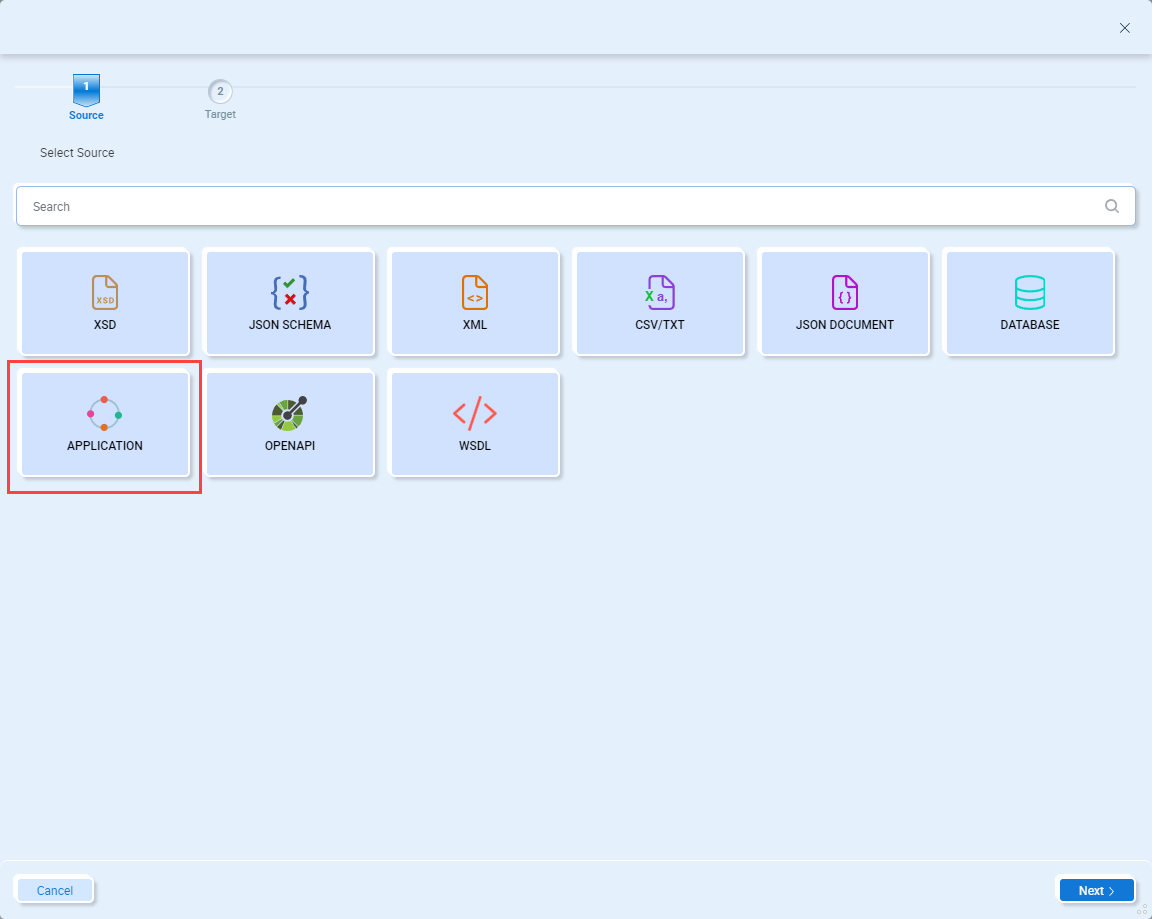
This wizard guides you through the process of creating the source and target documents that will be used in the Data Map. When you launch the wizard, you are presented with a list of document types to choose from:
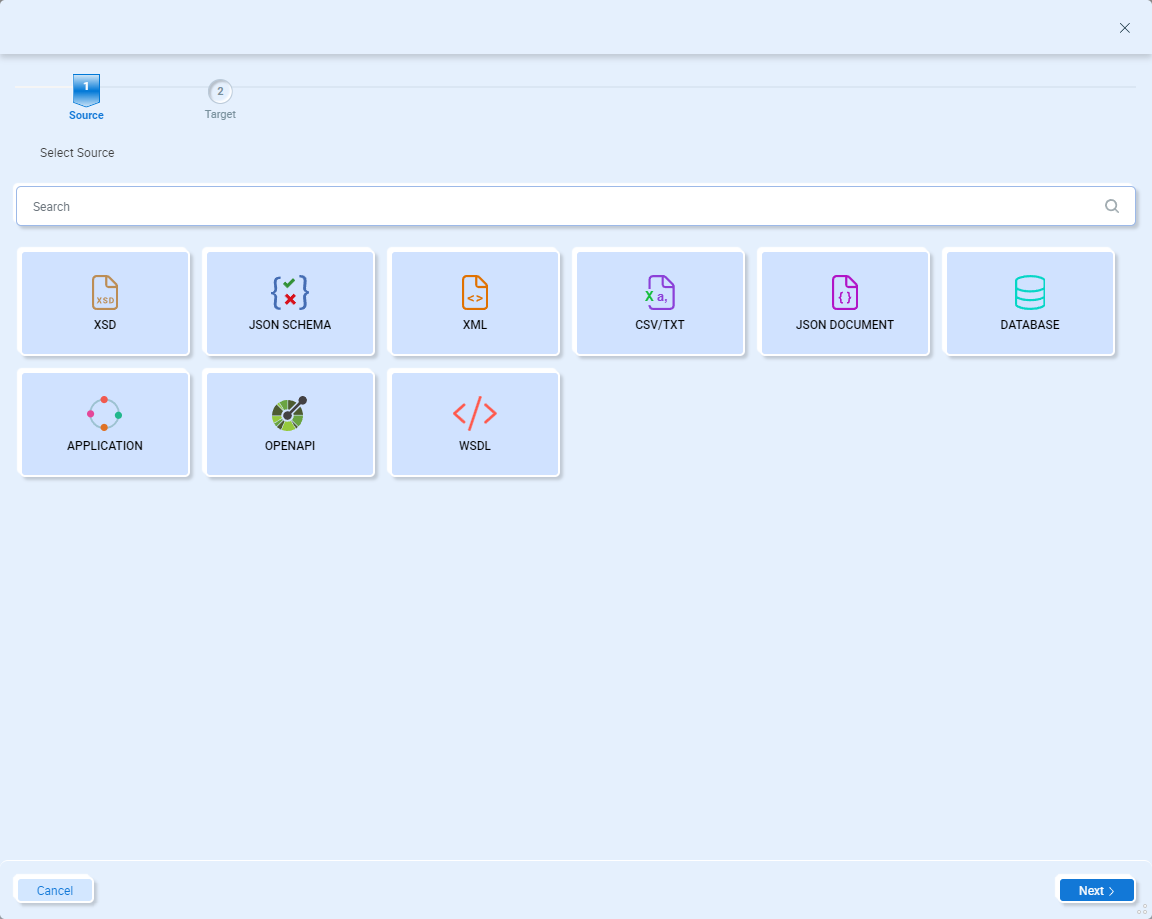
Depending on the type of source or target you want to use, the wizard will provide the prompts needed. The wizard provides the following guidance:
- Importing or selecting documents from the Neuron ESB Document Repository
- Creating documents based on databases tables, views, stored procedures and dynamics queries
- Creating documents directly from business applications such as Salesforce and NetSuite
- Creating documents based on Swagger/OpenAPI and WSDL specifications
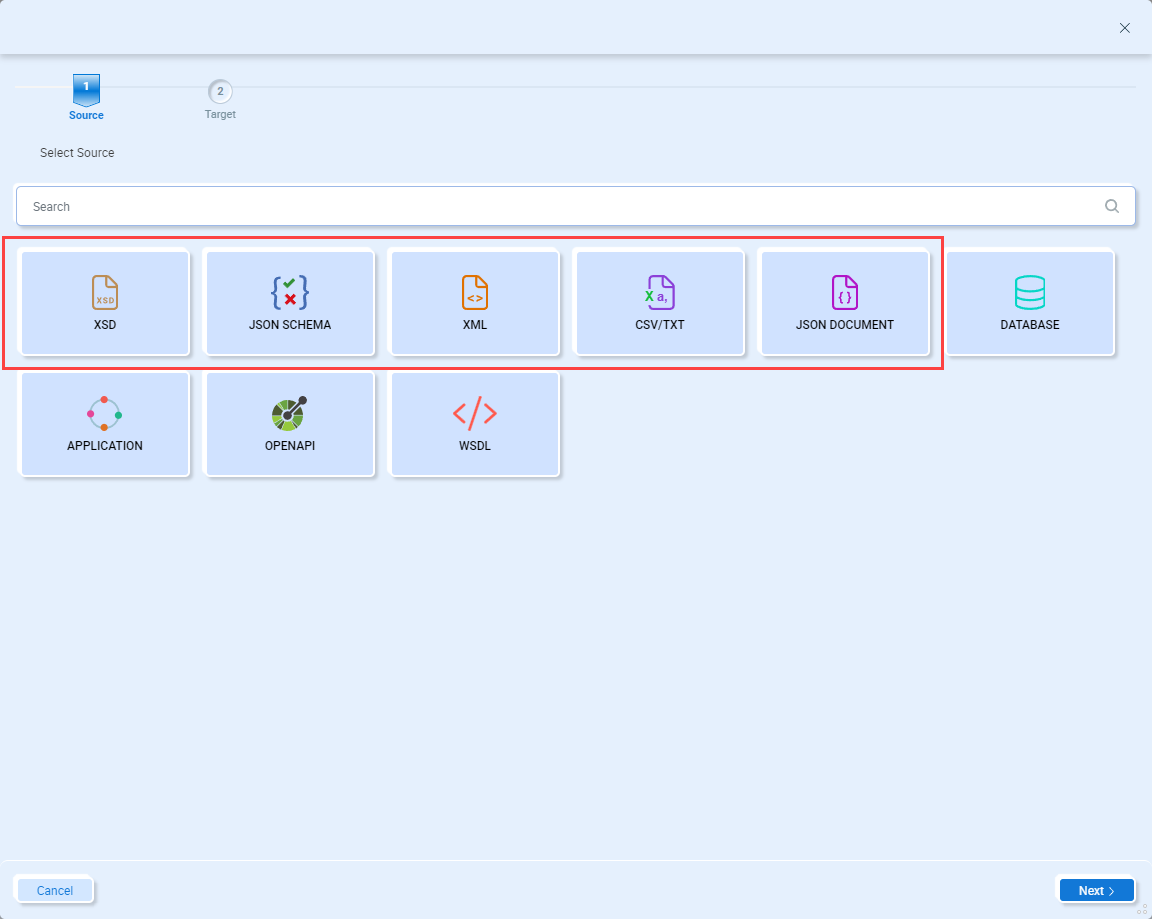
XSD, JSON Schema, XML, JSON Document, CSV/TXT
To use an existing schema or sample document, select XSD, JSON Schema, XML, CSV/TXT or JSON Document and click the Next button:
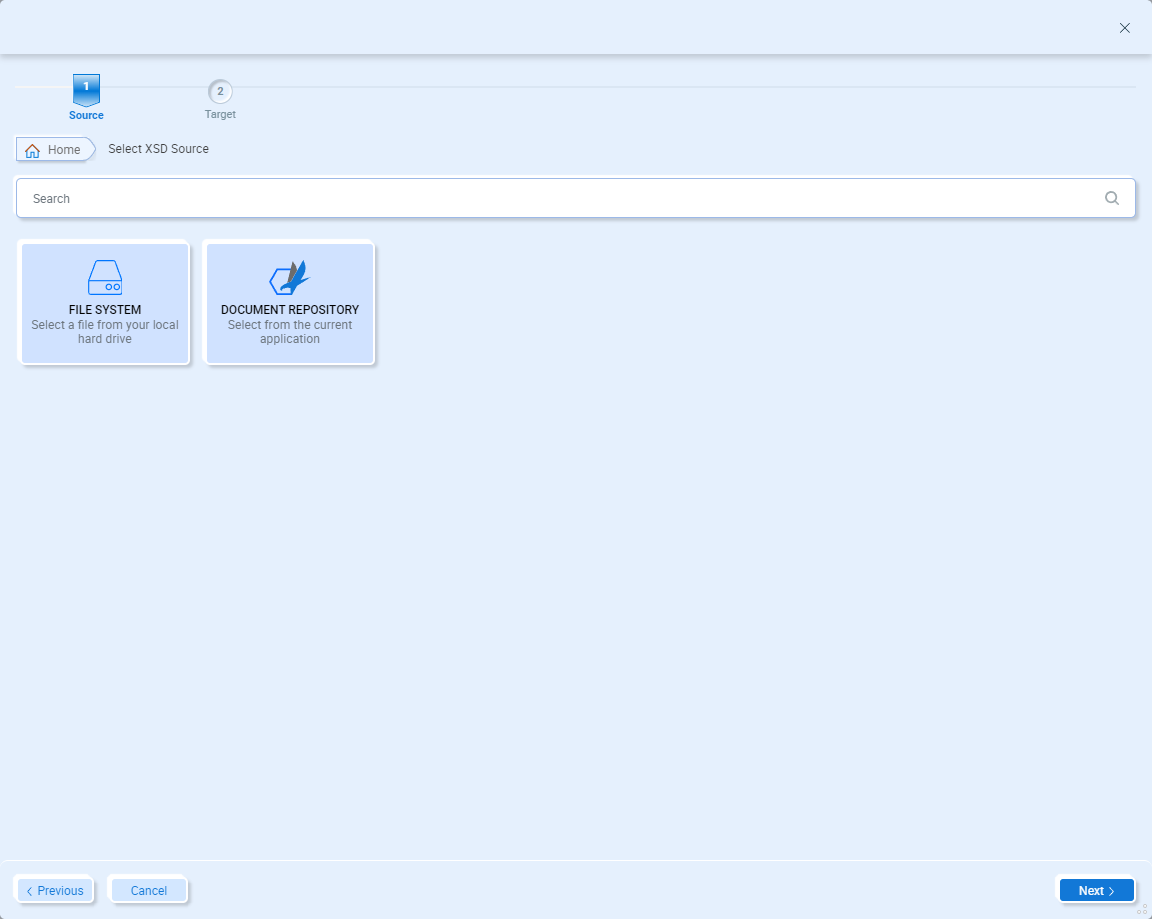
Each of these options will prompt you to either import a document of the previously selected type from the file system or to select one from the Neuron ESB Document Repository:
Select a Schema or Sample Document
File System
When importing from the local file system, select File System and click the Next button:
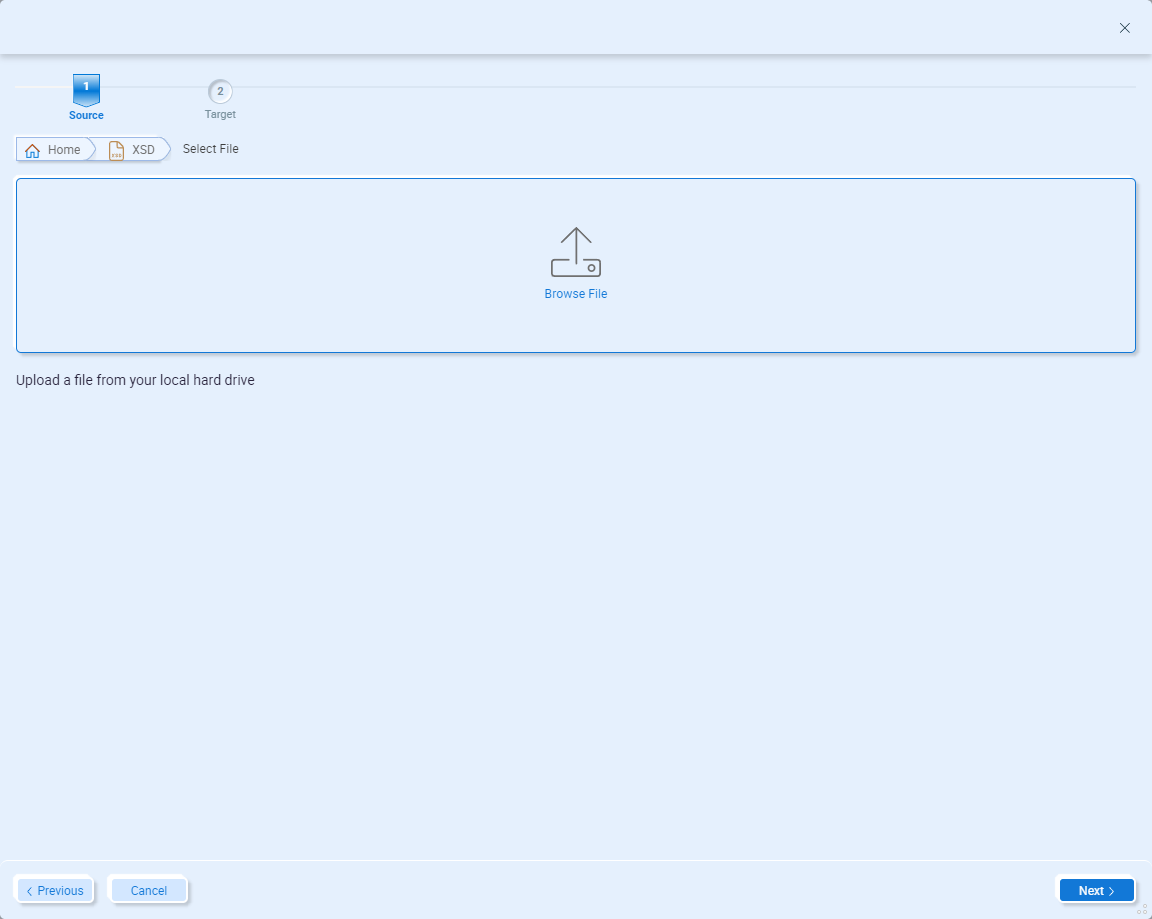
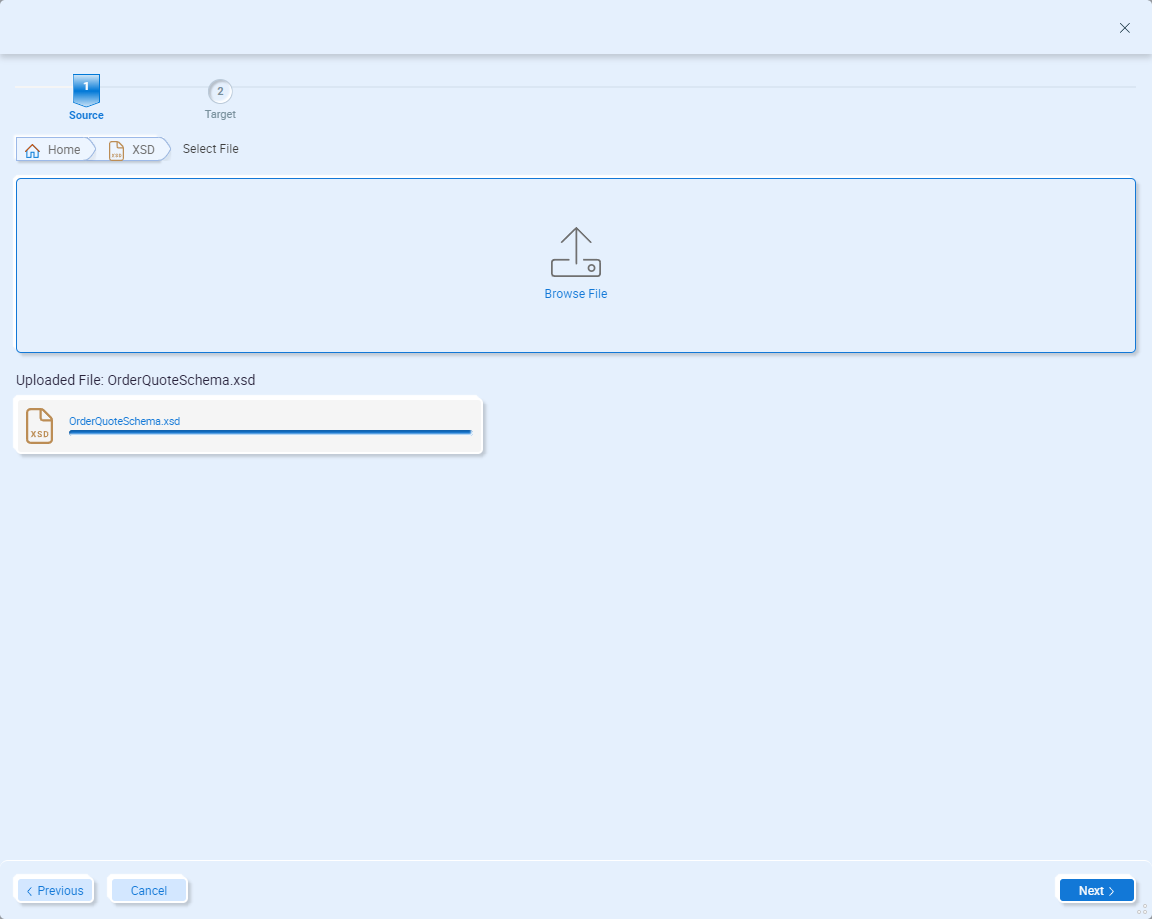
Clicking the Browse File icon will open a standard file browser you can use to navigate and select the document you want to import:
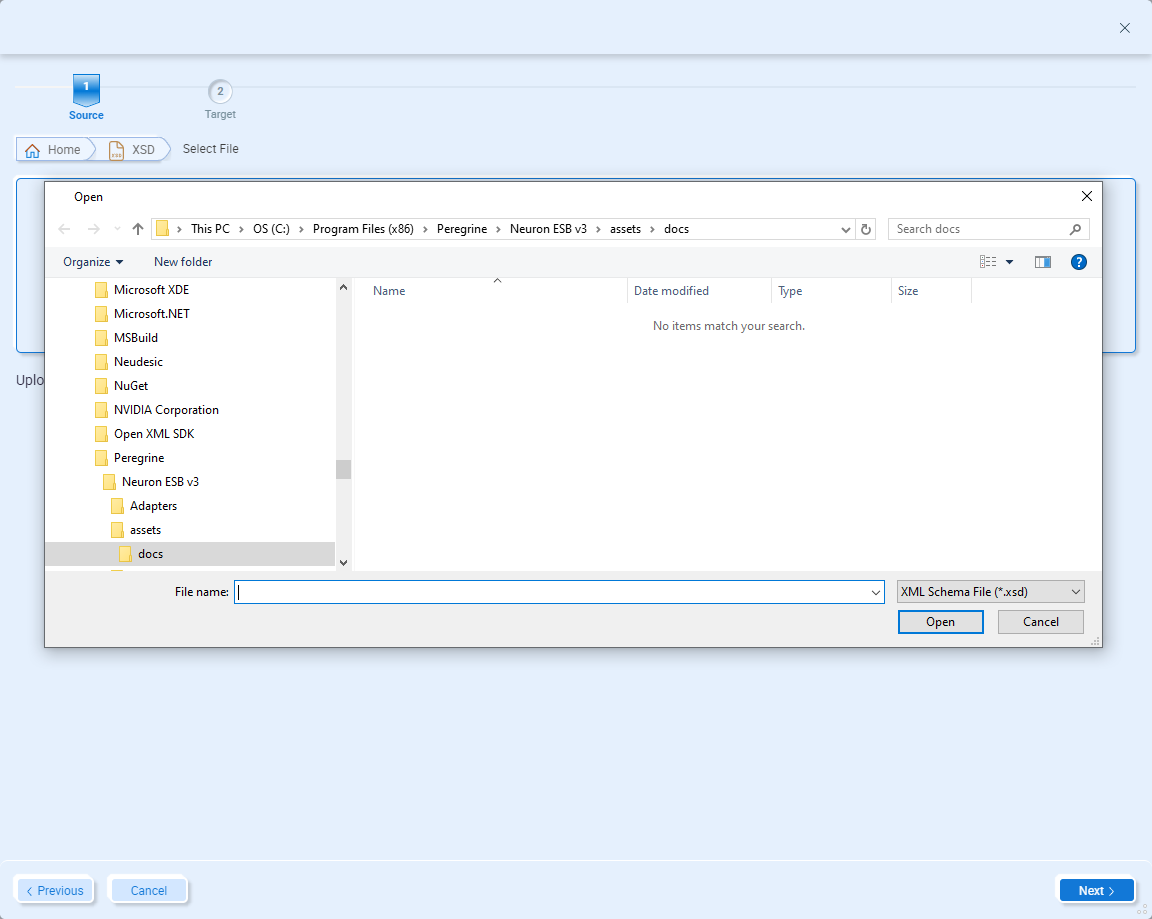
Navigate and select the file you want to import and click the Open button:
Note – importing from the file system does not automatically save it in the Neuron ESB Document Repository.
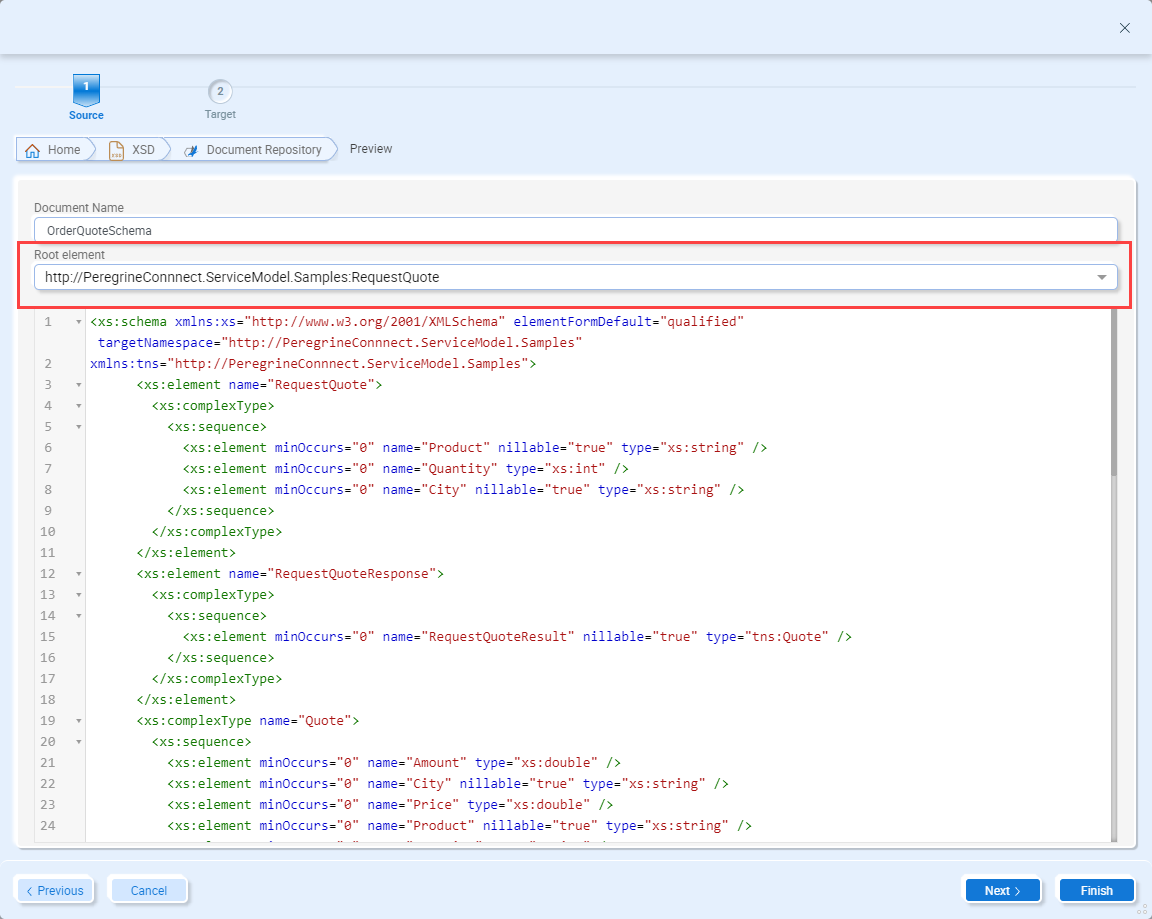
Click the Next button to preview the document:
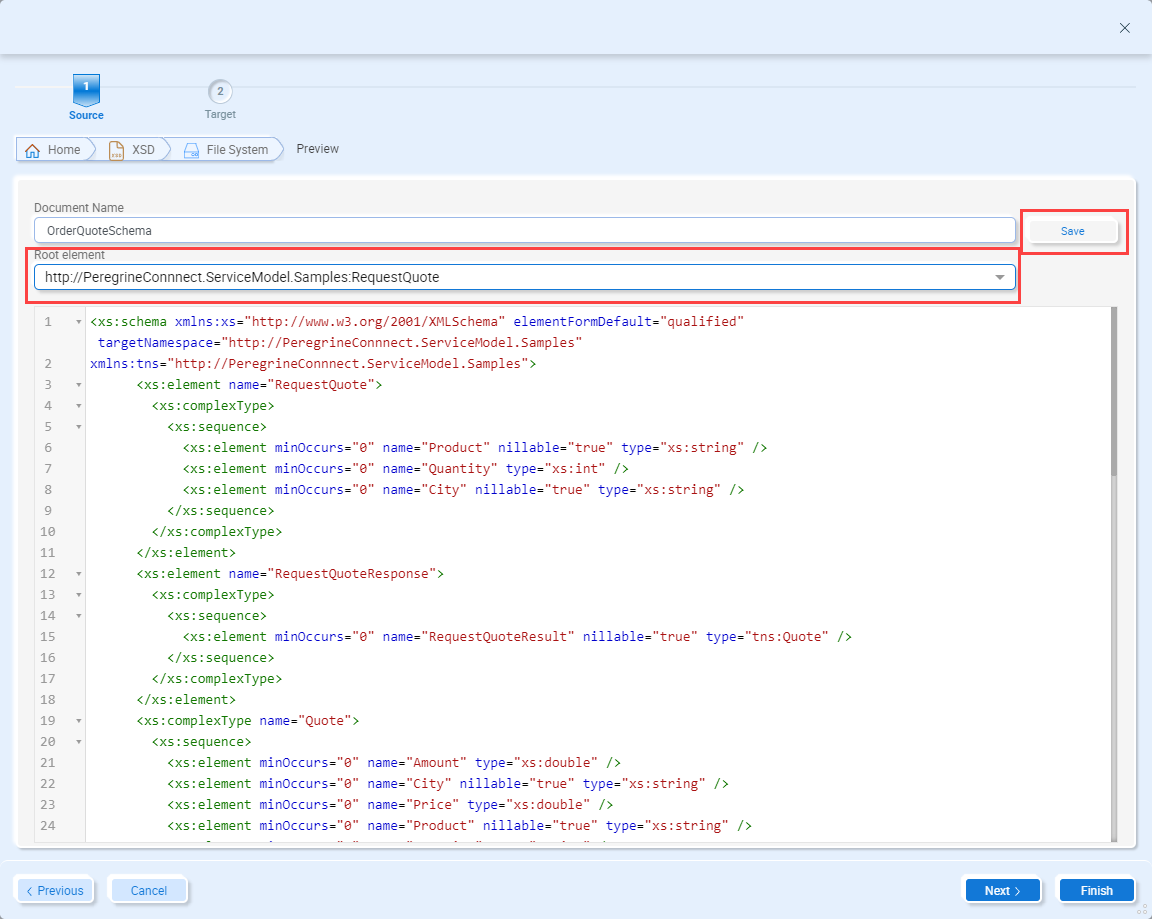
If you select a schema which contains multiple root elements, the dropdown list outlined in red in the image above will display a list of root elements to choose from. Select the root element to use in the data map. If you don’t see this dropdown list, then your selected schema only has one root element.
If you want to save the imported document to the Neuron ESB Document Repository, set an appropriate name for the document and click the Save button. If you are importing a schema with multiple root elements, this will save the entire schema, not just the selected root element.
If you are importing a source document, clicking the Next button will restart the wizard for adding a target document. If you are importing a target document, you will click the Finish button to close the wizard.
Document Repository
To use a document that’s already been added to the Neuron ESB solution, select Document Repository, and click the Next button:
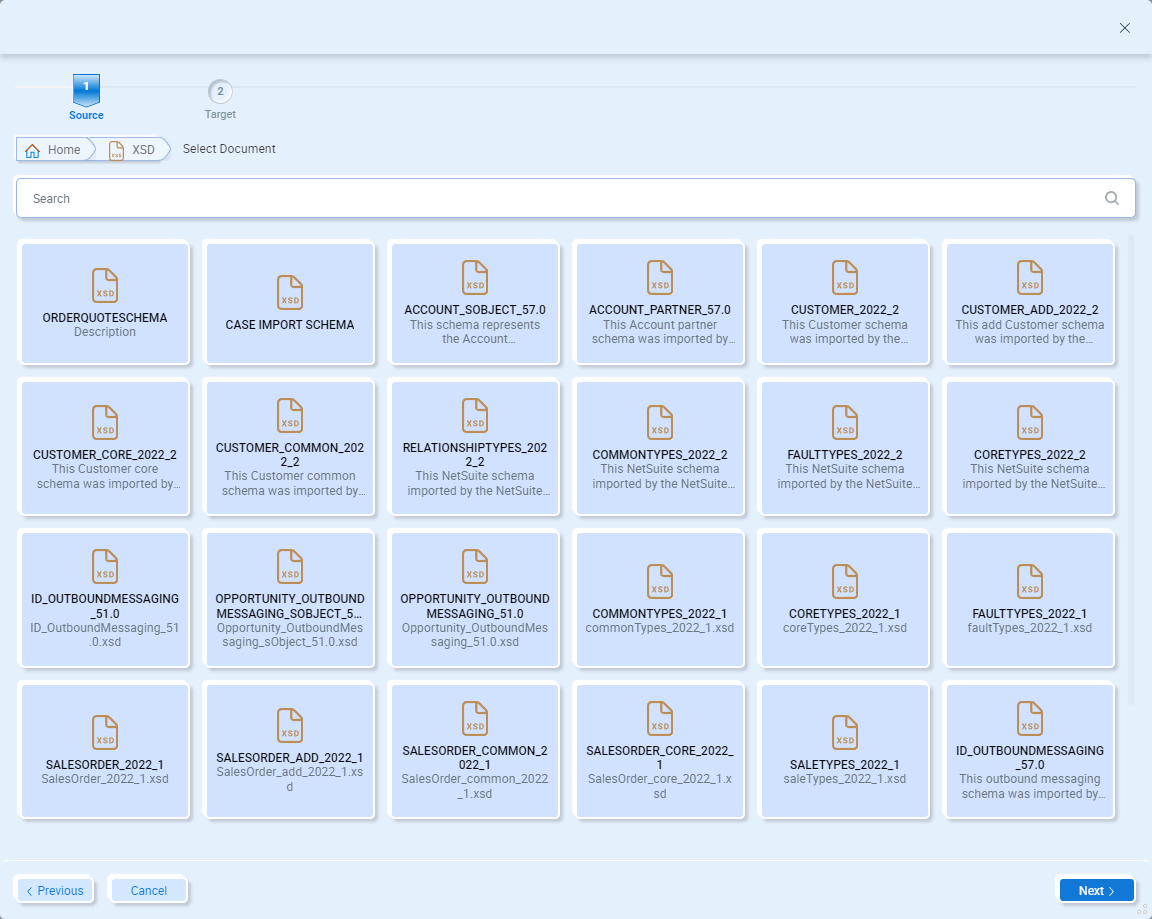
The Select Document page will display all the documents of the previously selected type that are already in the Neuron ESB Document Repository. Select one of the documents to use in the Data Map and click the Next button to preview the document.
Document Preview
The Preview page will display all the documents of the previously selected type that are already in the Neuron ESB Document Repository. Select one of the documents to use in the Data Map and click the Next button to preview the document:
If you select a schema which contains multiple root elements, the dropdown list outlined in red in the image above will display a list of root elements to choose from. Select the root element to use in the data map. If you don’t see this dropdown list, then your selected schema only has one root element.
If you are selecting a source document, clicking the Next button will restart the wizard for adding a target document. If you are selecting a target document, you will click the Finish button to close the wizard.
Database
The Document Generation Wizard supports creating documents based on database tables, views, stored procedures, and dynamic queries. When generating documents from a database, the wizard will generate either a request or reply schema based on whether it’s being used as a source or target document. For example, when generating a schema for a stored procedure call as the source document, the wizard will create the response schema representing data that would be received as a response from a database adapter endpoint. When generating a schema for a stored procedure call as the target document, the wizard will create the request schema representing data that would be sent as the request to a database adapter endpoint.
To generate documents based on a database, select Database in the wizard and then click the Next button:
Select a Database
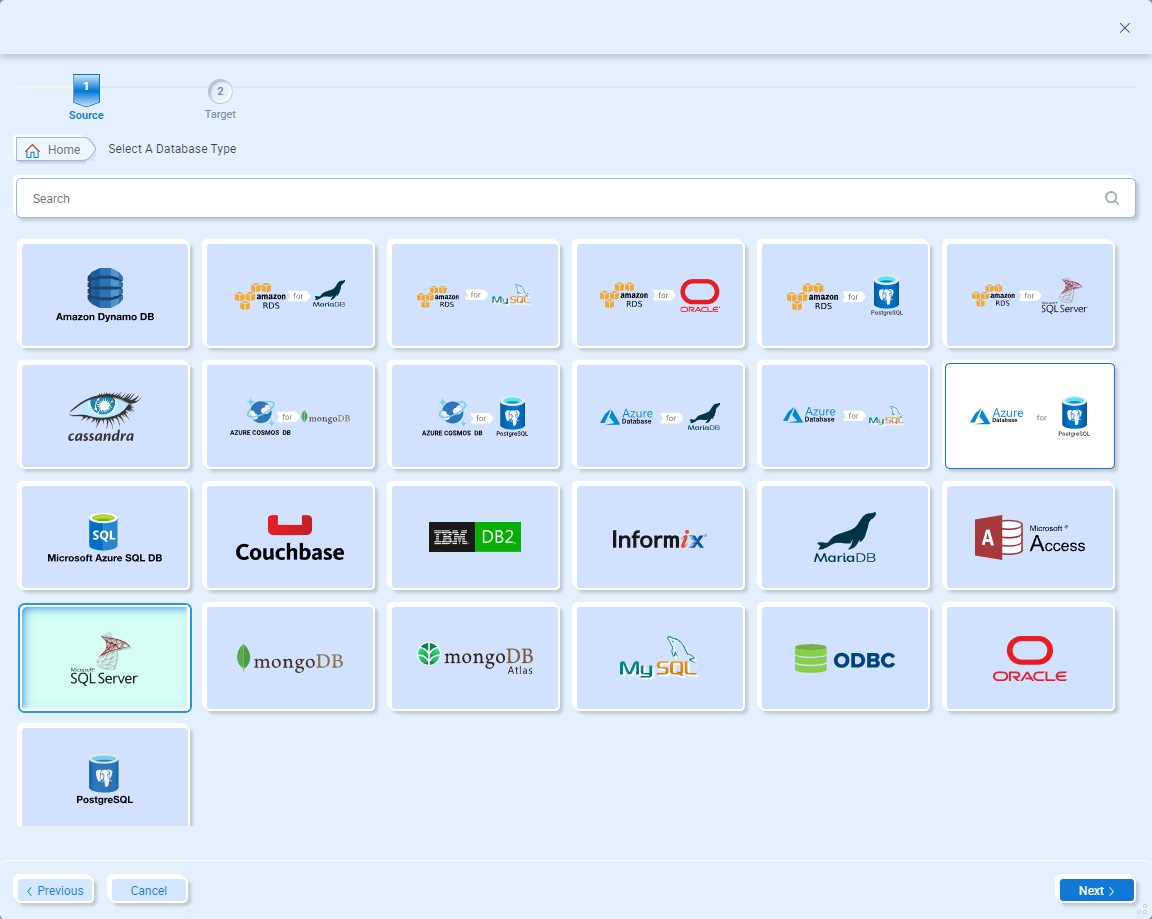
The Select a Database Type page allows you to select which database type you want to use. There are several supported databases to choose from. If you can’t find the database you need to use, you can always use the ODBC option if your database supports ODBC. Select the database type you want to generate documents for and click the Next button. SQL Server is selected below:
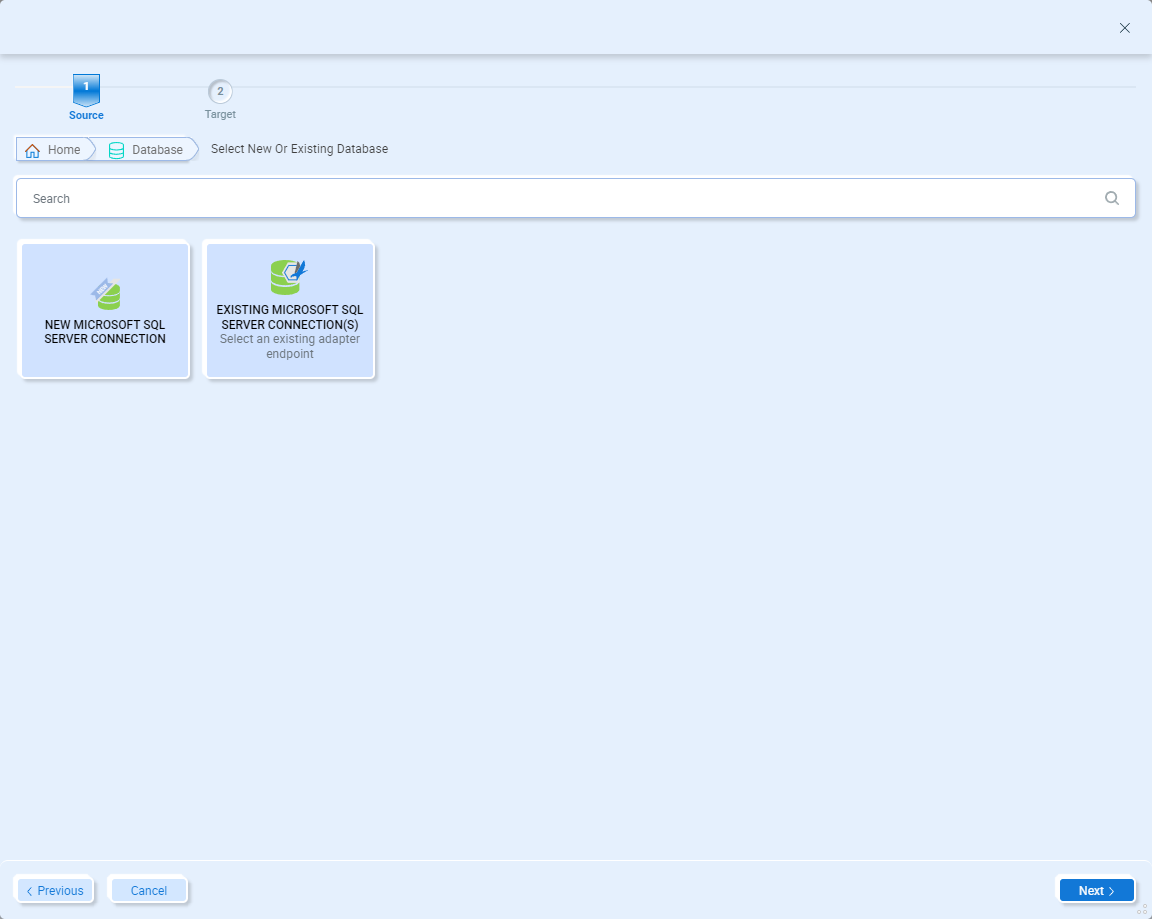
Next, you are provided two options for connecting to a database – you can either manually configure a connection or you can select an existing adapter endpoint that is configured for that same database type:
Create a New Database Connection
If you don’t already have an adapter endpoint configured for your database, select the option to create a new connection and then click the Next button.
The Configure Connection Properties page will display the common connection string keywords for the database type you previously selected:
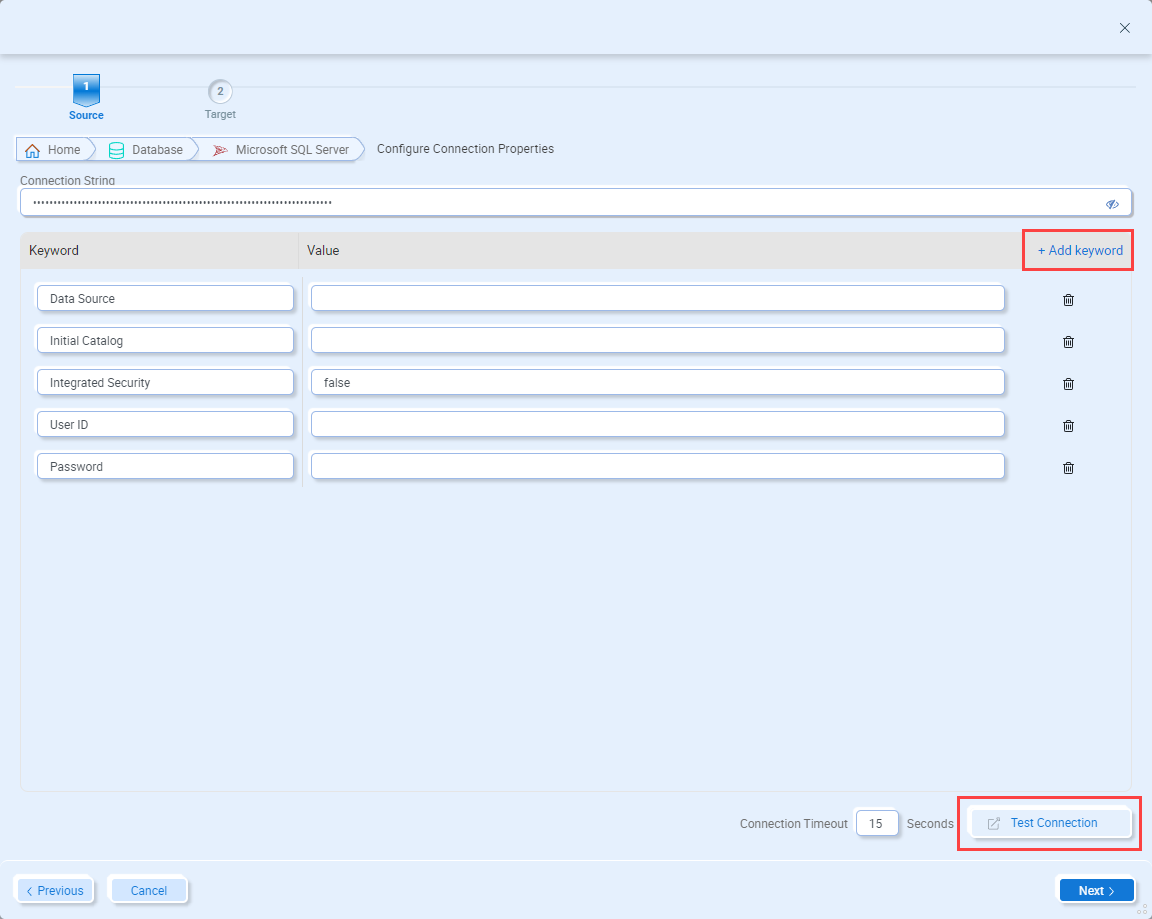
On this page you can add or remove keywords as required for your specific connection. Use the Delete button to remove any unnecessary keywords and click Add keyword to add a new keyword. Set the values for the connection string keywords. After setting the keywords required for your database connection, click the Test Connection button to verify they are correct. Once the database connection is confirmed, click the Next button. From here, jump ahead to the section Selecting a Database Schema Type.
Select an Existing Database Connection
If you have an existing database adapter endpoint that’s configured for the database you want to generate documents from, on the Select New or Existing Database page, select the option to use an existing database connection and click the Next button.
On the Select Existing Adapter Endpoint page, select the database connection you want to use and click the Next button:

The Configure Connection Properties page will display the connection string keywords that were defined in the database adapter endpoint you previously selected:
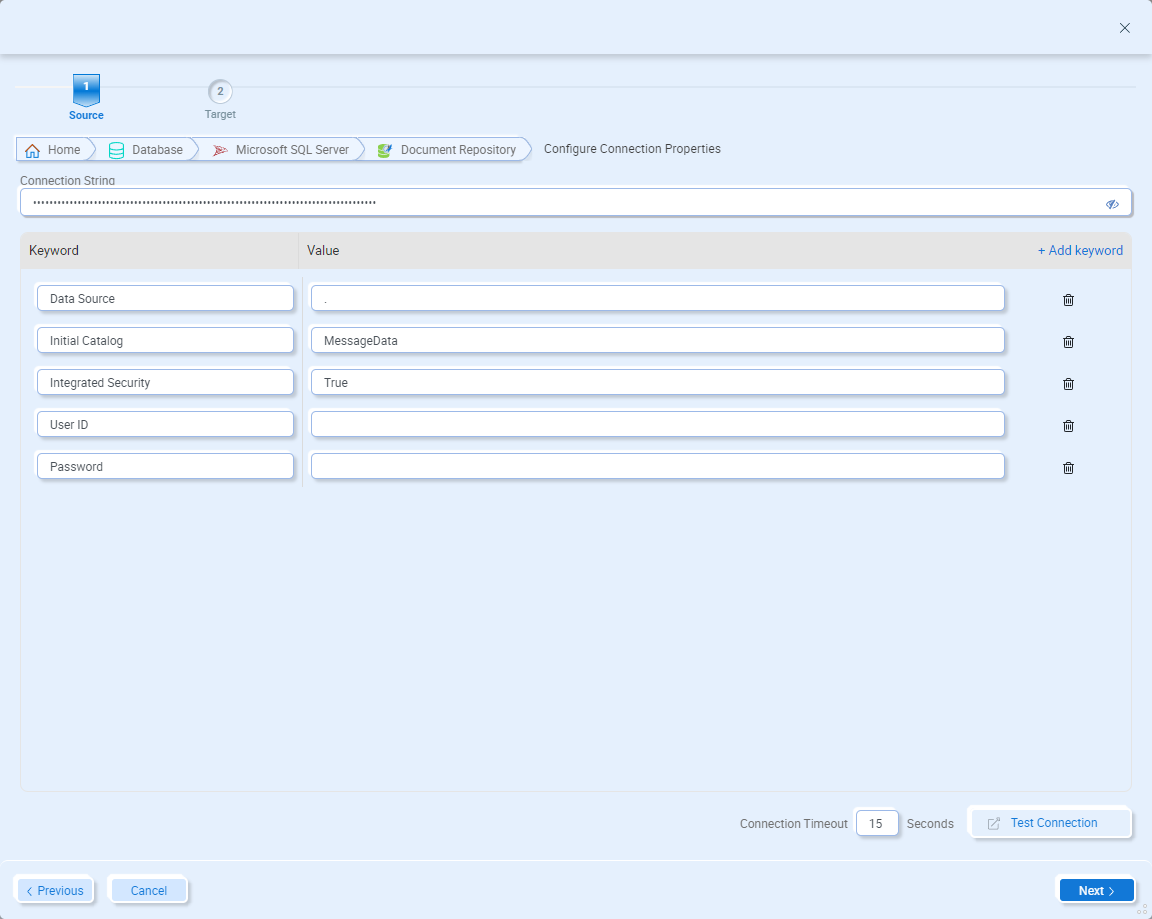
On this page you can add or remove keywords as required for your specific connection. Use the Delete button to remove any unnecessary keywords and click Add keyword to add a new keyword. Set the values for the connection string keywords. After setting the keywords required for your database connection, click the Test Connection button to verify they are correct. Once the database connection is confirmed, click the Next button.
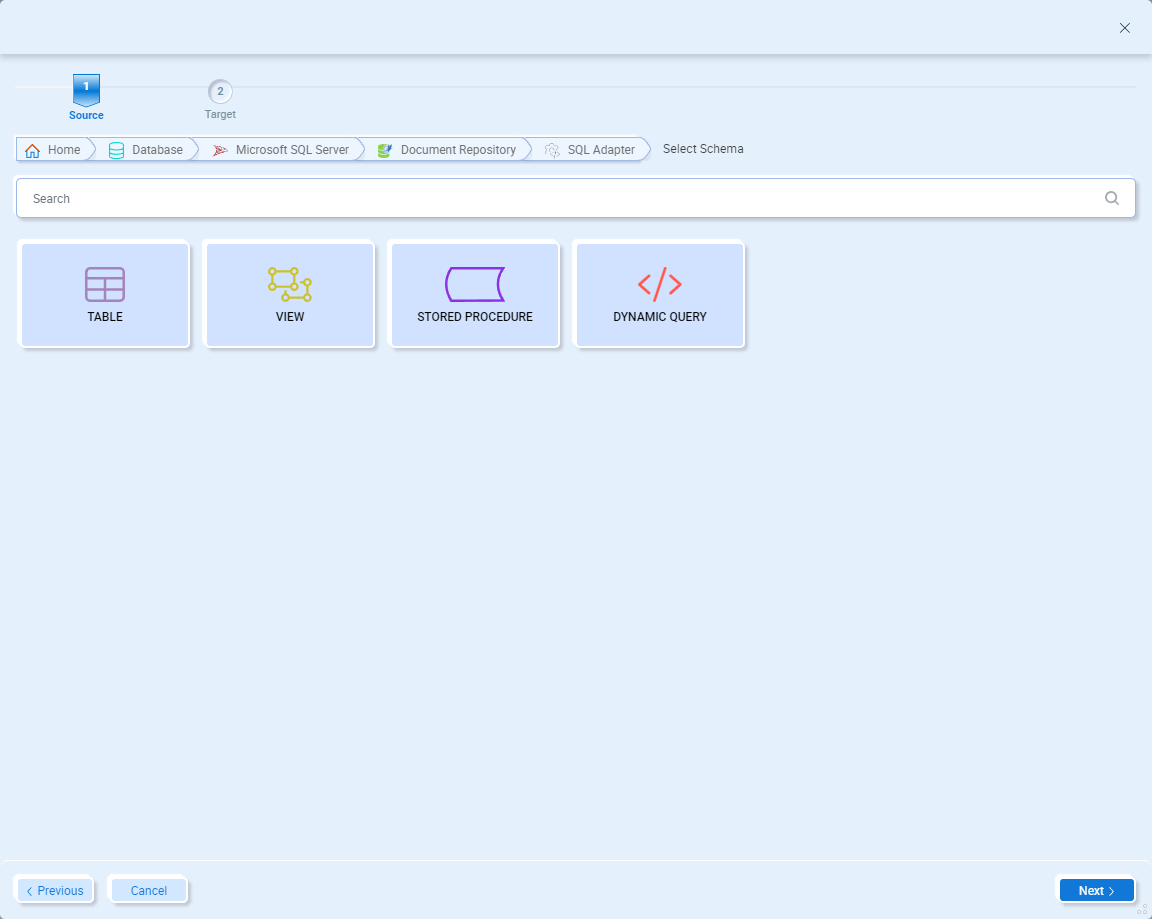
Selecting a Database Schema Type
There are four types of database schemas that can be generated:
- Table – this schema type is used when interacting directly with a table in the database:
- When receiving the contents of a table, the schema can be generated as a source schema.
- When sending batch updates to a table, the schema can be generated as a target schema.
- View – this schema type is used when interacting directly with a view in the database:
- When generating a source schema, documents representing the received contents of a table will be generated.
- When generating a target schema, documents representing a batch update to a table will be generated.
- Stored Procedure – this schema type is used when executing stored procedures:
- When generating a source schema, documents representing the result set of the stored procedure will be generated.
- When generating a target schema, documents representing the stored procedure request will be generated.
- Dynamic Query – this schema type is used when executing a database query (i.e. SELECT or UPDATE):
- When generating a source schema, documents representing the result set of the database query will be generated.
- When generating a target schema, documents representing the database query request will be generated.
Table
To generate documents for receiving or updating a database table, select Table and click the Next button.
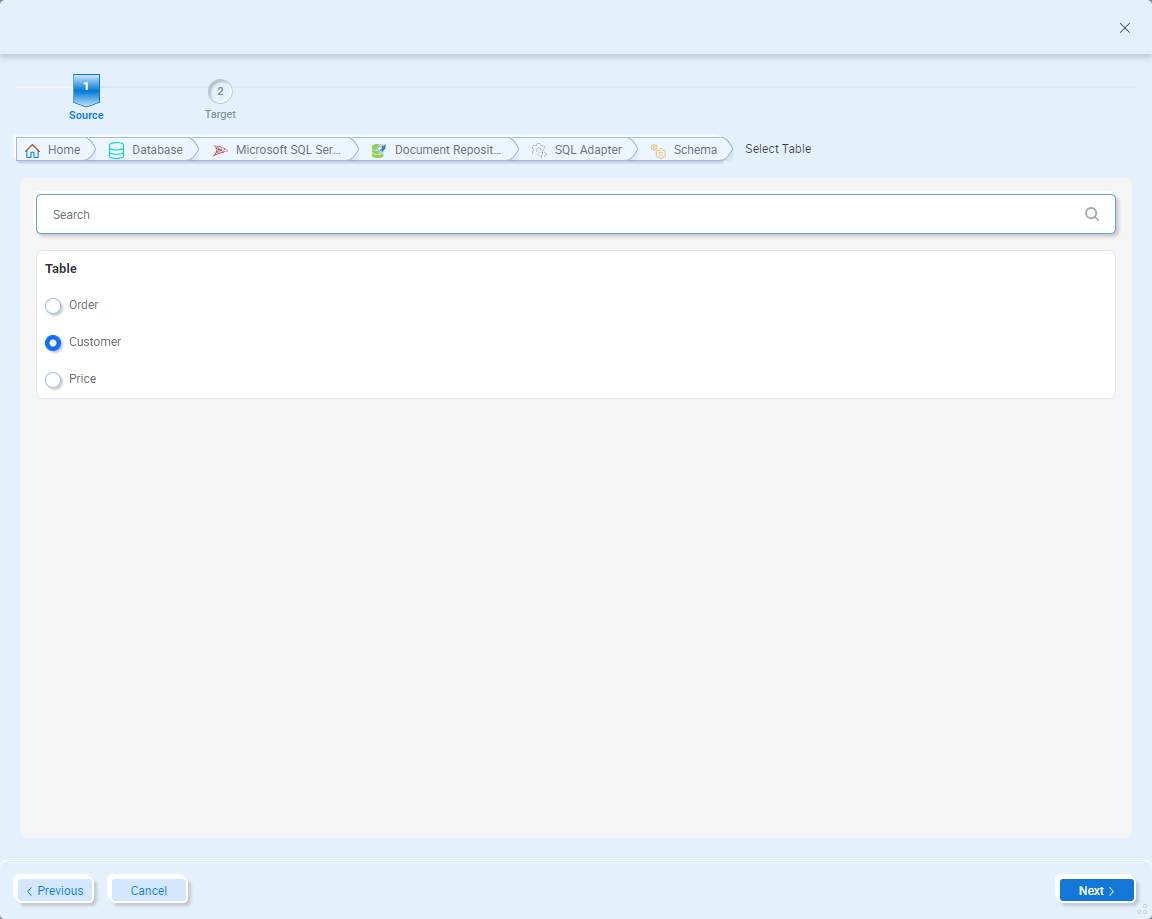
Select the table you want to generate documents for and click the Next button to continue to the Document(s) Preview page. From here, jump ahead to the section Document(s) Preview.
View
To generate documents for receiving or updating a database view, select View and click the Next button.
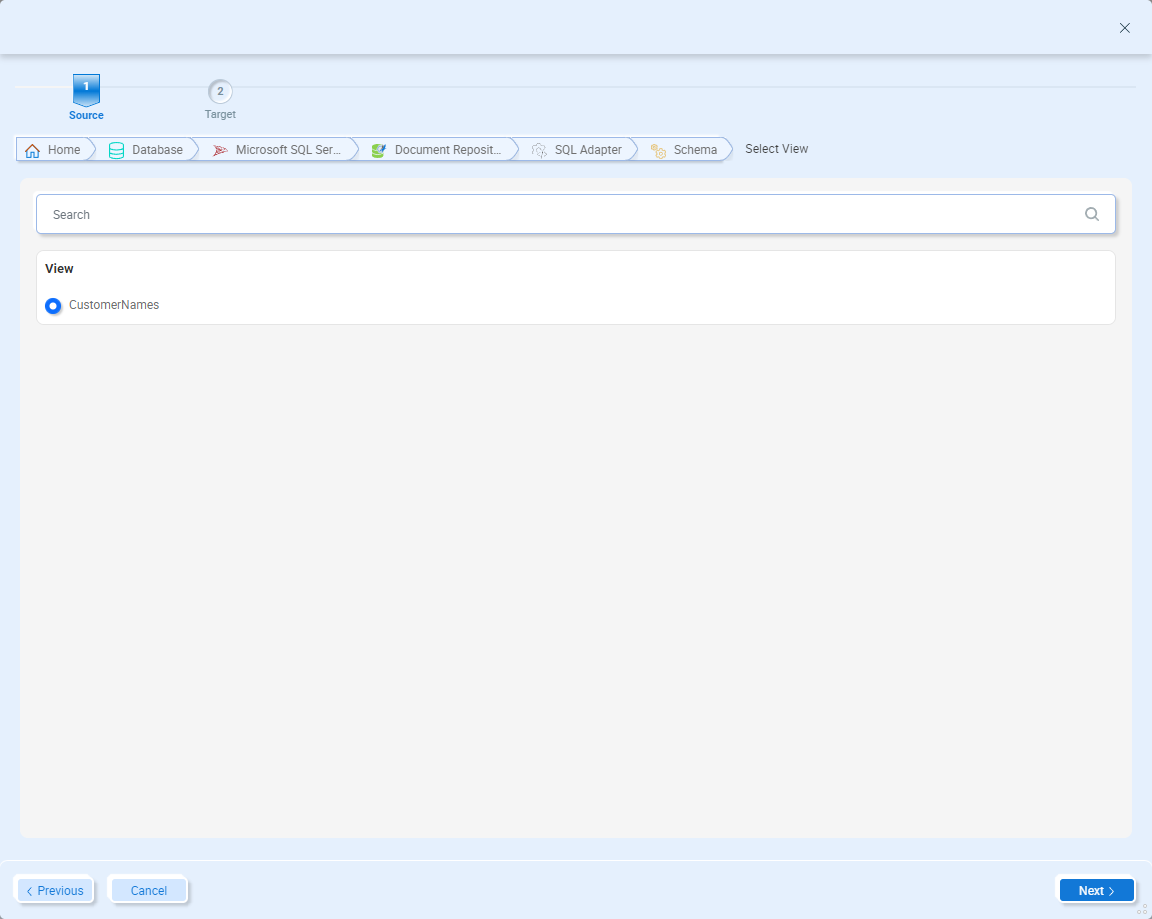
Select the view you want to generate documents for and click the Next button to continue to the Document(s) Preview page. From here, jump ahead to the section Document(s) Preview.
Stored Procedure
To generate documents for stored procedure, select Stored Procedure and click the Next button.
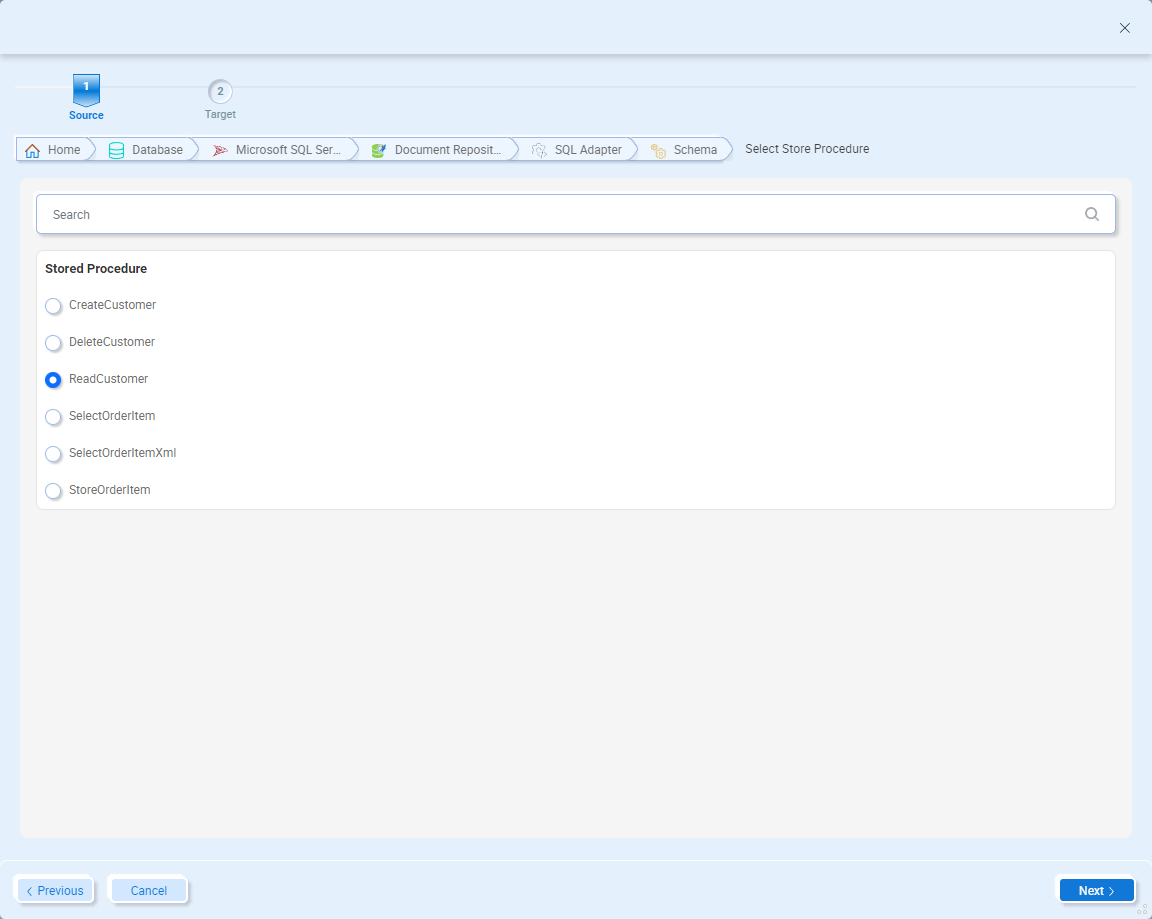
Select the stored procedure you want to generate documents for and click the Next button to enter the stored procedure parameters.
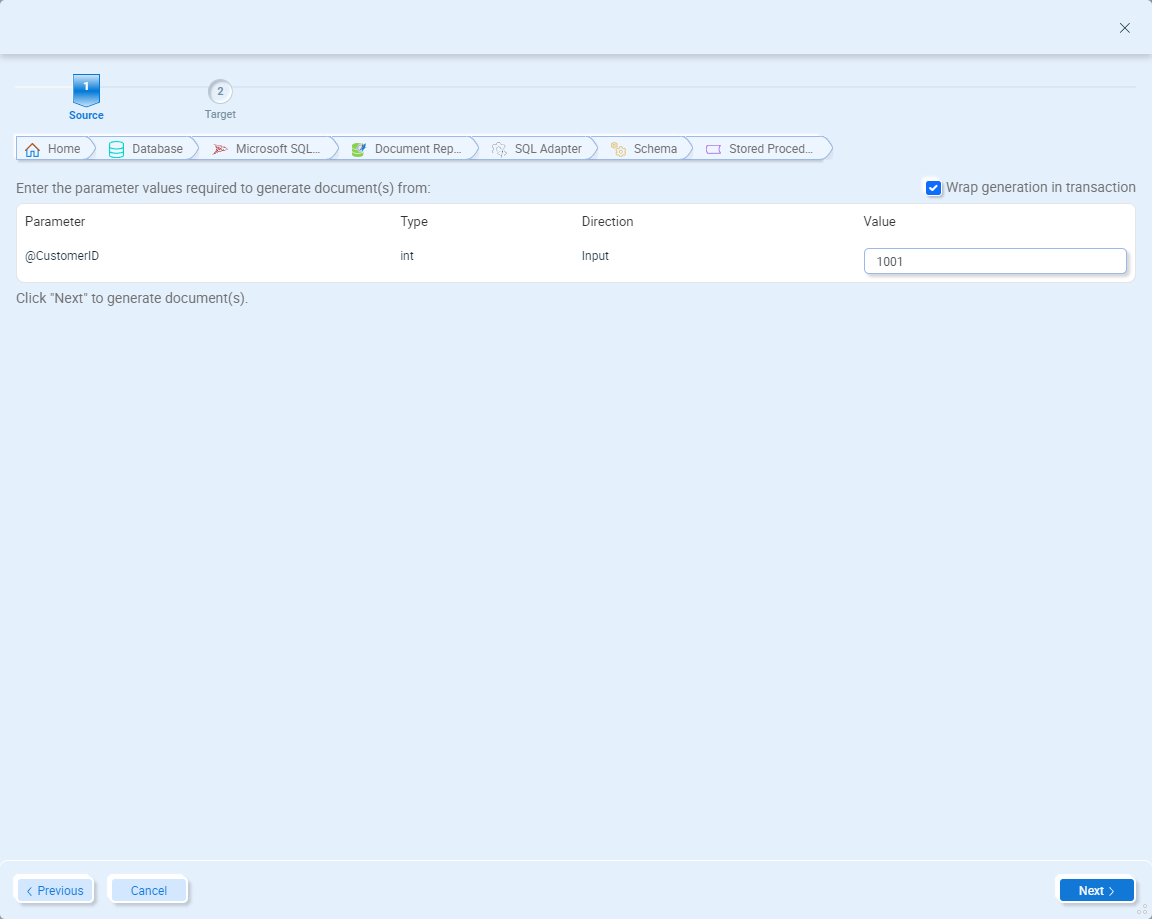
On this page, enter the values of the stored procedure to execute. These parameters are used to execute the stored procedure and return a result set that would be used to generate the schema and sample documents. If the selected stored procedure makes updates to the database, and you prefer to back-out the updates after the stored procedure is executed, select the Wrap generation in transaction option. Click the Next button to continue to the Document(s) Preview page. From here, jump ahead to the section Document(s) Preview.
Dynamic Query
To generate documents for a dynamic query, select Dynamic Query and click the Next button.
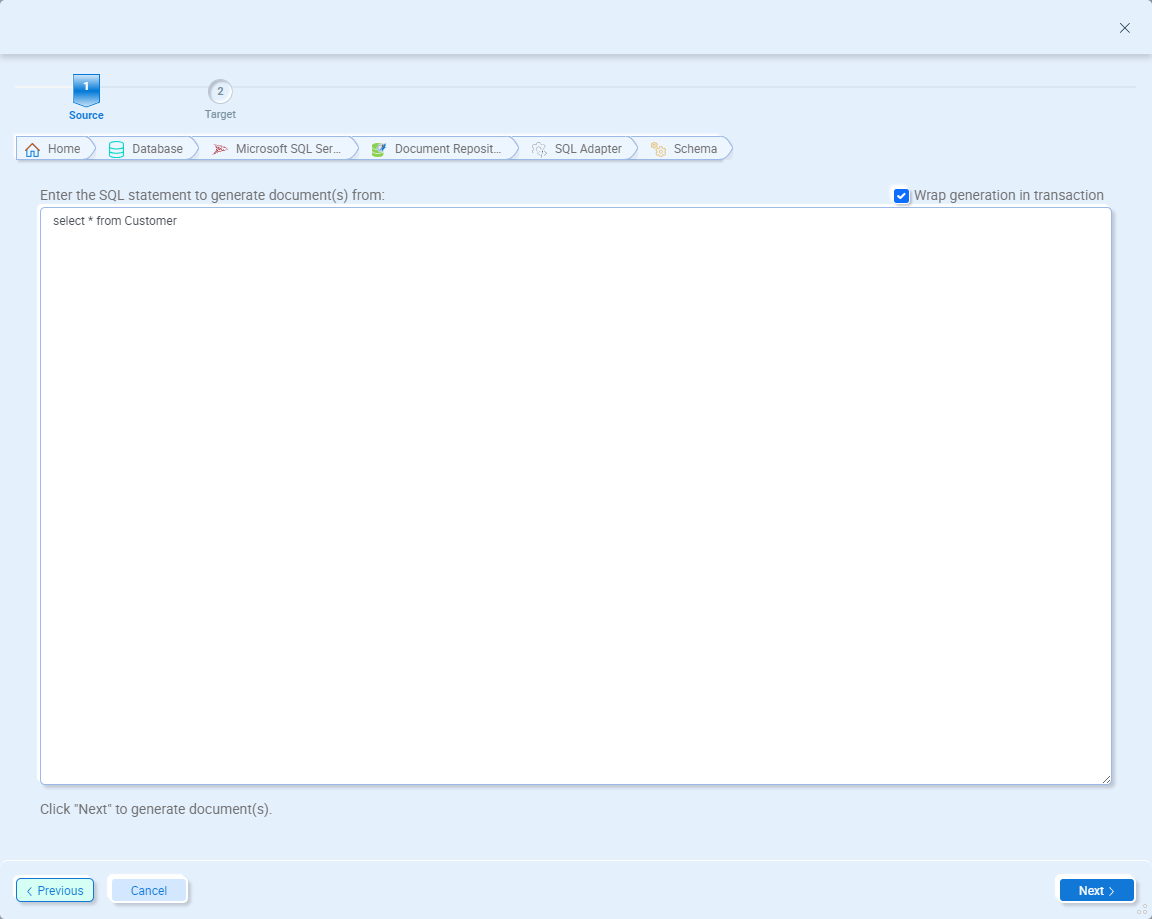
Enter the dynamic query you want to generate documents for and click the Next button to continue to the Document(s) Preview page.
Document(s) Preview
On the Preview page, you can set the document properties and create the sample document(s):
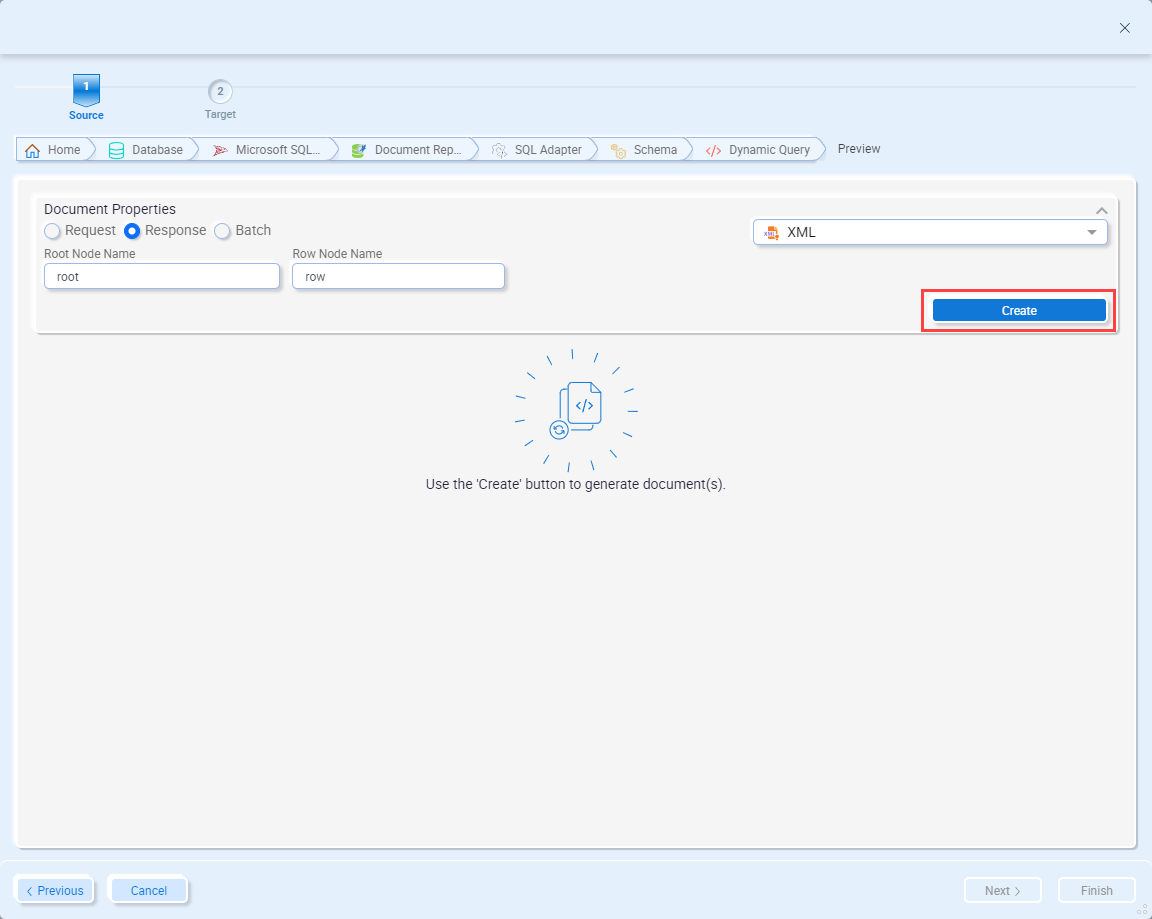
On this page, select whether you want to generate a request, response or batch document type. Batch documents are one-way request messages that are a different format than the normal request document types. Enter the root node and row node names that would be used in the documents. If using an existing database adapter endpoint and these values are already set, we recommend that you do not change them. If you do change them in this wizard, then the document(s) generated will not match the data produced by the adapter endpoint. If the database adapter supports multiple data formats, you can select either XML or JSON. Otherwise, the format supported by the adapter will be selected. After setting the document properties, click the Create* button to generate the document(s).
*Note – when you click the Create button, the database will either be queried for table or view data, or the stored procedure or dynamic query will be executed to return a result set. It is important that the result set returned contains all the elements and attributes that you expect to map because the resulting schema will be inferred from the result set.
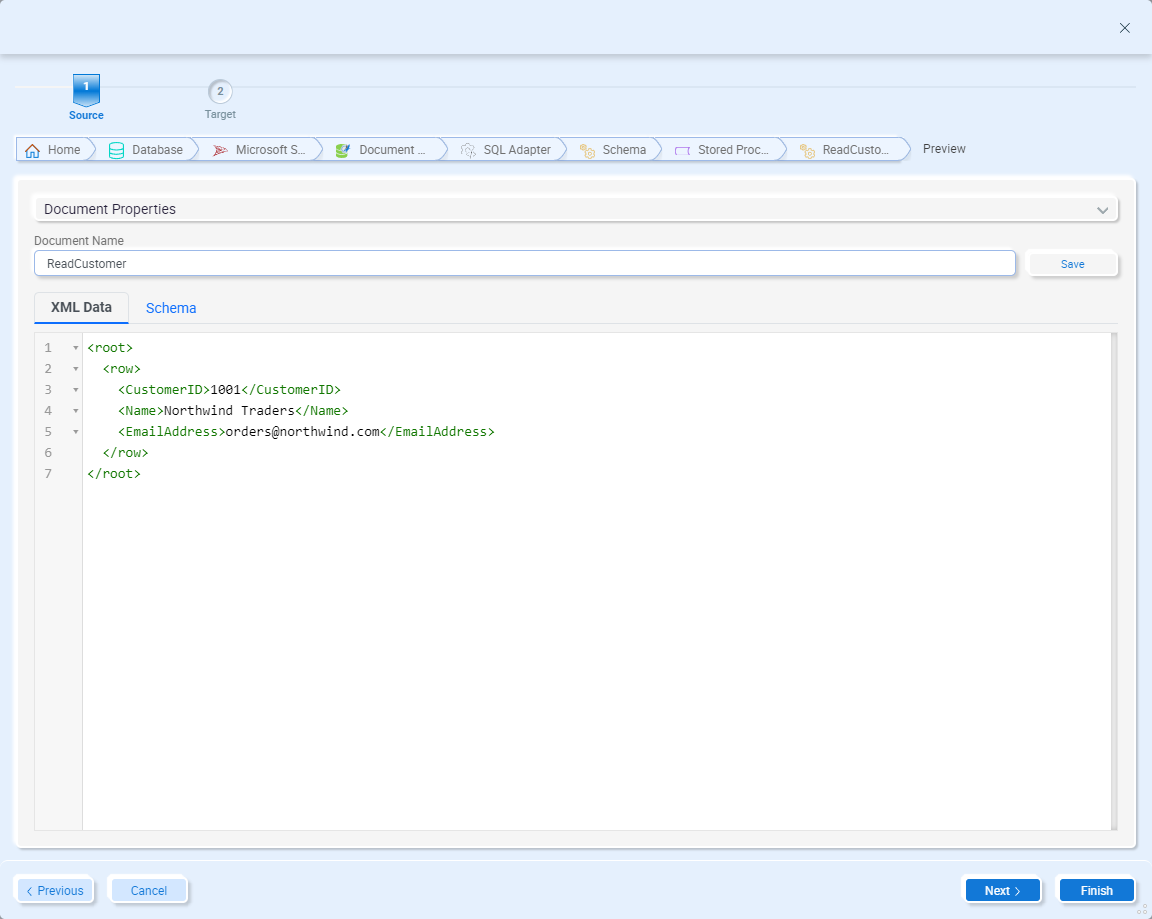
These documents are not automatically saved to the Neuron ESB Document Repository (even if the schema is used in the Data Map, it’s not automatically saved to the repository). To save the documents, set the Document Name and click the Save button. Each document will then be saved to their respective folder in the repository.
Click the Next to continue with generating target documents (if you are currently generating source documents) or click Finish to close the wizard.
Application
The Document Generation Wizard also supports creating documents from business applications. When generating documents from an application, the wizard can generate either request or reply documents.
To generate documents based on a business application, select Application in the wizard and then click the Next button:
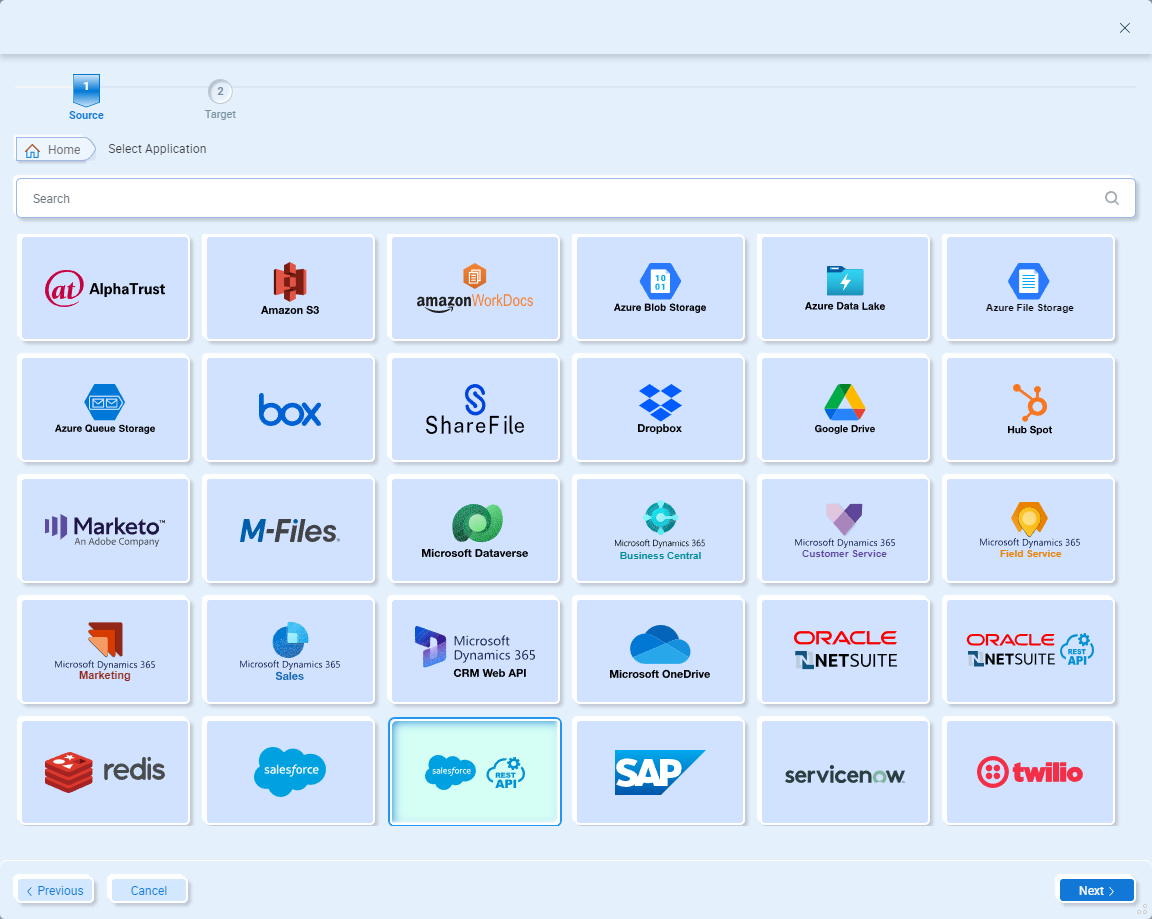
Select an Application
The Select Application page allows you to select which application you want to use. There are several supported applications to choose from. The available options will change over time as we add additional support. Select the application you want to generate documents for and click the Next button. Salesforce Rest is selected below:
Next, you are provided two options for connecting to an application – you can either manually configure a connection or you can select an existing adapter endpoint that is configured for that same application:

Create a New Application Connection
If you don’t already have an adapter endpoint configured for your application, select the option to create a new connection and then click the Next button.
The Configure Connection Properties page will display the common connection string for the application you selected. The Salesforce Rest adapter connection properties are shown below:
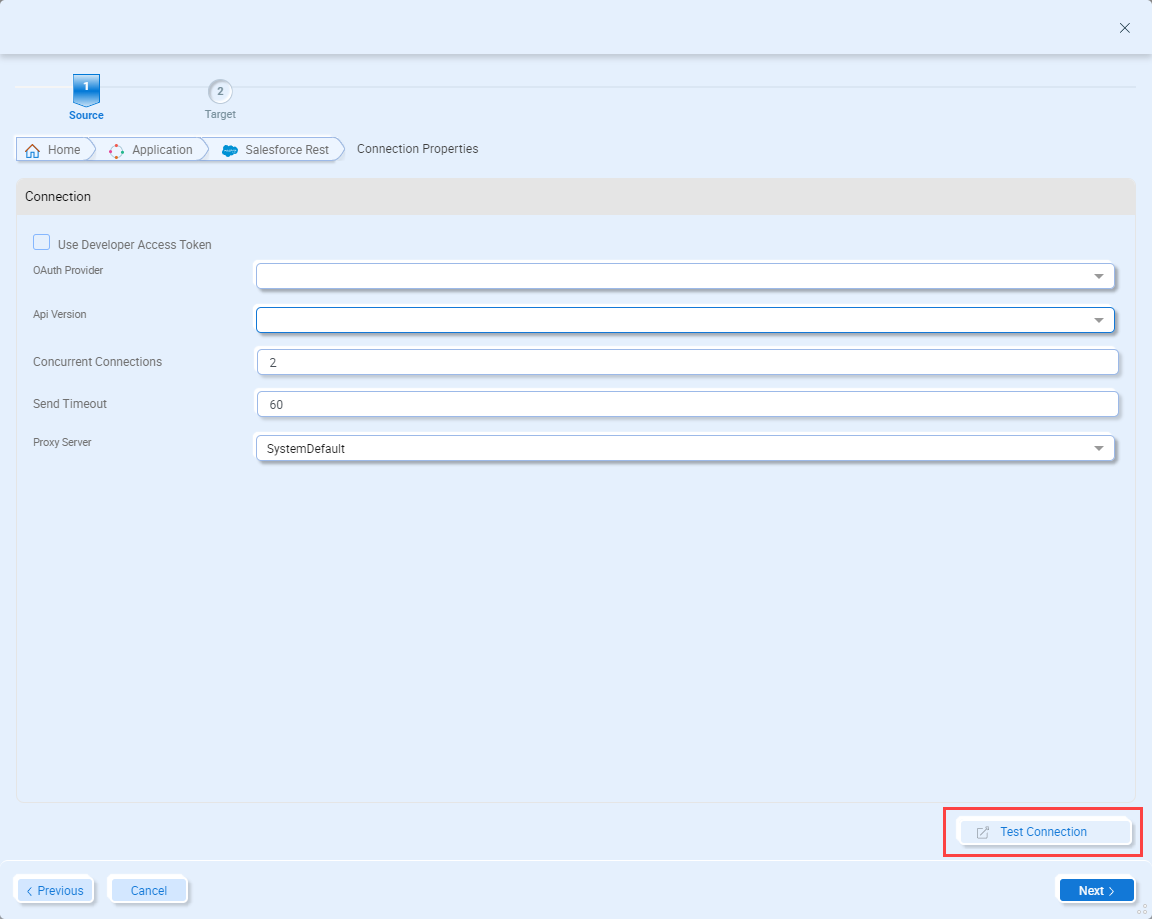
Set the values for the connection properties. These property values are used for connecting to the application to retrieve the available schemas to generate. After setting the connection properties required for your application, click the Test Connection button to verify they are correct. Once the application connection is confirmed, click the Next button.
Select an Existing Application Connection
If you have an existing application adapter endpoint that’s configured for the application you want to generate documents from, on the Select New or Existing Application page, select the option to use an existing application connection and click the Next button.
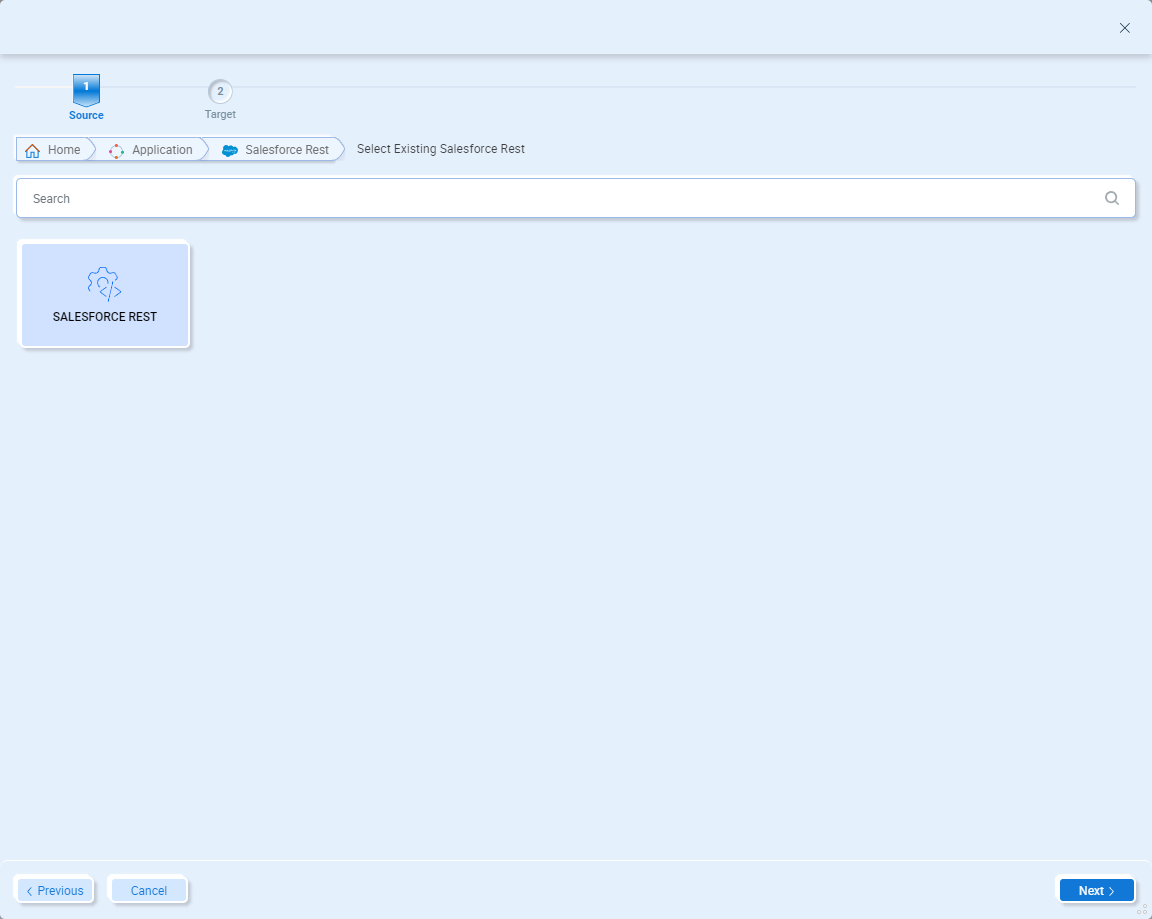
On the Select Existing Adapter Endpoint page, select the application connection you want to use and click the Next button:
The Configure Connection Properties page will display the connection properties that were defined in the application adapter endpoint you previously selected:
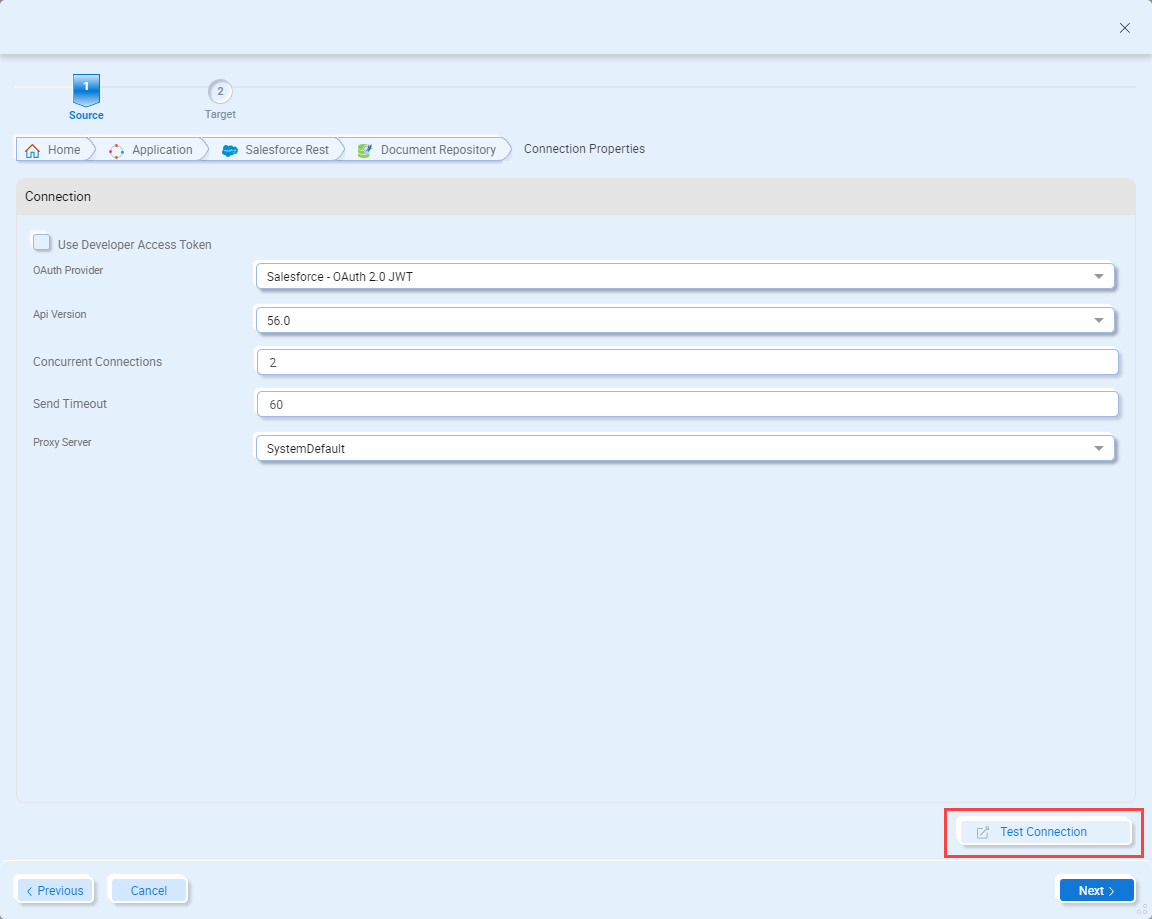
Click the Test Connection button to verify they are correct. Once the connection is confirmed, click the Next button.
Categories and Operations
After completing the Connection Properties page, the first item to select for an application is which category you want a schema for. This may have different meanings for each application. For example, the screenshot below is for the Salesforce Rest adapter. Each category in this adapter is path in a REST API:
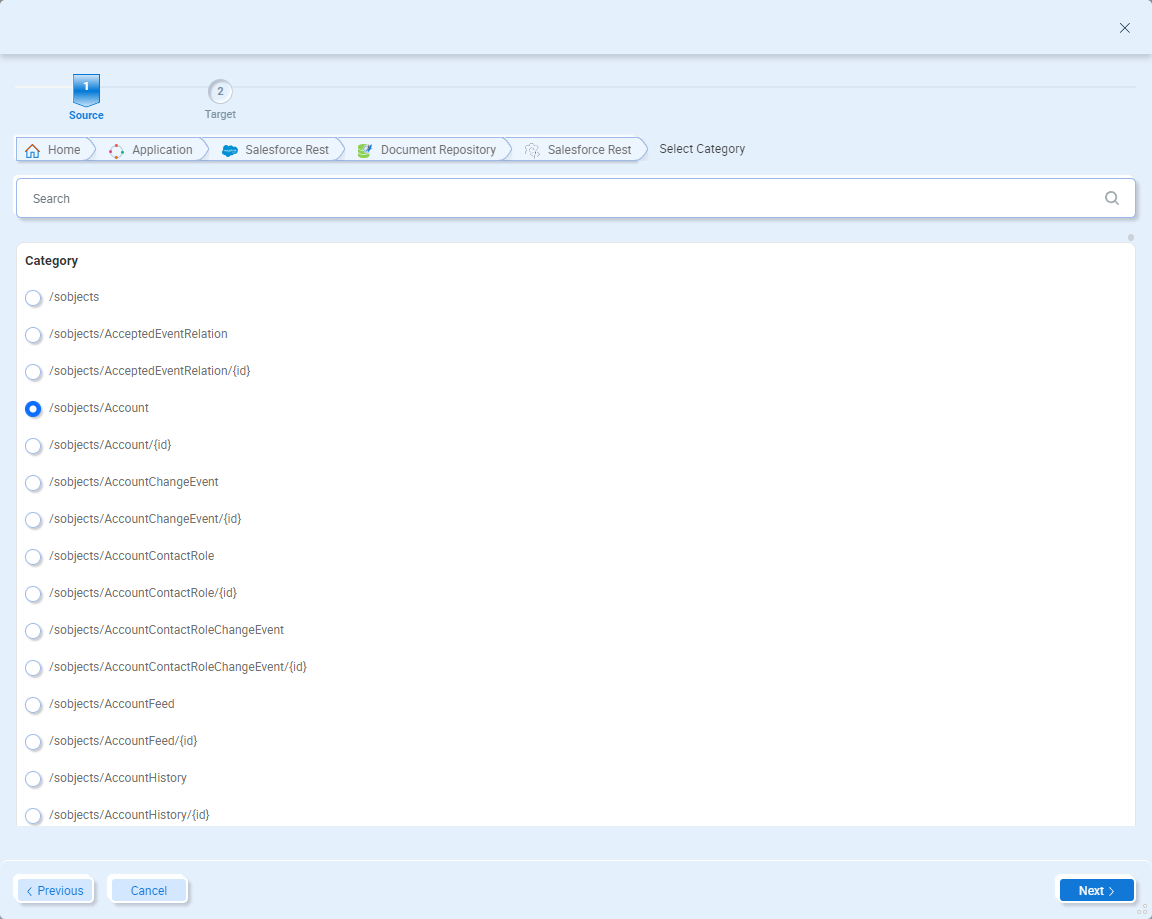
Select the category you want to generate documents for and click the Next button to choose which operation.
The second item to select is the operation you want to generate documents for. The operations available will also depend on the application. In the Salesforce Rest example below, the operations displayed reflect a REST API.
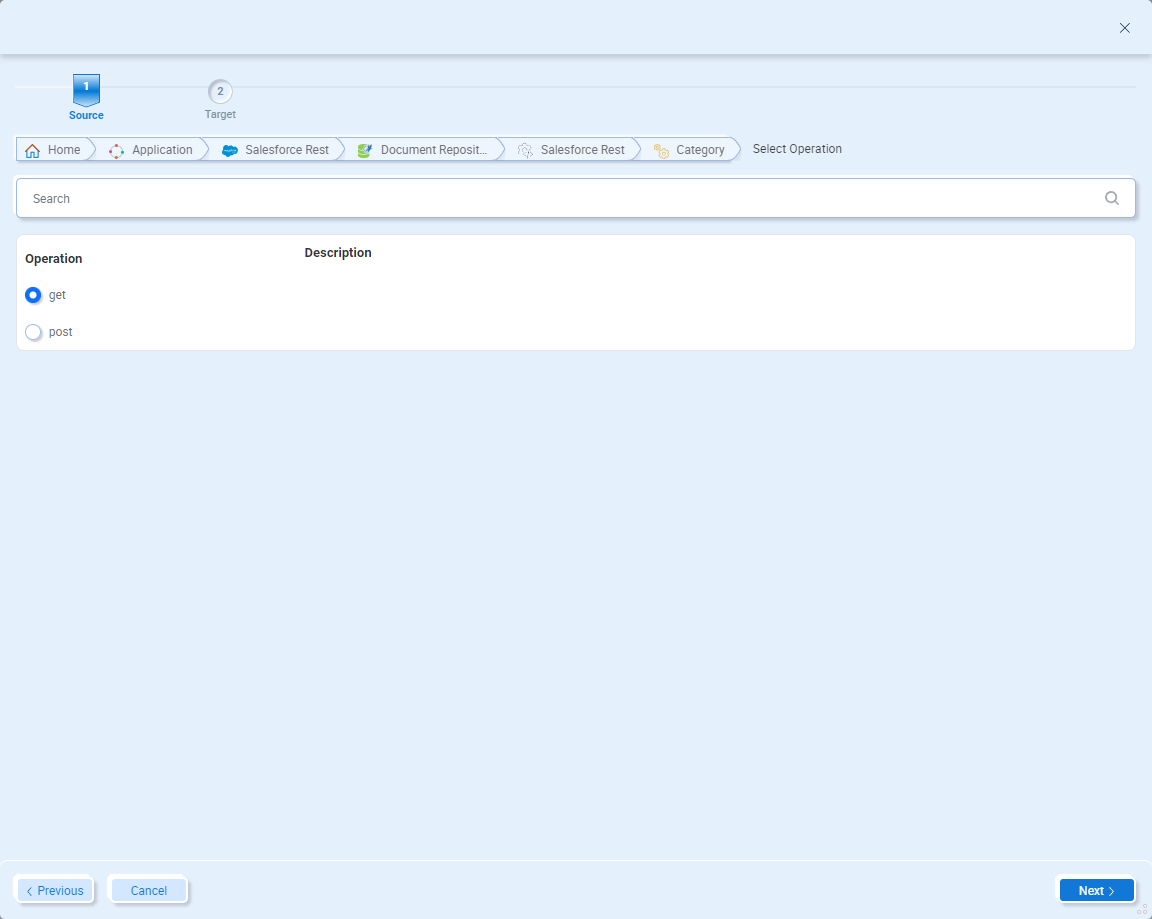
Select the operation you want to generate documents for and click the Next button to continue.
Document(s) Preview
On the Preview page, you can set the document properties and create the sample document(s):
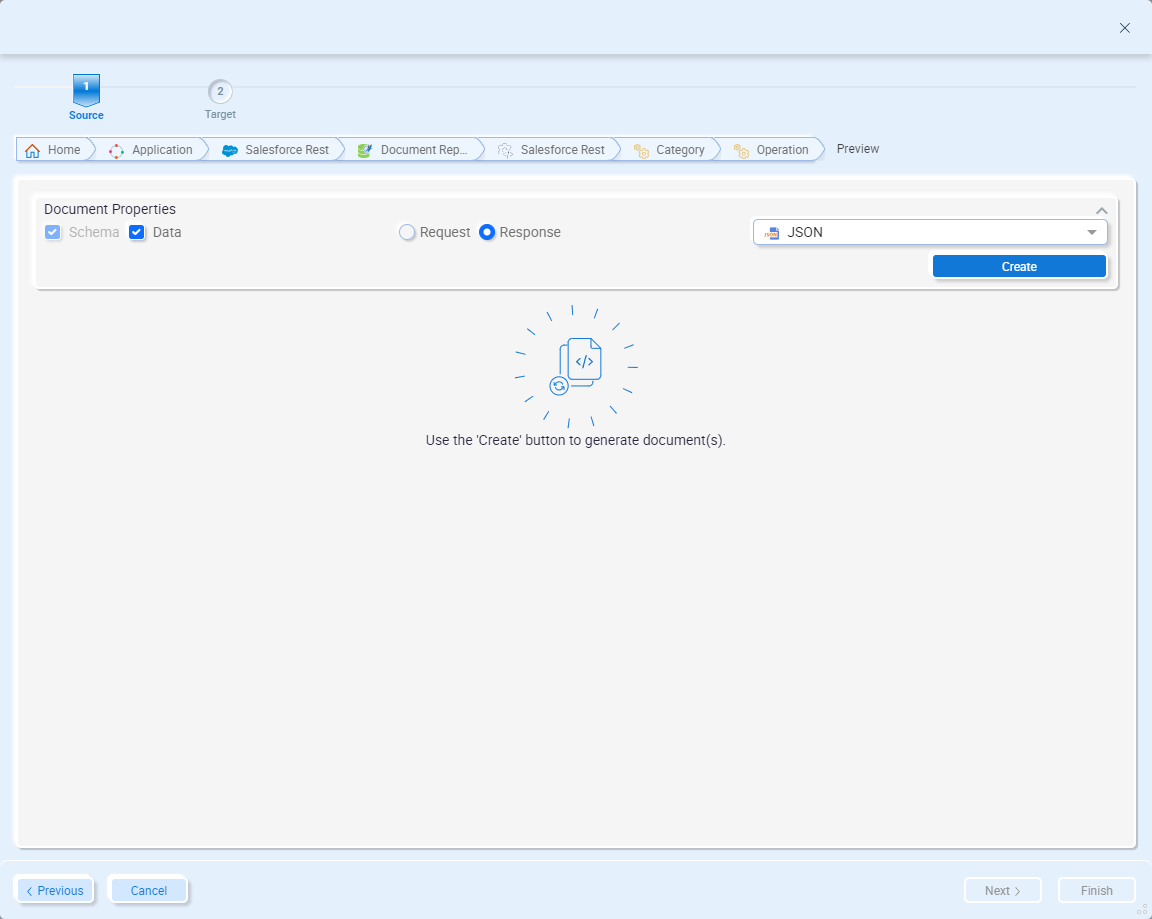
On this page, select Data if you want a sample document (generating a schema is required as that will be used by the Data Mapper). Also select whether you want request or response documents. The default value here will be the most common option based on whether you are generating a source or target schema. Finally, select the document format. The application adapters usually support either XML or JSON, but some may support both. After setting the document properties, click the Create* button to generate the document(s).
*Note – when you click the Create button, the application may be queried for the metadata used to create the documents.
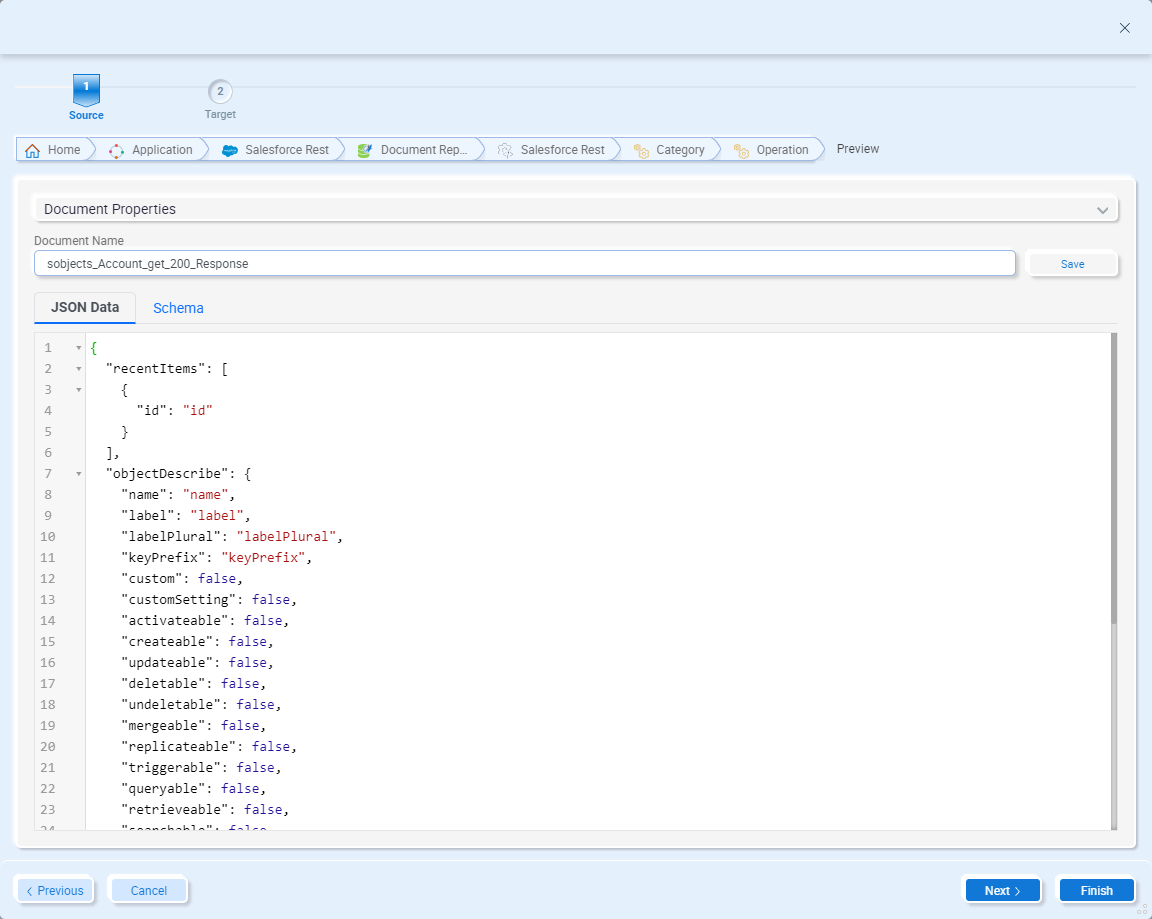
These documents are not automatically saved to the Neuron ESB Document Repository (even if the schema is used in the Data Map, it’s not automatically saved to the repository). To save the documents, set the Document Name and click the Save button. Each document will then be saved to their respective folder in the repository.
Click the Next to continue with generating target documents (if you are currently generating source documents) or click Finish to close the wizard.
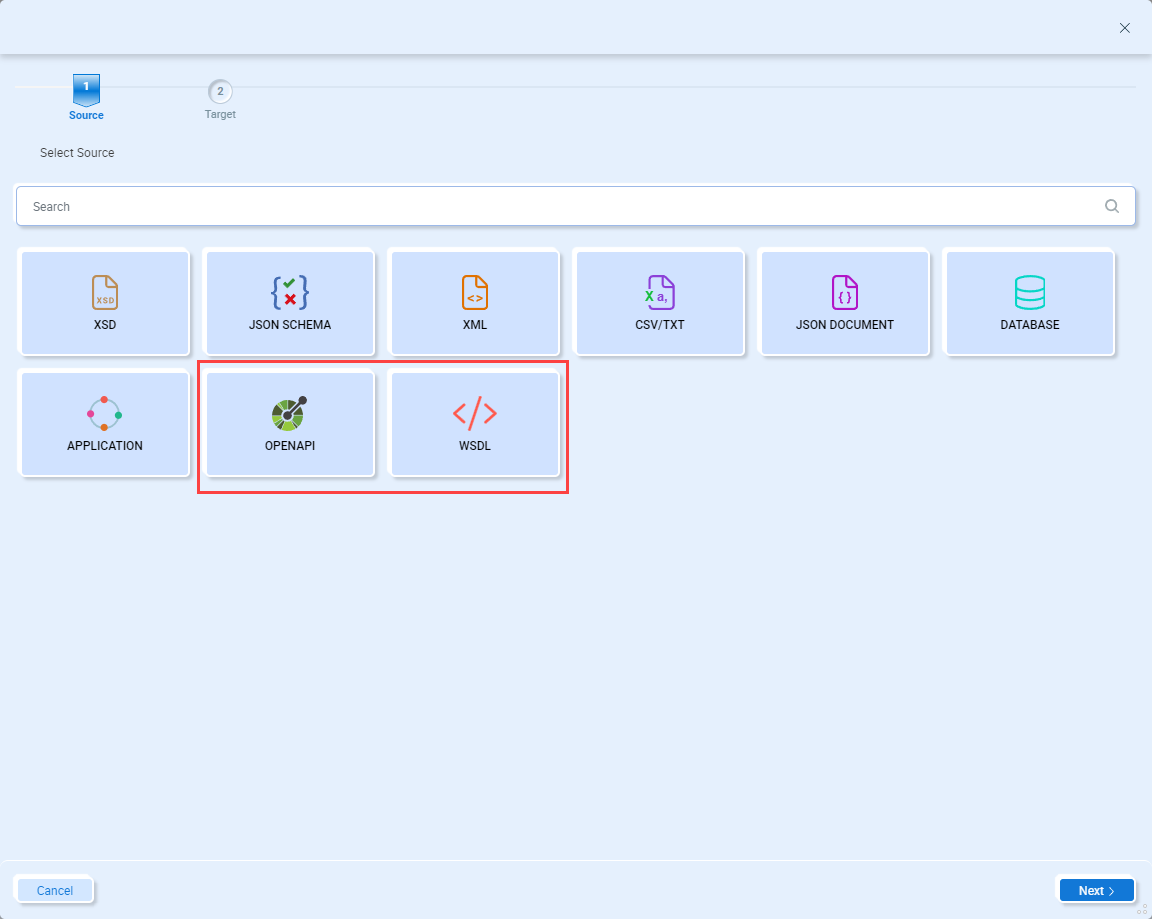
OpenAPI/Swagger and WSDL
The Document Generation Wizard can be used to create documents from OpenAPI and WSDL specifications. When generating documents from one of these specifications, the wizard can generate either request or reply documents.
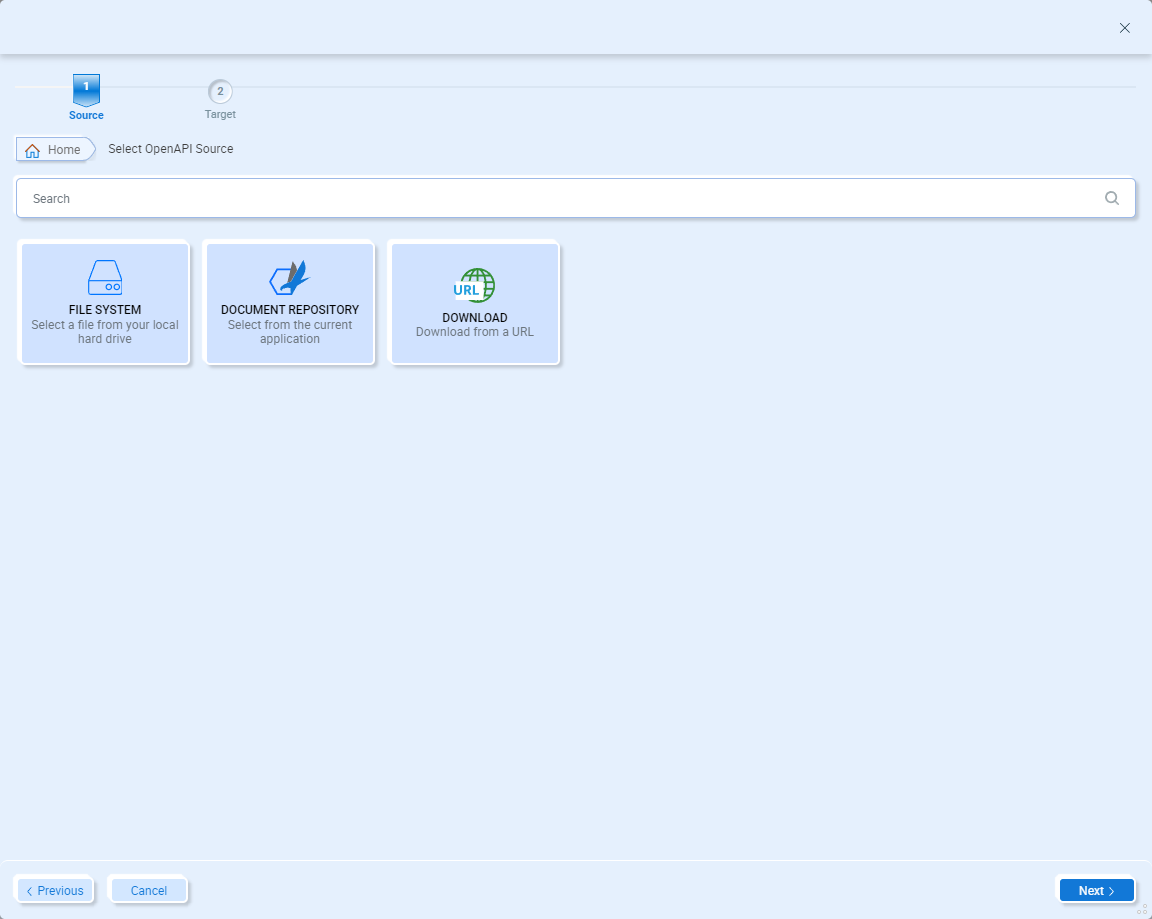
To generate documents based on OpenAPI/Swagger or WSDL, select OpenAPI or WSDL in the wizard and then click the Next button:
Each of these options will display the following options to either import a document of the previously selected type from the file system, select one from the Neuron ESB Document Repository, or download using a URL:
Select an OpenAPI/Swagger or WSDL
File System
When importing from the local file system, select File System and click the Next button:

Clicking the Browse File icon will open a standard file browser you can use to navigate and select the document you want to import:
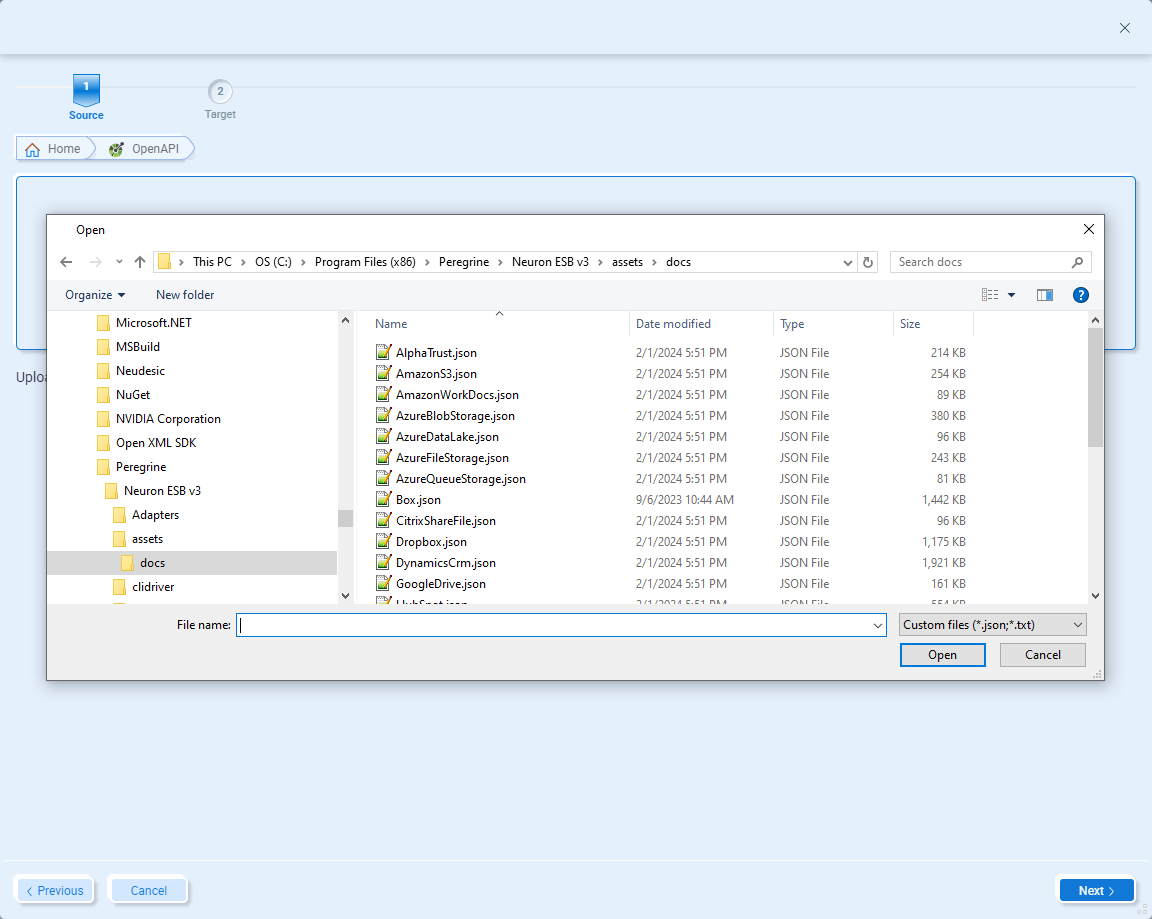
Navigate and select the file you want to import and click the Open button:

Note – importing from the file system does not automatically save it in the Neuron ESB Document Repository.
Click the Next button to continue with the wizard. From here, jump ahead to the section Categories and Operations.
Neuron ESB Document Repository
To use a document that’s already been added to the Neuron ESB solution, select Document Repository and click the Next button:
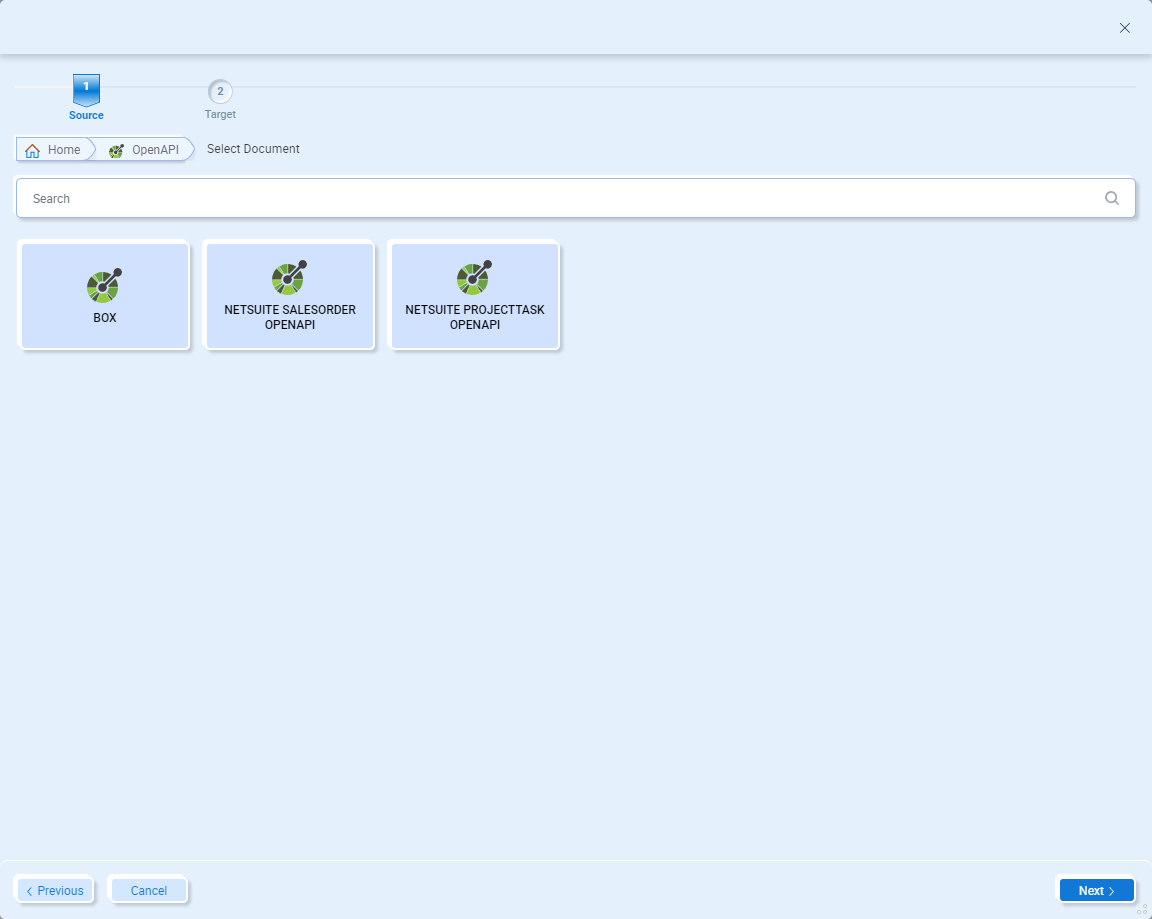
The Select Document page will display all the documents of the previously selected type that are already in the Neuron ESB Document Repository. Select the OpenAPI or WSDL that contains the operation message you want to use in the Data Map and click the Next button to continue. From here, jump ahead to the section Categories and Operations.
Download
To download an OpenAPI or WSDL document, select Download and click the Next button:
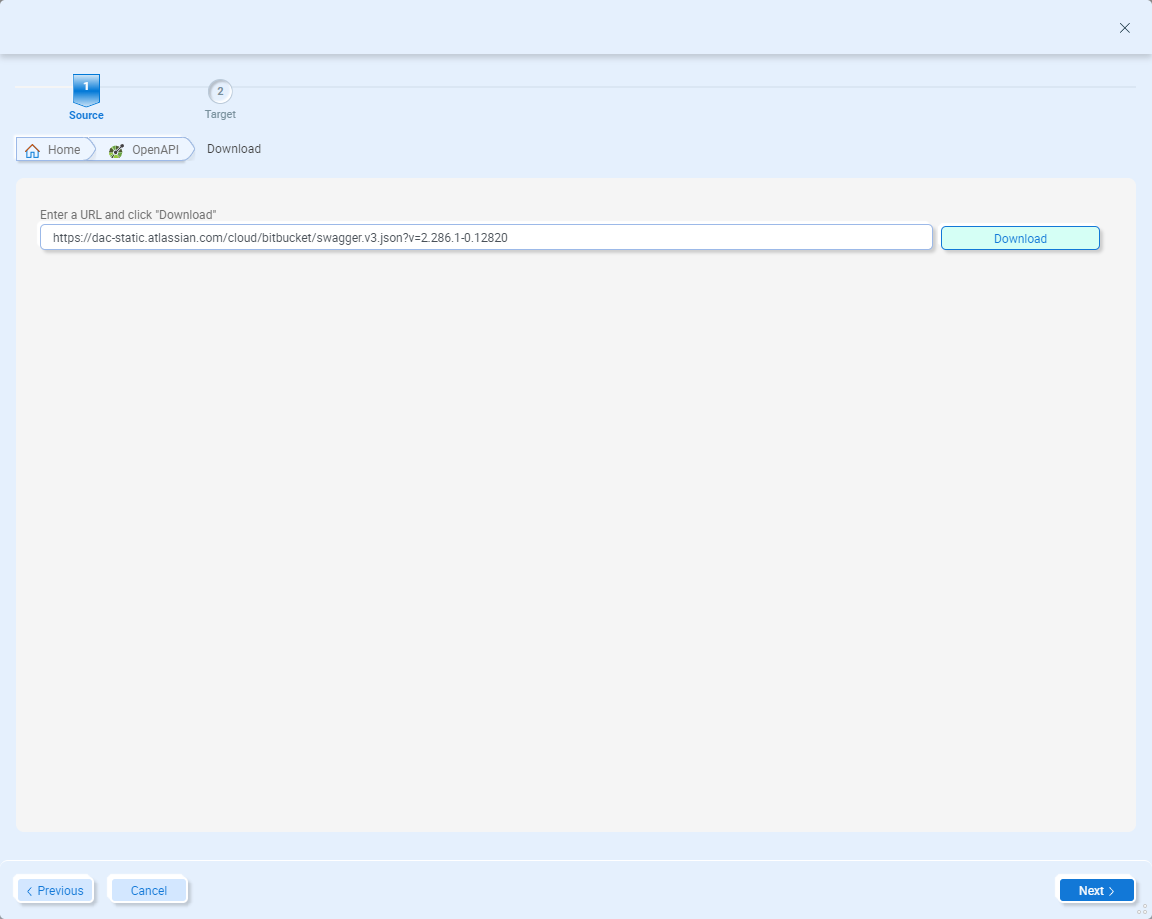
Enter a URL on the Download page and click the Next button to continue.
Categories and Operations
After selecting an OpenAPI/Swagger or WSDL document, the next wizard page directs you to select a category to create a schema for. For an OpenAPI/Swagger document, the category is based on the “tags” field value. For a WSDL document, the category is based on the “Port” element:
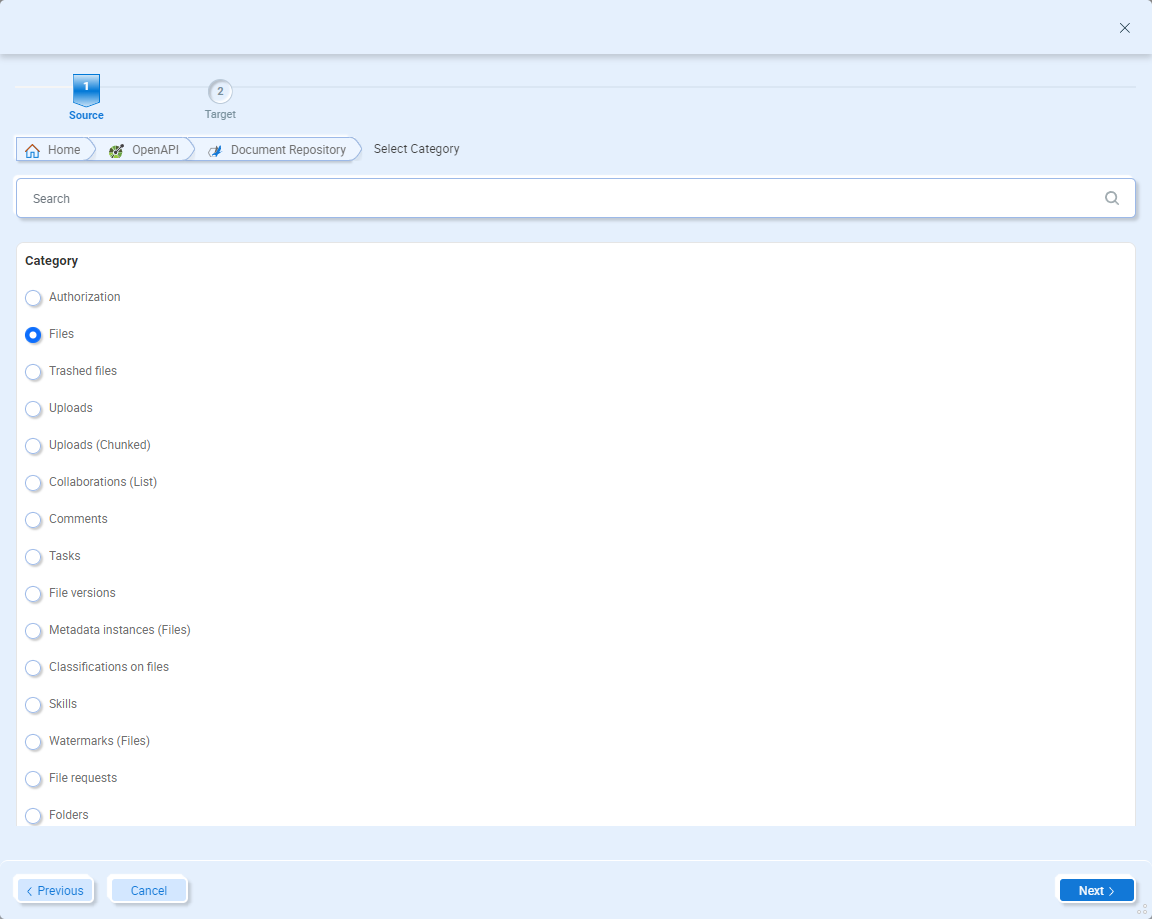
Select the category you want to generate documents for and click the Next button to choose an operation.
The second item to select is the operation you want to generate documents for. For OpenAPI/Swagger documents, the available operations reflect the specific API calls, i.e. GET, POST, etc. For WSDL documents, the available operations reflect the SOAP operations available in the WSDL.
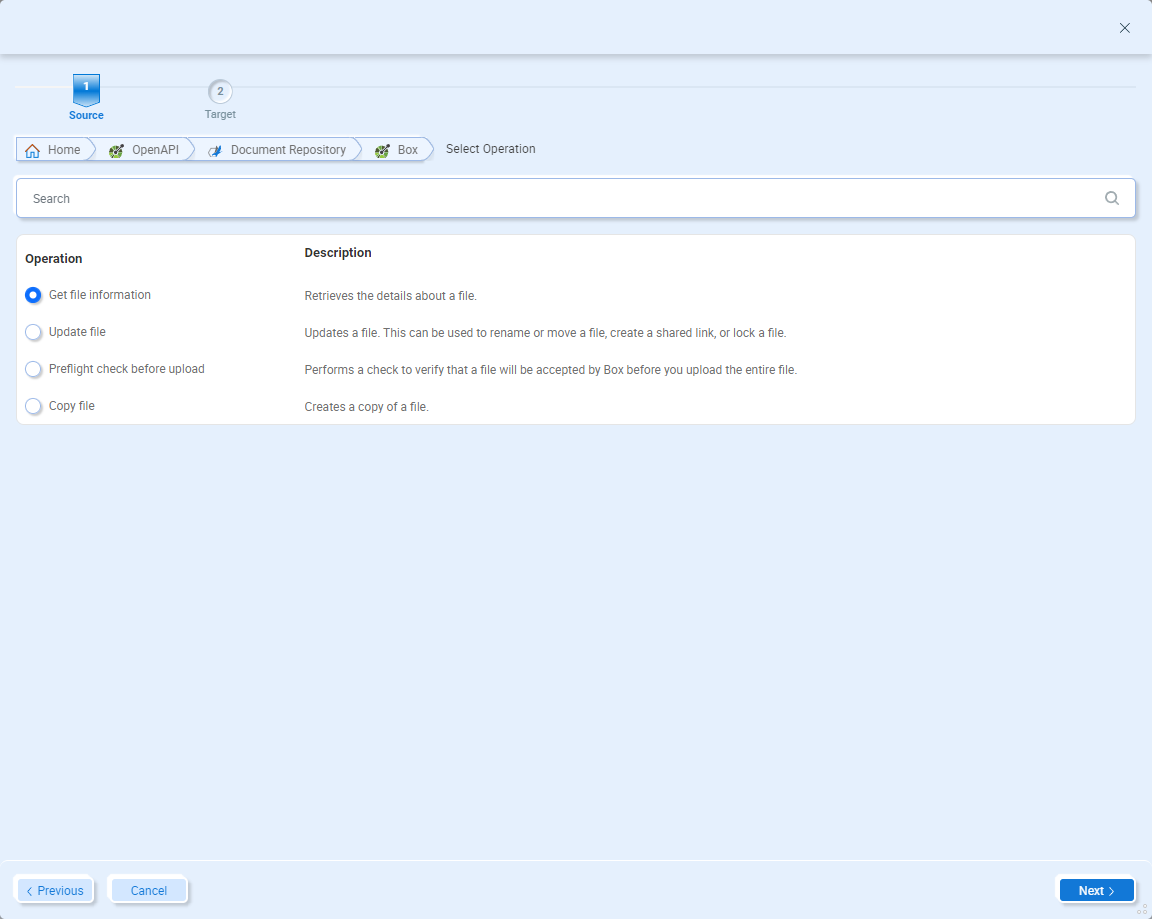
Select the operation you want to generate documents for and click the Next button to continue.
Document(s) Preview
On the Preview page, you can set the document properties and create the sample document(s):
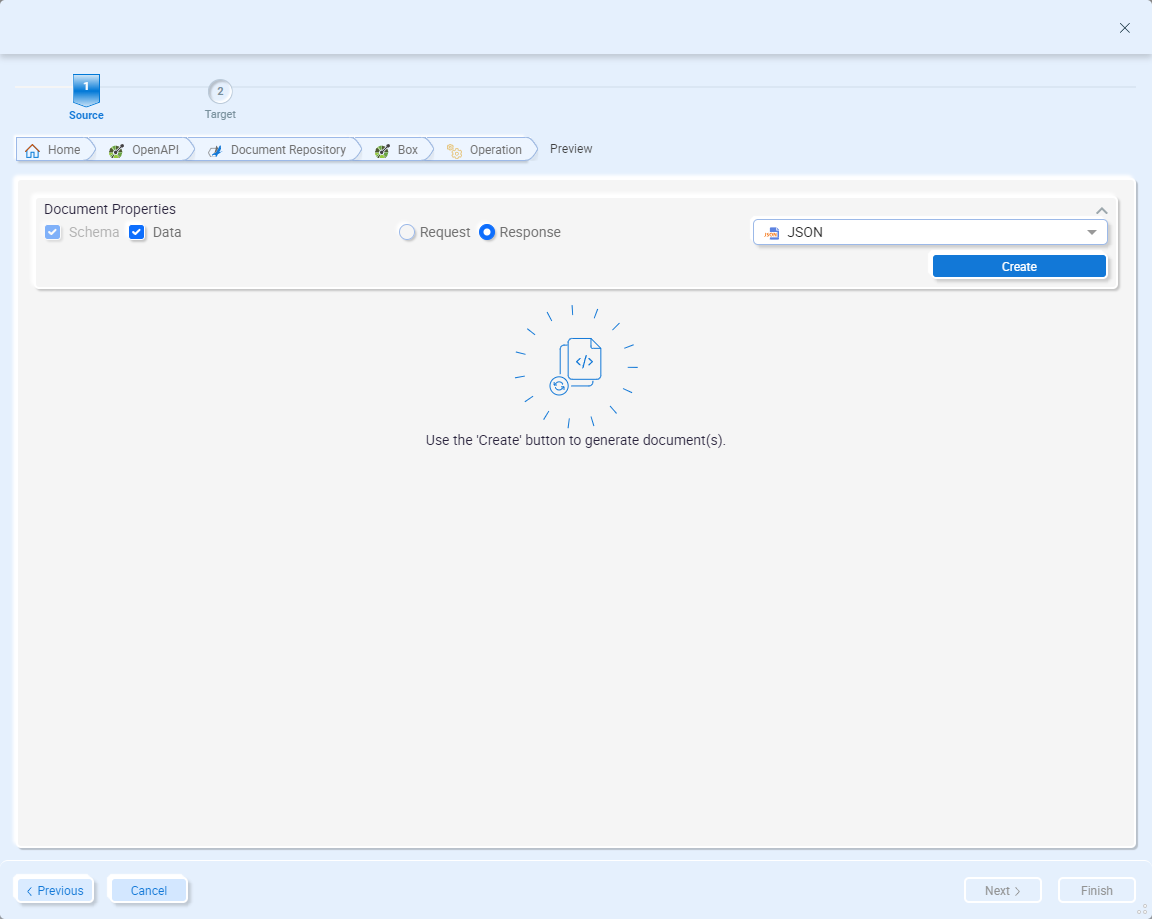
On this page, select Data if you want a sample document (generating a schema is required as that will be used by the Data Mapper). Also select whether you want request or response documents. The default value here will be the most common option based on whether you are generating a source or target schema. Finally, select the document format. After setting the document properties, click the Create button to generate the document(s).
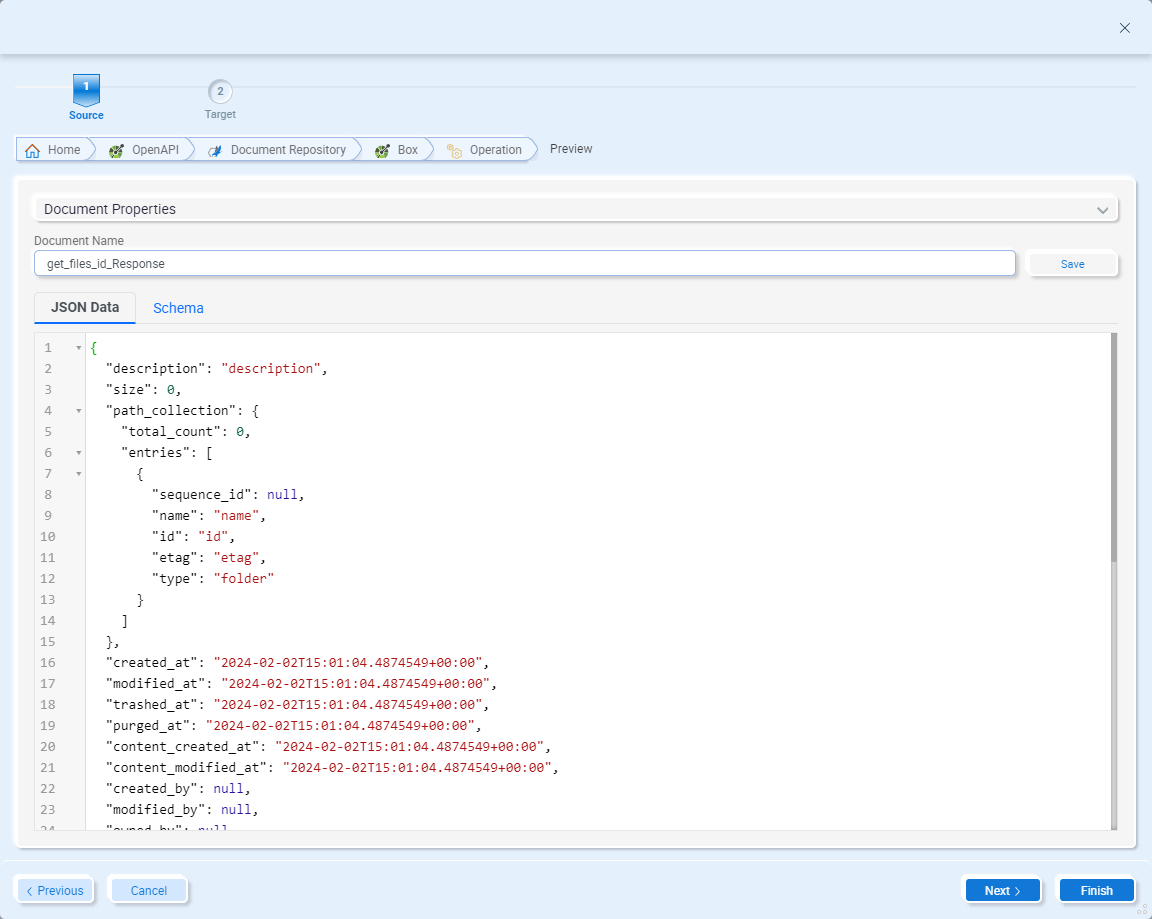
These documents are not automatically saved to the Neuron ESB Document Repository (even if the schema is used in the Data Map, it’s not automatically saved to the repository). To save the documents, set the Document Name and click the Save button. Each document will then be saved to their respective folder in the repository.
Click the Next to continue with generating target documents (if you are currently generating source documents) or click Finish to close the wizard.