Installing Neuron ESB 3.7 and 3.7.5
Neuron ESB is a self-hosting runtime application and environment and installs as a Microsoft Windows Service. This means it does not require IIS or WAS (Windows Process Activation Services) to be installed to run.
Neuron ESB ships with an installer that will install the necessary files for using RabbitMQ as a transport. We recommend using this installer even if you don’t need to install RabbitMQ. The associated MSI file should only be used for silent installations.
To use the original MSI to install Neuron, see the topic Original Neuron Installer. To upgrade an existing Neuron deployment, see Upgrading Neuron. To perform a silent installation, see Silent Installs.
Before you install Neuron, be sure you have installed all prerequisites. For more information, see Prerequisites.
You can successfully install Neuron using many different configurations. Be sure to review the procedural steps carefully before you start the installation. For information about troubleshooting the installation, see Troubleshooting.
Neuron ESB is downloadable as a 64 bit application. The installation package ZIP file is approx. 300+ MB in size. When you extract the contents of the download, you will see two the necessary files for installation:
- InstallNeuronESB.exe
- Readme.html
- NeuronESB_v3_x64_Release.msi
Required Permissions
To perform this procedure, you must be a member of the local Administrators security group (BUILTIN\Administrators) on the computer.
Installing Neuron ESB
- Log on to the server that you intend to use as the Neuron ESB server using an account that has the required permissions (for example, Domain\NEURONSETUP). This account must be a member of the Local Administrators group (BUILTIN\Administrators) but should not be member of the domain Administrators group.
- The process and user interface screens for Neuron ESB 3.7 and 3.7.5 are nearly identical. The only difference will be found in the screen that displays the optional installation packages.
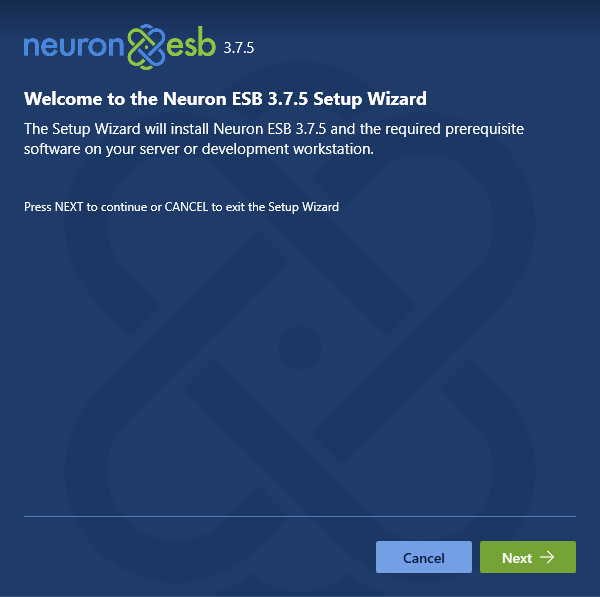
- Extract the files in the downloaded ZIP file and double click IntallNeuronESB.exe and then click Run. The Neuron ESB Setup wizard starts. The following screen should appear.
- Click the Next button to display the End User License Agreement (EULA).
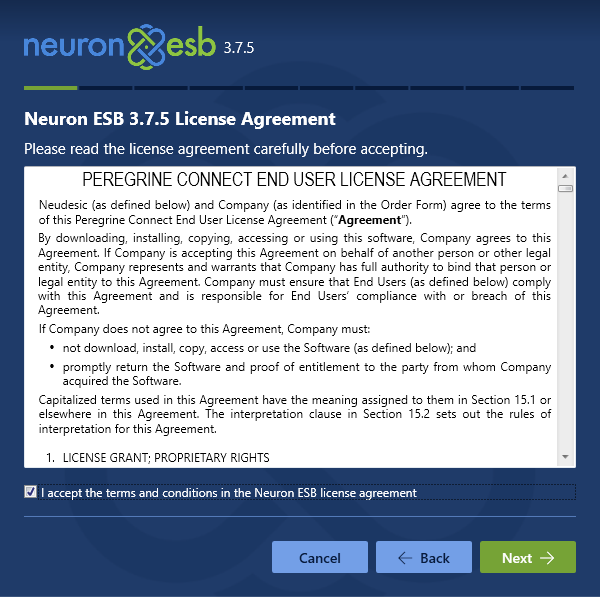
- Check the box to Accept the EULA and click Next to continue.
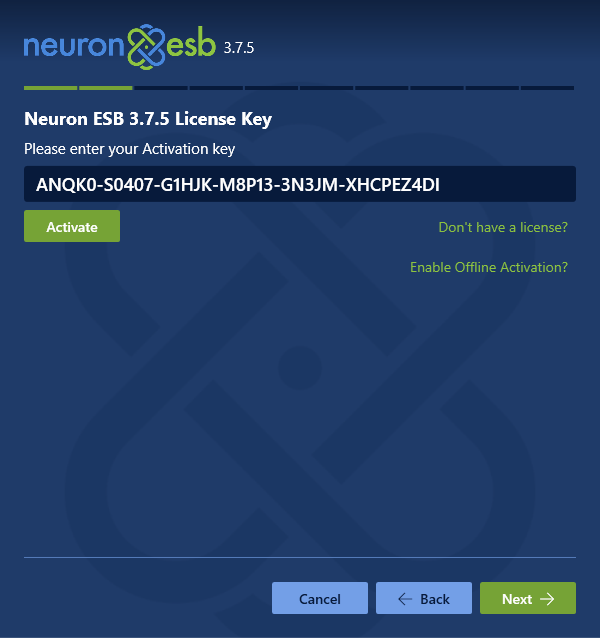
- Enter the Activation Key (License Key) for your installation and click Next to continue.
- Neuron ESB Activation Keys are issued to you by Neuron ESB. If you do not have a license key, click the “Don’t have a license?” link to request a 30-day Trial license.
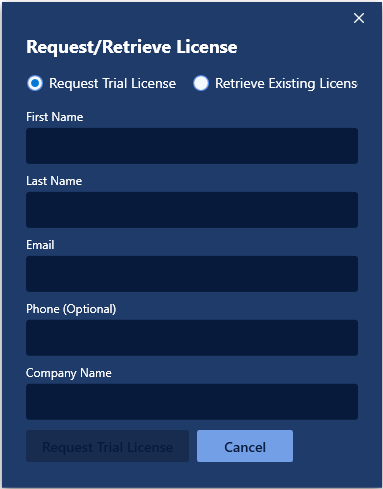
- If requesting a 30-day Trial license, fill out the form above and then click “Request Trial License” button. This will email you a valid Activation Key to use for the installation.

- If you already have an Activation Key and its corresponding Computer Key, then click the “Enable Offline Activation?” link. This will allow you to enter the Computer Key. If a valid Activation and Computer Key are entered, only a local validation of the keys will be made during the installation process. Otherwise the installation process will require access to the internet so that the license can be activated online against the Peregrine Connect license server.

- Rather than generating the Computer Key and requiring internet access at the time of installation, users can navigate to the Peregrine Connect License Self Help site (https://qlm1.net/neudesic/qlmcustomersite ) to generate their Computer Key in advance. Clicking the “Activate a license” link will display a page that allows users to enter their machine name and Activation Code to generate a Computer Key.
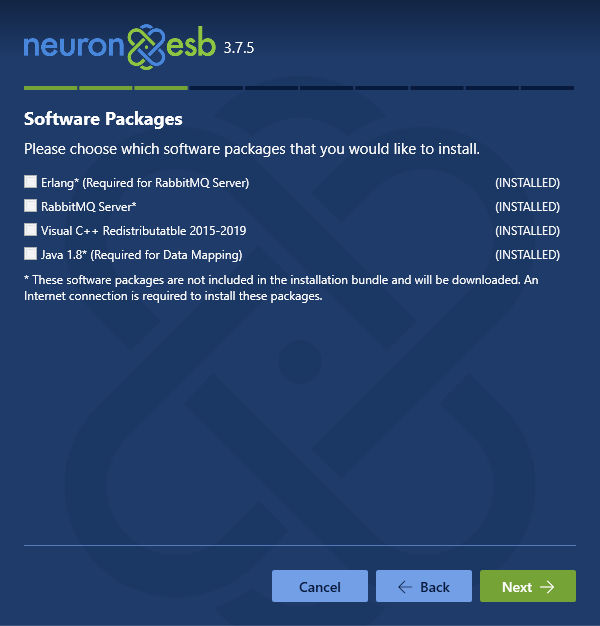
- Select the software packages to install. If you want to use RabbitMQ-based topics, select Erlang and RabbitMQ. Erlang is a prerequisite for RabbitMQ. Both packages are downloaded from the Neuron ESB Web server during installation. If you select them make sure your machine has an internet connection.
NOTE: Neuron ESB 3.7 will only list Rabbit MQ Server and Erlang as optional Software Packages. - Click Next to continue
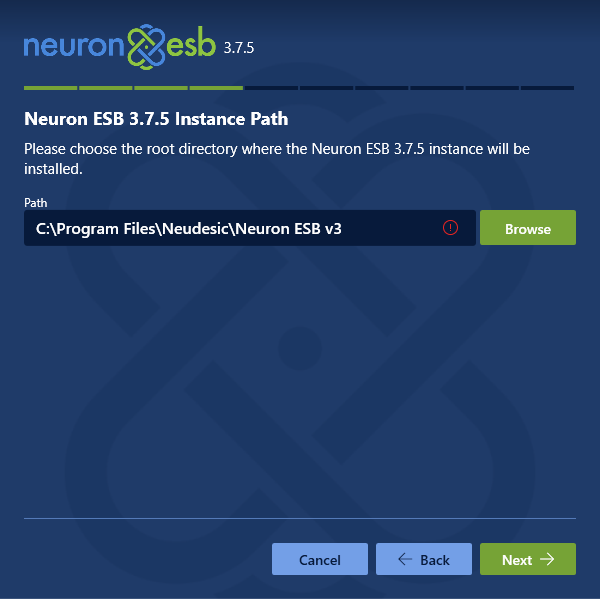
- Enter the path to install Neuron ESB or leave the default value. If the folder does not exist, it will be created during installation. Click Next to continue.
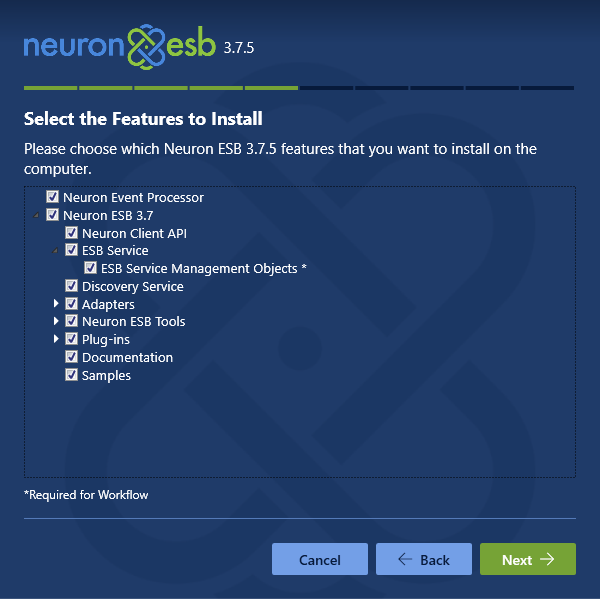
- Select the options to install and click Next. Usually all options are selected. The Neuron Event Processor is used to forward events and messages generated by Neuron ESB to the Peregrine Connect Management Suite storage medium. If the Peregrine Connect Management Suite is NOT being used, this feature can be unchecked.
- If you want to perform a specific type of install, select the options based on this table:
| Features | Description |
| Neuron Event Processor | Installs the Neuron Event Processor used to integrate Neuron ESB 3.7.5 with the Peregrine Connect Management Suite |
| Neuron ESB 3.7 | All components for Neuron ESB 3.7/3.7.5 |
| Neuron ESB Client API | Neuron Client API related .NET Assemblies |
| ESB Service | Neuron Client API, Neuron ESB Runtime Service |
| Discovery Service | Registration Service. Required for Neuron ESB Runtime Service |
| Adapters | Neuron ESB Adapter library. Includes all types |
| Neuron ESB Tools | Neuron Client API, Neuron ESB Explorer, Neuron ESB Test Client |
| Plug-ins | SharePoint and Dynamics CRM plugins |
| Documentation | Full CHM version of online documentation |
| Samples | Approximately 50+ Neuron ESB Samples |
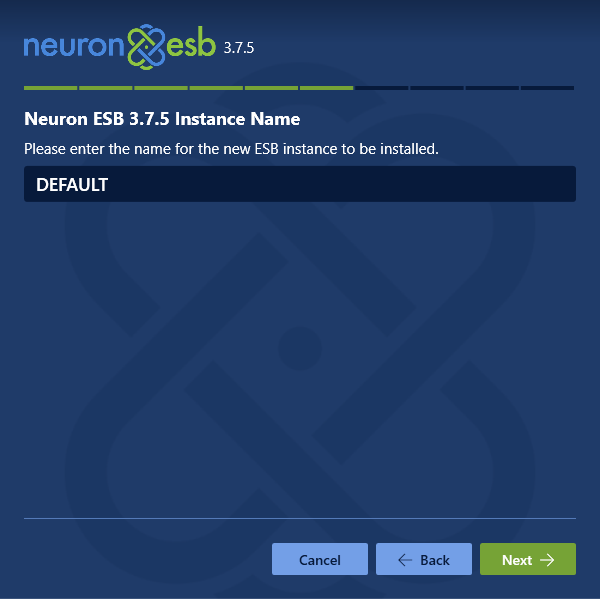
- The setup program can be used to install multiple instances of Neuron ESB. This allows the hosting of multiple Neuron ESB Configurations on the same machine. Since this is the first Neuron ESB installation, just leave the default value of “DEFAULT” for the instance name and click Next.
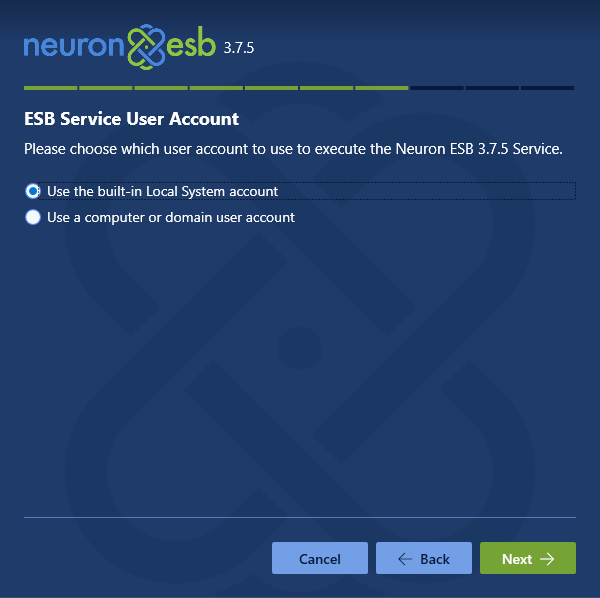
- Leave the default choices in place so that Neuron ESB is running as the Local System account. Alternatively, a general user account can be assigned, provided it has the correct permissions. Click Next to begin the installation. For more information on which type of account to use, see Specifying a Service Account for Neuron.
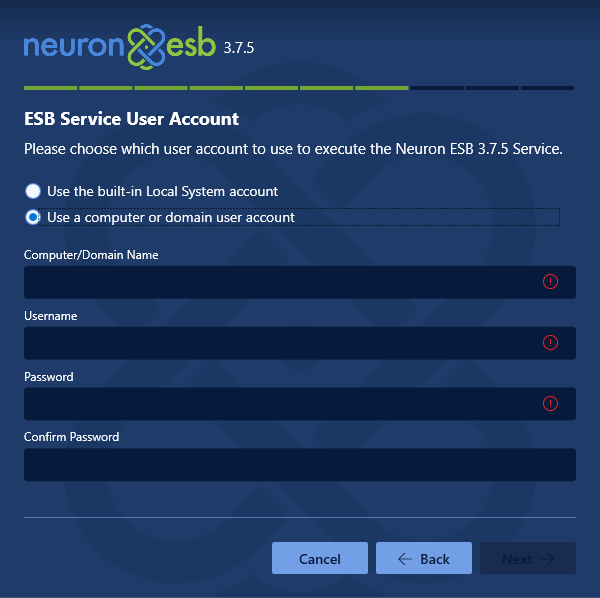
- If selecting a Computer or Domain User Account, the following screen will appear prompting the user to enter in valid credentials
- If you chose to install the Erlang software package, the installer will first download it and then start the installation. The Erlang installer often gets hidden behind the Neuron ESB installer. If you see this screen, look for the Erlang installer icon in the Taskbar and click on it:
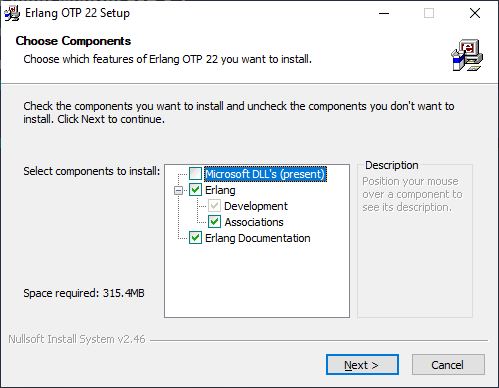
- Clicking on the Erlang icon in the Taskbar brings up the Erlang installer. Select the components to install for Erlang. If the Microsoft DLL’s are not present, make sure to check that box. Click Next.
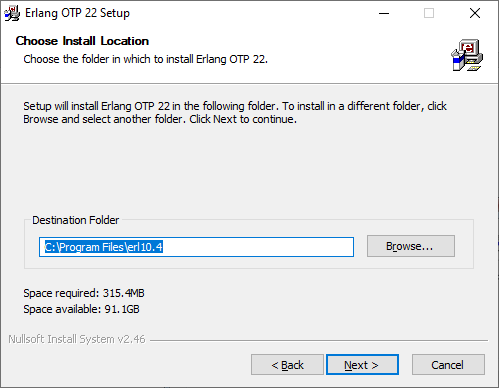
- Set the installation folder. Click Next.
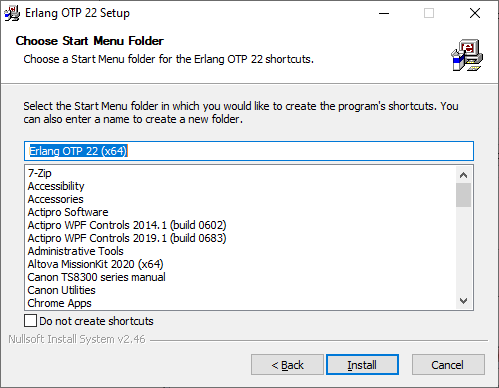
- Choose the Start Menu Folder for the Erlang programs. Click Install.
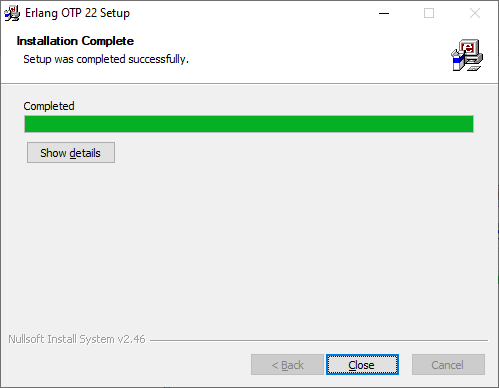
- When the installation completes, click Close.
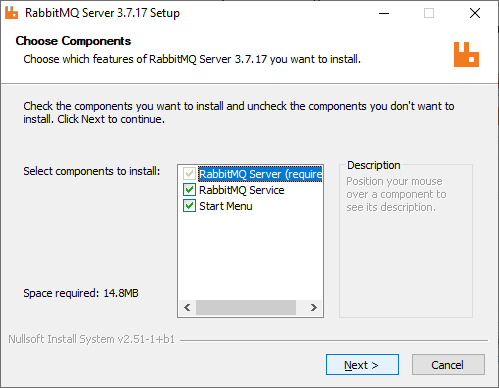
- If you chose to install the RabbitMQ software package, the installer will next download it and then start the installation. The RabbitMQ installer often gets hidden behind the Neuron ESB installer. Clicking on the RabbitMQ icon in the Taskbar brings up the RabbitMQ installer. Select the components to install for RabbitMQ. Click Next
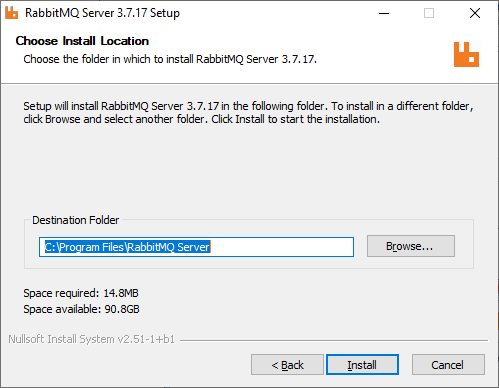
- Set the RabbitMQ install location. Click Install.
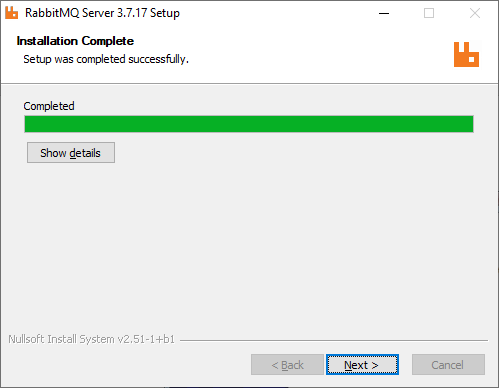
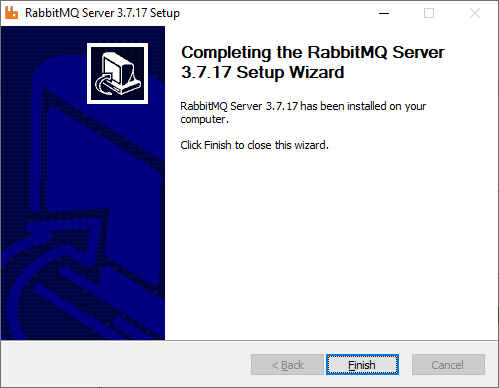
- When the RabbitMQ installation completes, click Next and then Finish.
• Erlang
• RabbitMQ Server
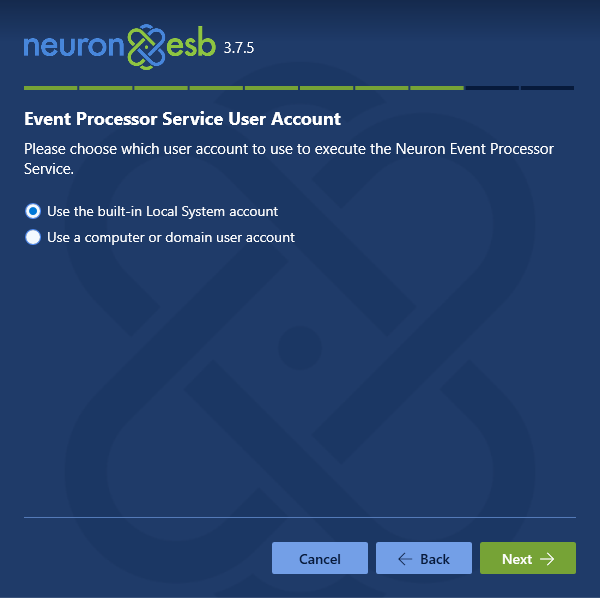
- The Neuron ESB installation will continue. Leave the default choices in place so that Event Processing Service is running as the Local System account. Alternatively, a general user account can be assigned, provided it has the correct permissions. Click Next to continue.
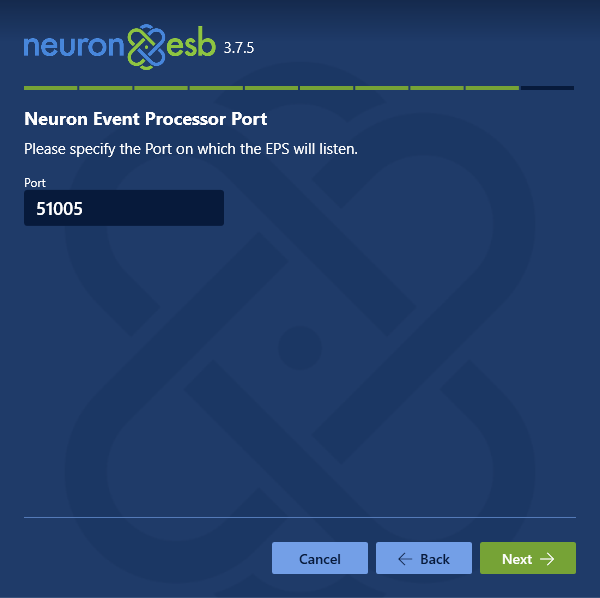
- Keep the default settings for the Neuron Event Processor Port. Click Next to start the installation process.
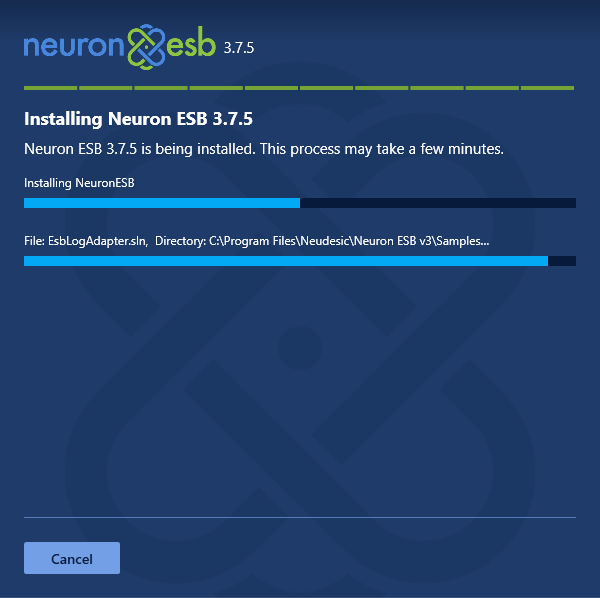
- While the installation is running, the progress screen will be displayed.
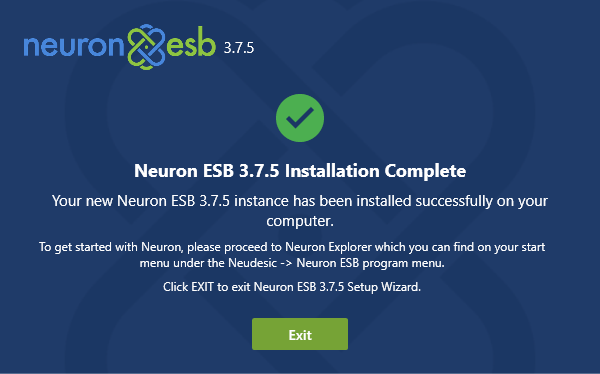
- When the installation is completed, the final screen will be displayed. If there was an error during installation, the final screen will display an error message and a link to the log file. Click Exit to complete the installation.
– Neuron_ESB_3.0_20210622095512_000_NeuronESB.log
– Neuron_ESB_3.0_20210622095512.log
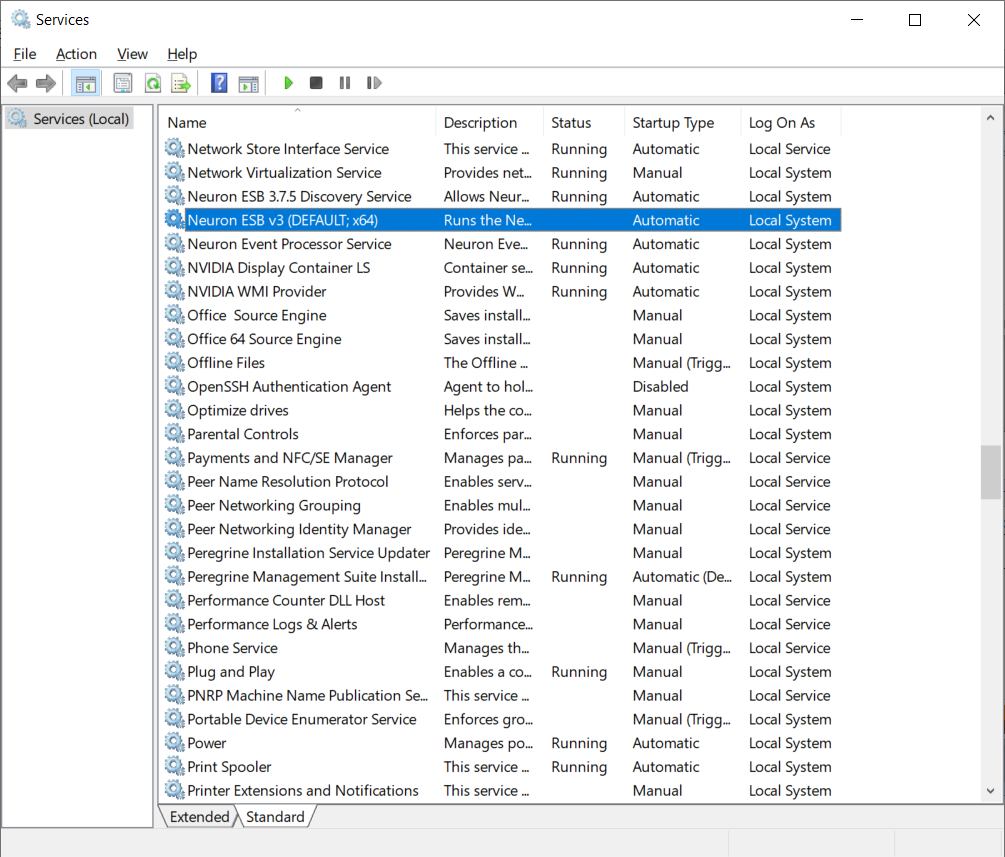
- To verify, type services.msc into your run bar or navigate to the Services console through the admin tools. Scroll through the list of services until you see the Neuron ESB v3 (DEFAULT; {Platform}) Service
You should see that Neuron ESB is installed to begin automatically but is not yet in a started state. Do not start the service here until the Neuron ESB Runtime is configured with a solution. To learn more about configuring the Neuron ESB Runtime with a solution, read the “Neuron Fundamentals Tutorial” which can be downloaded from here: https://www.neuronesb.com/user-training/fundamentals