Auto Mapping
Auto mapping allows users to automatically map similarly-named fields between source and target documents with the click of a button. This saves a lot of time where a user does not have to map each element. Auto mapper shows the possible mappings preview and you can click apply to map those fields.
Procedure
- Load the source and target schemas:
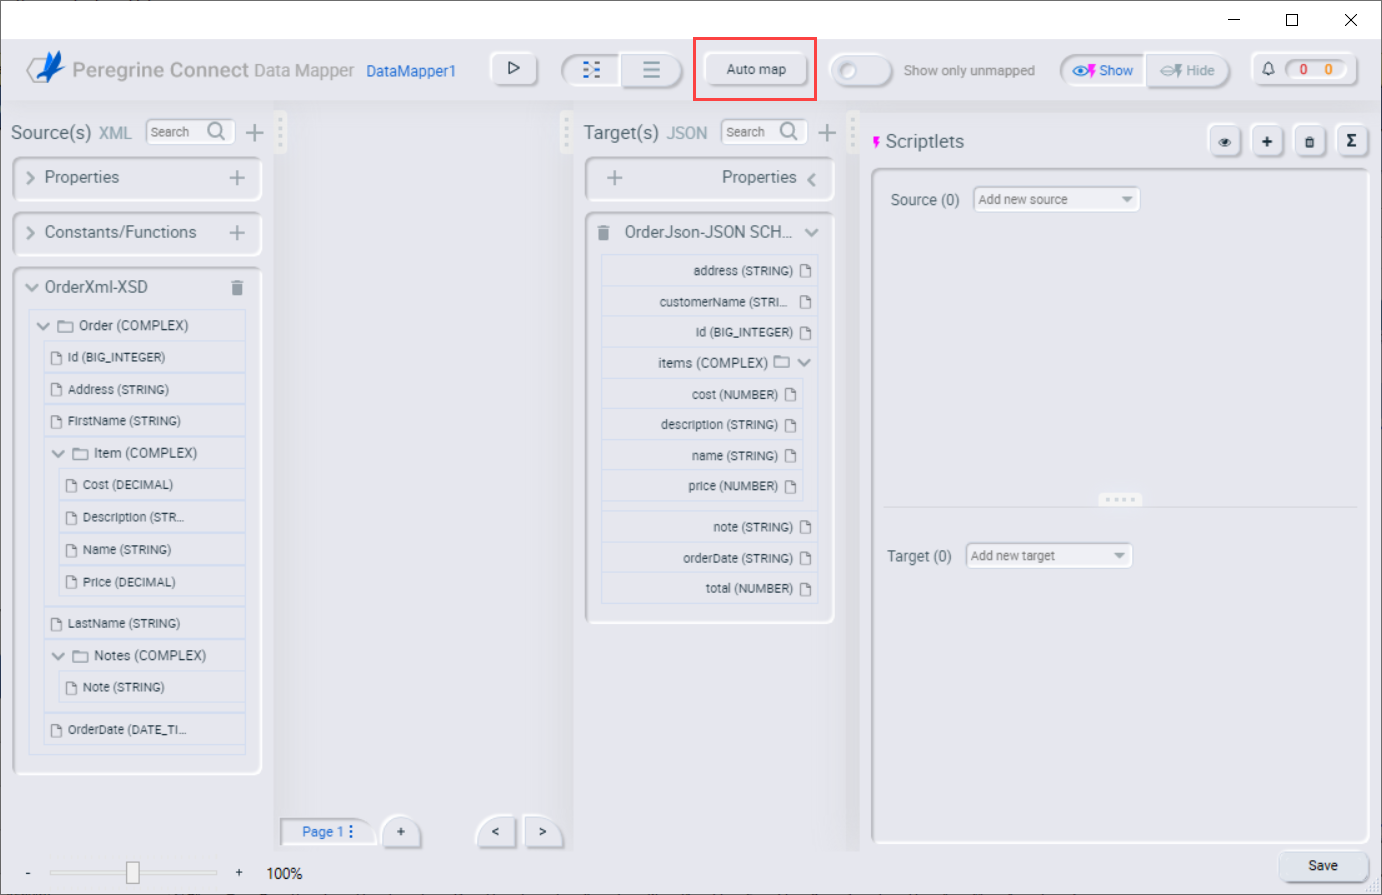
- Click Auto map button
 to display the Auto Mapping dialog:
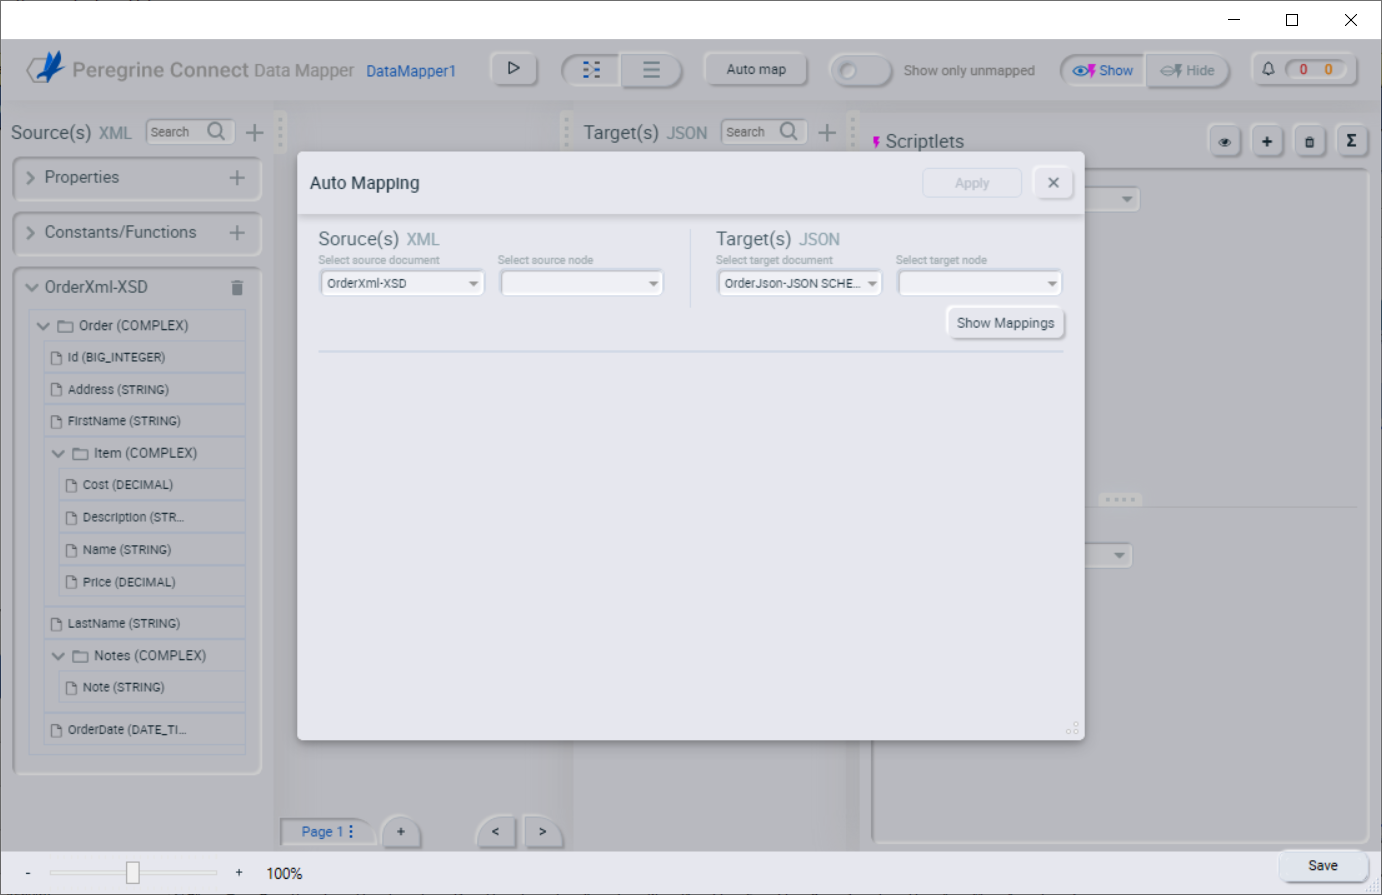
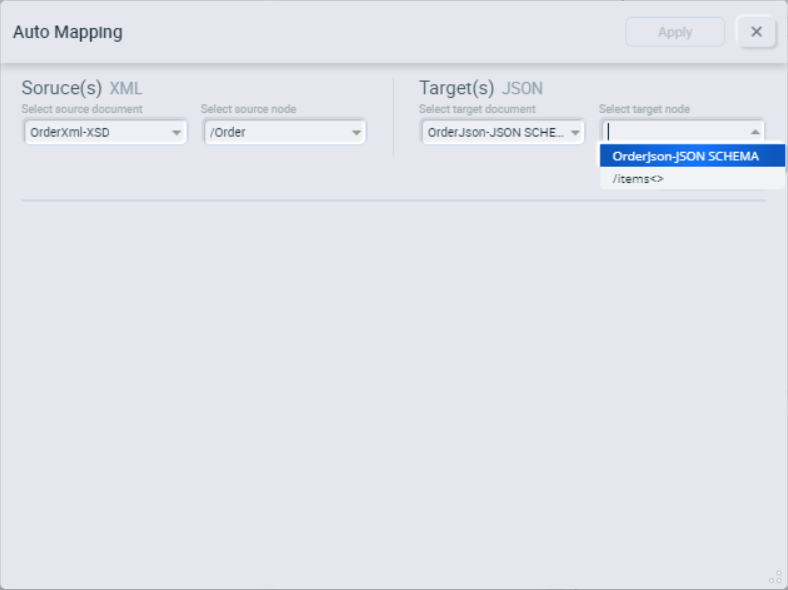
- In the Auto Mapping dialog, the source and target documents are automatically selected. If you added multiple source or target documents to the data map, select the appropriate one(s) to use for auto mapping. Click on the Select source node field to display the source schema nodes and select the root node to perform the auto mapping from:
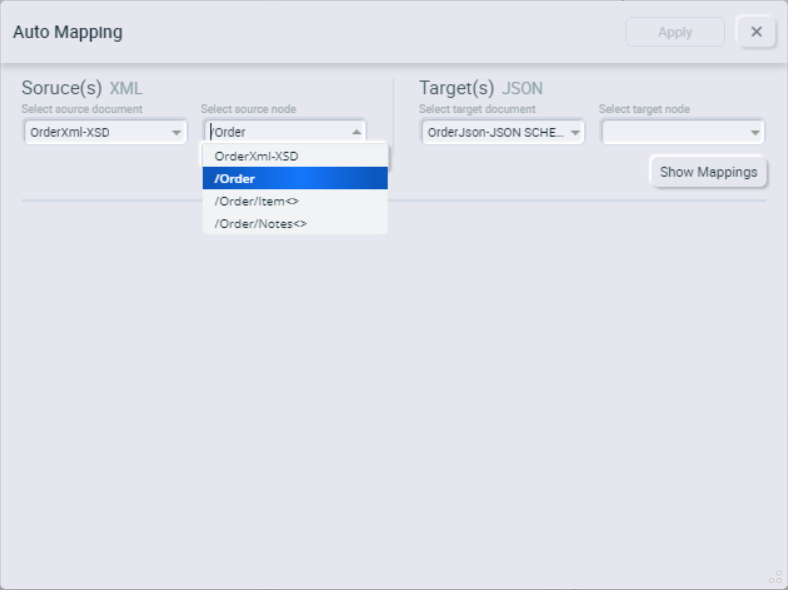
- Click on the Select target node field to show the target schema nodes and select the root node to perform the auto mapping from:
- After selecting the source and target nodes, click on the Show Mappings button to display the mapping preview. Auto map checks the hierarchy first and then maps the fields accordingly. If the hierarchy is different but a field name match is found, it will show the new match in the mapping preview. You can uncheck any mapping from the list and click the Apply button at the top right to apply the mapping in the main canvas.
If the selected source and target nodes don’t have any matching fields, the Auto Mapping dialog will display “No new mapping found”. In this case, modify the selected nodes and click Apply again to see if any matches are found.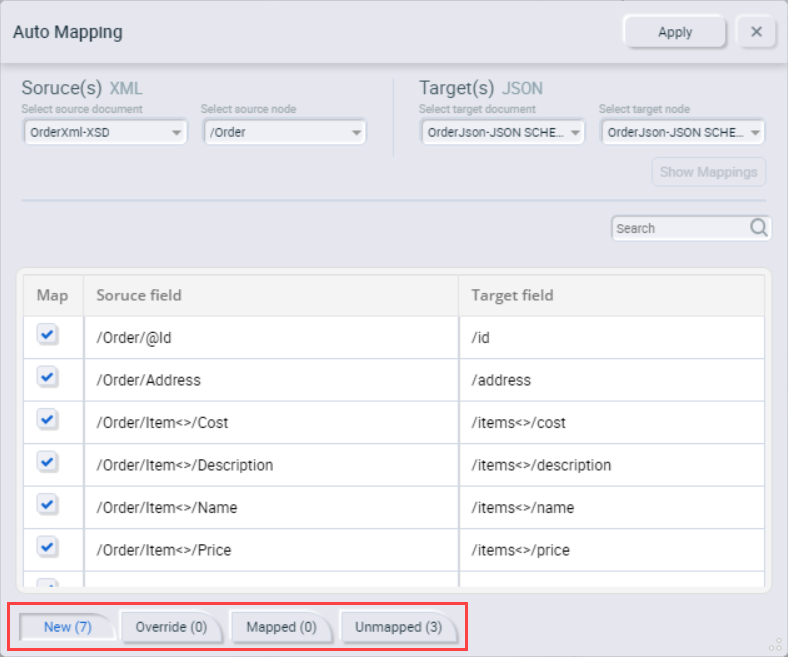
The Auto Mapping dialog includes four tabs that display which changes will be made:
New – Displays new mappings that will be added to the mapping canvas
Override – Displays any mappings that will replace existing mappings on the mapping canvas
Mapped – Display fields that were mapped prior to starting the Auto Mapper
Unmapped – Displays the remaining unmapped source and target fields
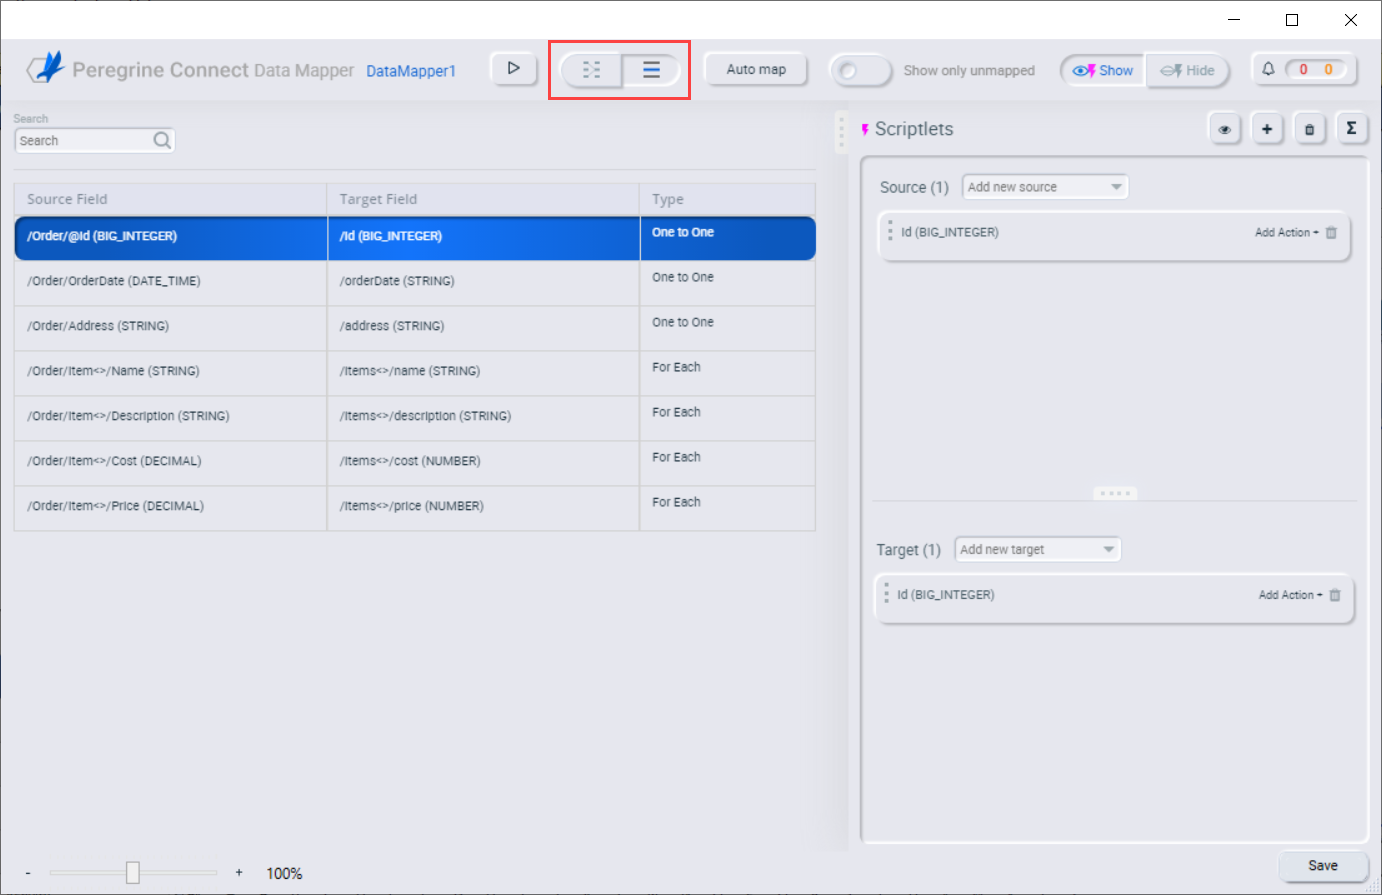
- After the auto map is applied successfully, the changes will be displayed in the mapping canvas:
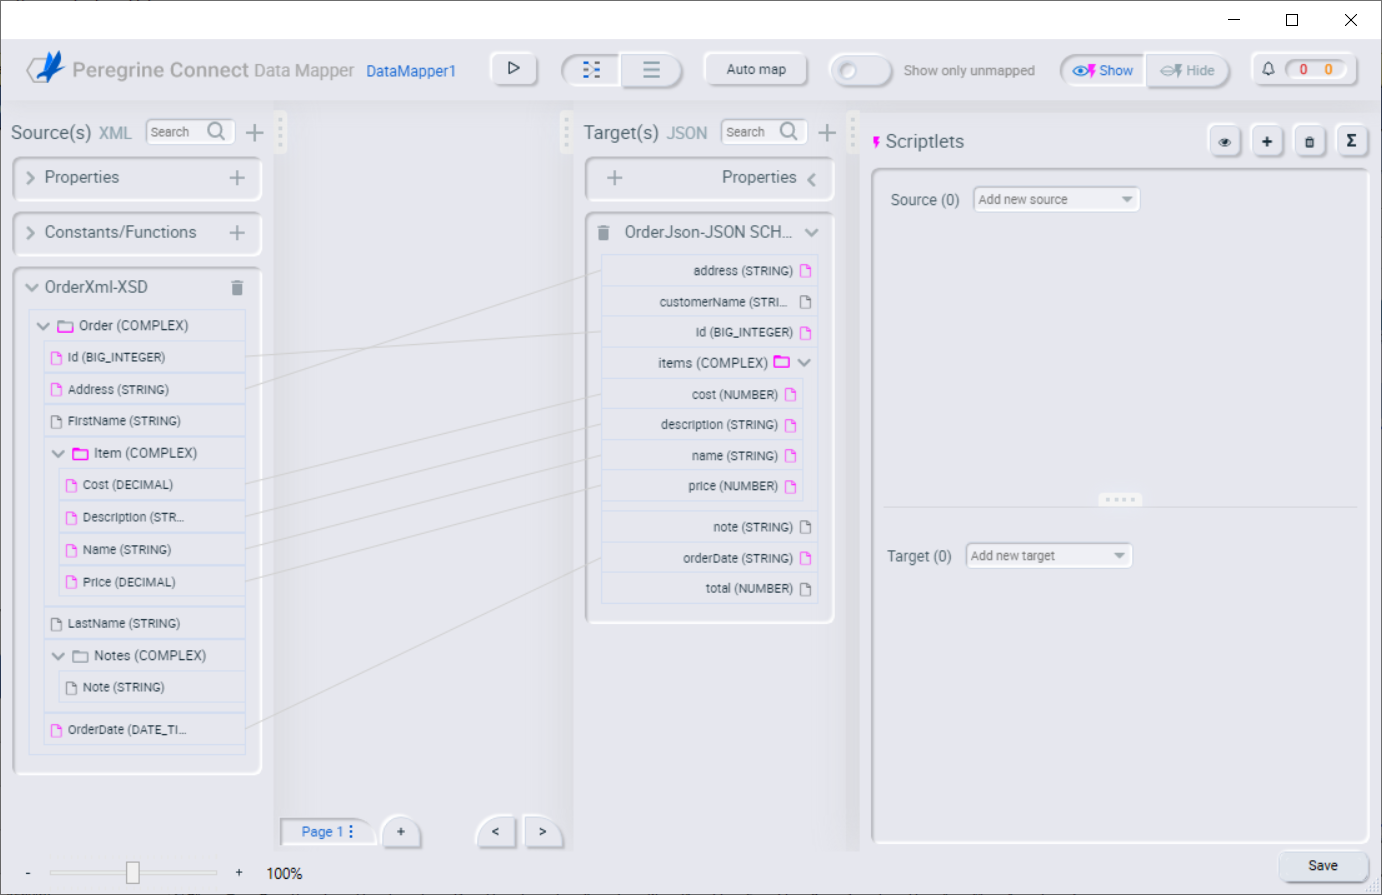
- Toggle the Switch between map and list view button at the top to display a list view of the mappings to see the mapping details. Click the button again to switch back to mapping View: