This is Part 2 of the four-part series on using the new Neuron ESB SAP Connector. In Part 1, we showed you how to set-up the SAP Connector and then use it for importing schemas based on SAP BAPIs, RFCs and IDocs, as well as generating sample XML documents based on those schemas. In this post we will walk you through executing the Material Availability BAPI and the Get Customer RFC. The steps here require you to have completed the steps in Part 1 of the series.
Using the Neuron ESB SAP Connector – Part 1: Setup and Schema Generation
Using the Neuron ESB SAP Connector – Part 3: Receiving IDocs
Using the Neuron ESB SAP Connector – Part 4: Sending IDocs
Executing a BAPI on SAP
In Part 1 you imported the schema and sample XML for executing the Material – Availability BAPI on SAP. You can use this sample XML to test the BAPI call. These steps assume you have saved the previous changes, configured the Neuron ESB runtime to host this solution and started the Neuron ESB Service.
- In Neuron ESB Explorer, navigate to Repository->XML Documents. Select the document BAPI_MATERIAL_AVAILABILITY_BAPI_MATERIAL_AVAILABILITY and click the XML tab. Copy the contents of the XML document. If you want to format the XML before copying, right-click in the text area and select Format.
- Start the Neuron ESB Test Client from Start->All Programs->Neudesic->Neuron ESB V3 (<instance name>)->Neuron Test Client.
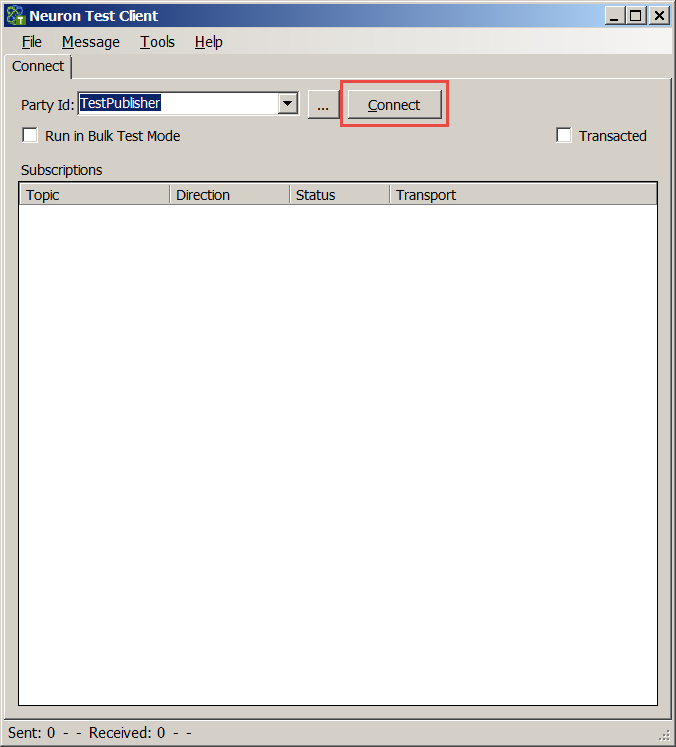
- In the Test Client select TestPublisher as the Party Id and click the Connect button:
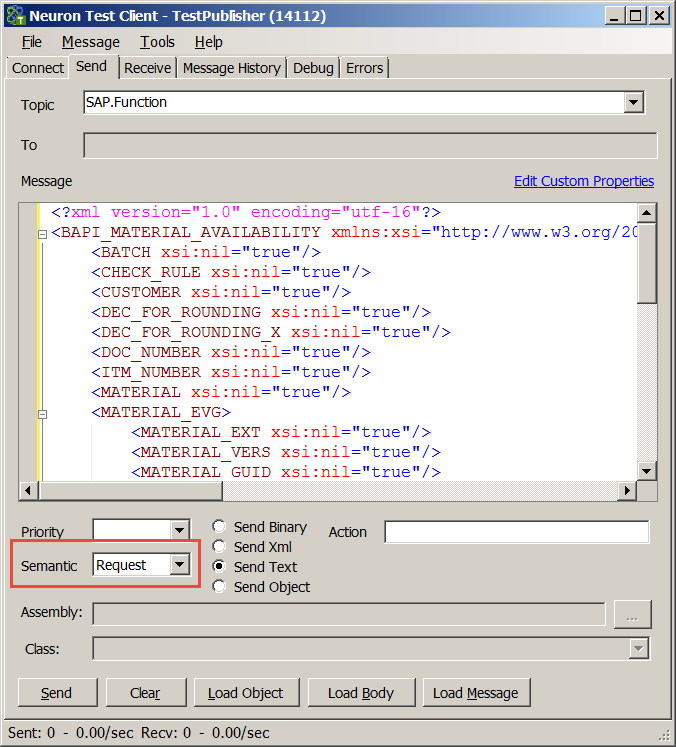
- Navigate to the Send tab. Set the Sematic to Request and paste the contents of the XML document into the message area:
- At this point you have an XML request with no real data in it. All of the elements are empty. Before using this request message you have to set some of these fields:
- <MATERIAL>100-100</MATERIAL>
- <PLANT>1000</PLANT>
- <UNIT>ST</UNIT>
All of the other elements can remain nil or you can delete them. If you choose to delete them, you must leave the parent elements like <MATERIAL_EVG>, <WMDVEX> and <WMDVSX>. This would be the minimal XML that you can send:
<BAPI_MATERIAL_AVAILABILITY xmlns:xsi="https://www.w3.org/2001/XMLSchema-instance" xmlns="https://Neuron.Esb.Connectors.SAP/BAPI/BUS1001/AVAILABILITY/BAPI_MATERIAL_AVAILABILITY">
<MATERIAL>100-100</MATERIAL>
<MATERIAL_EVG></MATERIAL_EVG>
<PLANT>1000</PLANT>
<UNIT>ST</UNIT>
<WMDVEX></WMDVEX>
<WMDVSX></WMDVSX>
</BAPI_MATERIAL_AVAILABILITY>
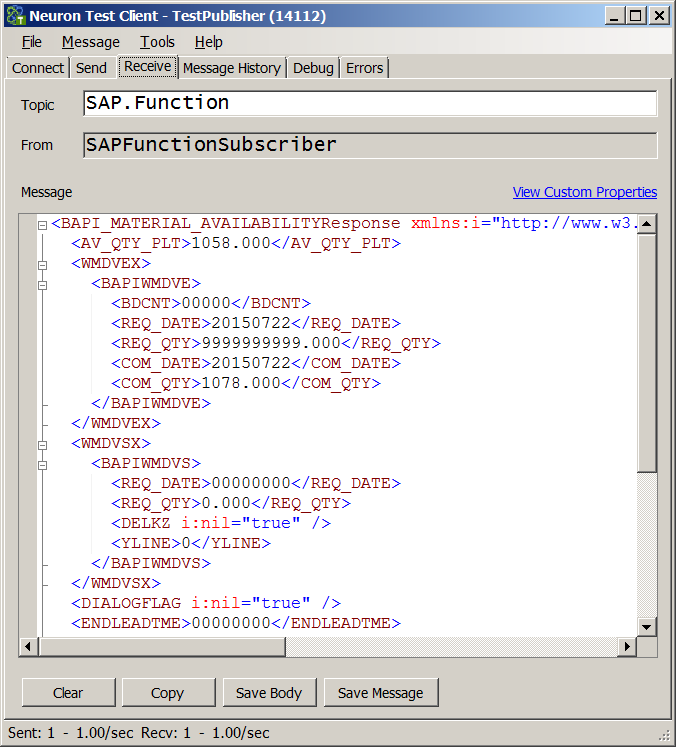
- Click the Send button. Once the call completes, navigate to the Receive tab. You should see a response similar to this:
Note – this example expects the SAP demo data to be installed. If you do not have the demo data, you will need to set the Material, Plant and Unit values to valid values for your SAP implementation.
Executing an RFC on SAP
You previously imported the schema and sample XML for executing the SD_RFC_CUSTOMER_GET RFC on SAP. You can use this sample XML to test an RFC call.
- In Neuron ESB Explorer, navigate to Repository->XML Documents. Select the document SD_RFC_CUSTOMER_GET_SD_RFC_CUSTOMER_GET and click the XML tab. Copy the contents of the XML document. If you want to format the XML before copying, right-click in the text area and select Format.
- If you already have an instance of the Test Client started and connected with the Party Id TestPublisher, skip to step 4. Otherwise, start the Neuron ESB Test Client from Start->All Programs->Neudesic->Neuron ESB V3 (<instance name>)->Neuron Test Client.
- In the Test Client select TestPublisher as the Party Id and click the Connect button:
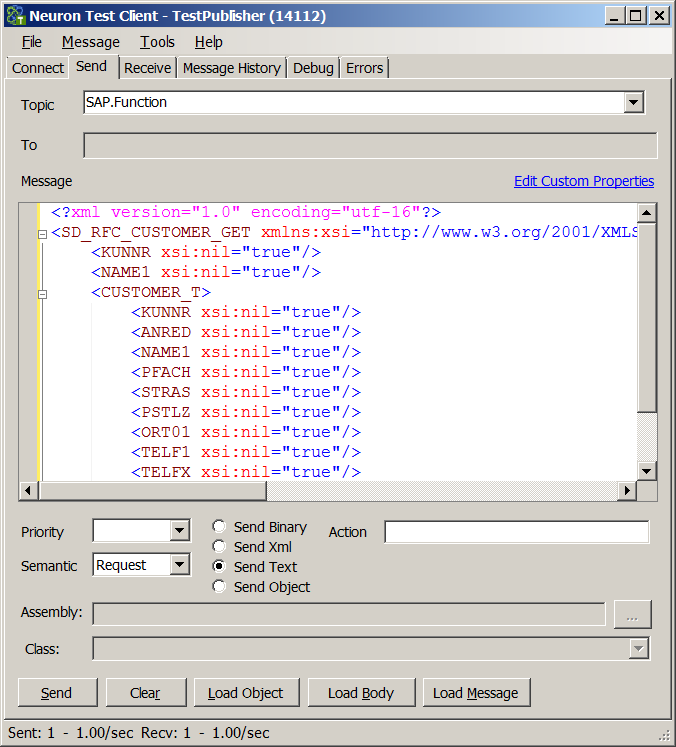
- Navigate to the Send tab. Set the Sematic to Request and paste the contents of the XML document into the message area:
- At this point you have an XML request with no real data in it. All of the elements are empty. Before using this request message you have to set one of these fields:
- <NAME1>K*</NAME1>
All of the other elements can remain nil or you can delete them. If you choose to delete them, you must leave the parent <CUSTOMER_T>. This would be the minimal XML that you can send:
<SD_RFC_CUSTOMER_GET xmlns:xsi="https://www.w3.org/2001/XMLSchema-instance" xmlns="https://Neuron.Esb.Connectors.SAP/RFC/SD_RFC_CUSTOMER_GET">
<KUNNR></KUNNR>
<NAME1>K*</NAME1>
<CUSTOMER_T></CUSTOMER_T>
</SD_RFC_CUSTOMER_GET>
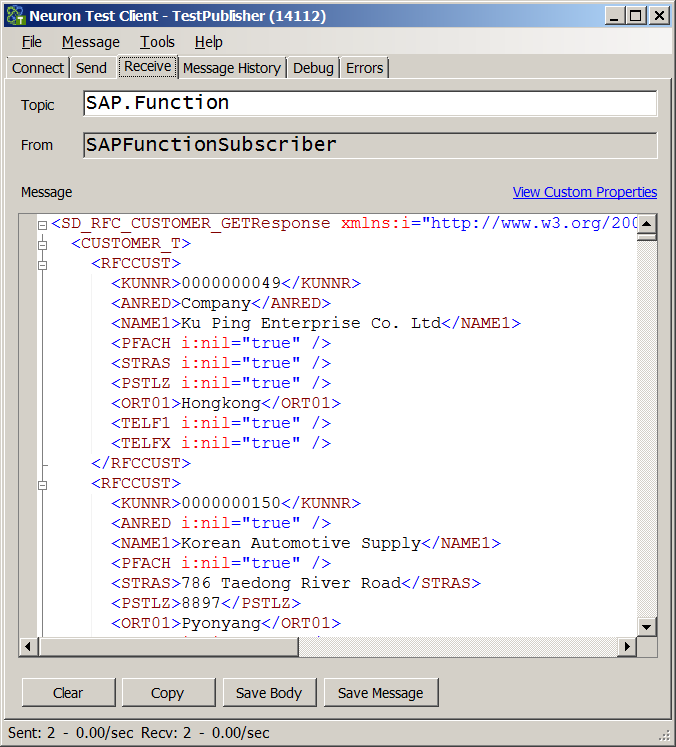
- Click the Send button. Once the call completes, navigate to the Receive tab. You should see a response similar to this:
Note – this example expects the SAP demo data to be installed. If you do not have the demo data, you will need to set the Name1 value to a valid value for your SAP implementation.
To see how to receive IDocs from SAP, check out the third part to this series – Using the Neuron ESB SAP Connector – Part 3: Receiving IDocs
Read more about Peregrine Connect
-
Rabbit MQ Topics
Introduction Due to the open-source nature of RabbitMQ and constant updates, it is...
-
Port Sharing
One of Neuron ESB’s scalability features is the ability to install multiple...
-
The Integration Journey to...
The Integration Journey to Digital Transformation with Peregrine Connect
-
Saving Time and Money by...
Neuron ESB Application Integration and Web Service Platform: A Real-World Example...
-
Neo PLM
-
Loomis Case Study
Loomis Chooses Peregrine Connect as Their No/Low-Code Integration Platform:...
-
Decision Test Data Mapping
- Use decisions to drive the execution of...
-
Map Testing
Learn how to utilize FlightPath's testing functions...
